Painting All The Things 25 Aug 2015 5:56 PM (9 years ago)
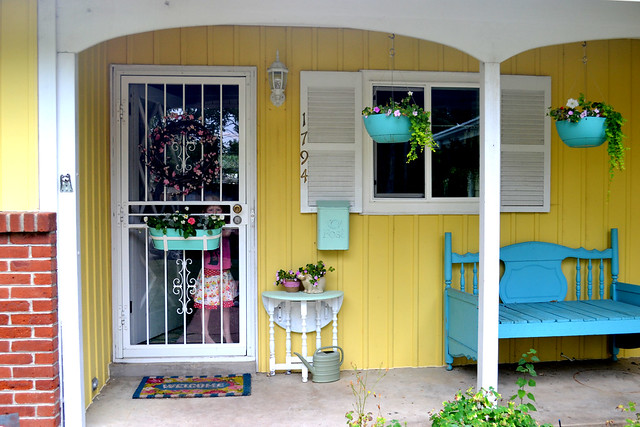
We've been in our little yellow house for about a year and a half now. It's crazy to look back on what our home used to look like and think of how far we've come in just 18 months time. As a family of five living in 2015 on one income, we don't have a lot of excess spending money to put into our house. We do, however, have a long list of projects that need to get done to turn this into our eventual "dream house".
One of our favorite resources as homeowners has turned out to be the Habitat for Humanity ReStore shops! They are located all over the front range in Colorado, and we've even been to some mountain locations such as Evergreen and Conifer.
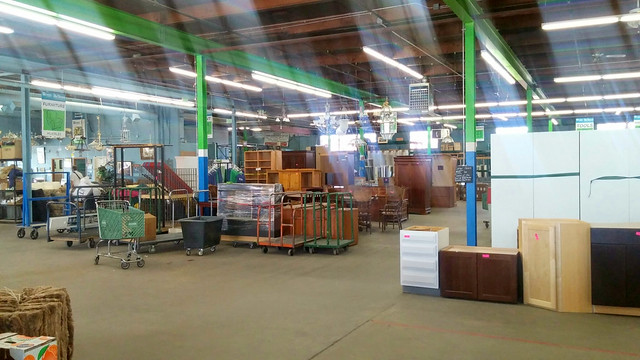
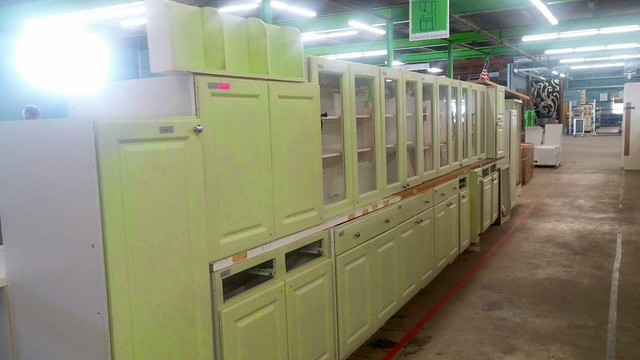
At ReStore you can get just about anything you need for your home projects, but most of it is used except for things like paint and leftover tiles from tiling projects. You can buy furniture {we've seen some amazing leather sofas there}, large rugs, cabinets, sinks, fixtures, doors, etc. You name it, they've got it.
Whenever we've needed something for our home, before we hit up Home Depot, we hit up ReStore.
Which is where I happened to find two little paint projects I'd like to share with you today...
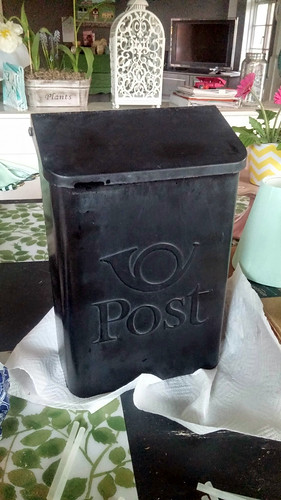
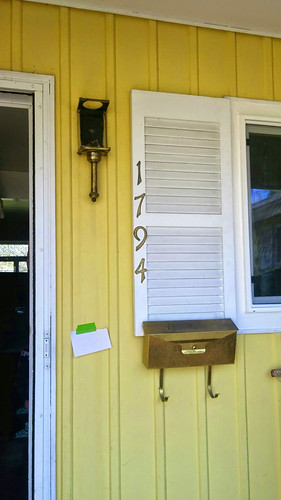
When I spotted this black mailbox at ReStore I knew I had to take it for $12. A new mailbox was definitely on my list of things to replace around the house. See? Yuck.
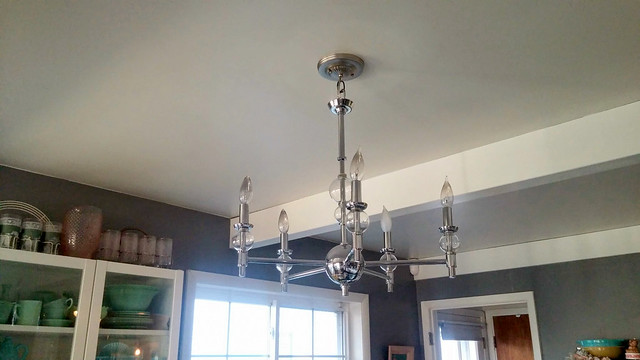
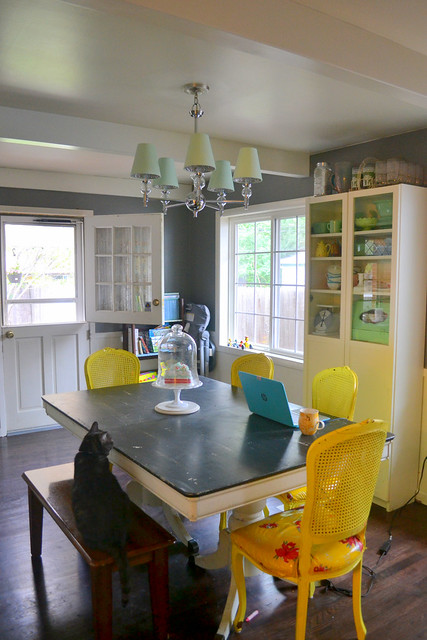
On the same shopping trip, Sander spotted this light fixture for $25. {It came with shades.} A dining room light was another thing we were dying to replace. {We had a boob light, see? Had to go.}
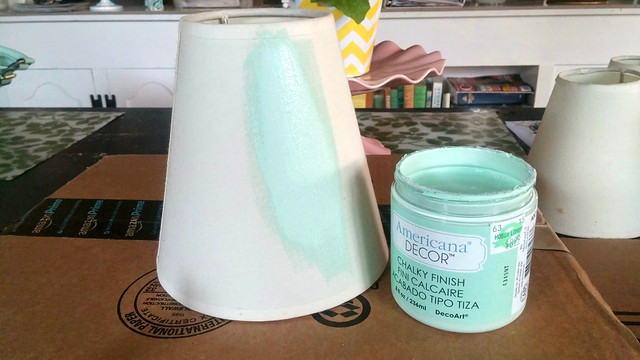
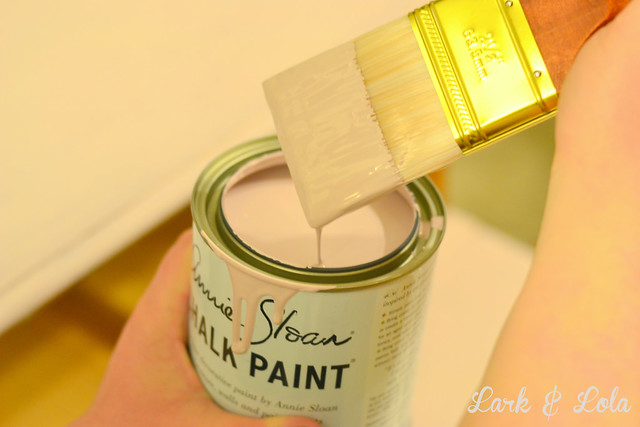
But I did want to personalize the light fixture a bit. It was cute, but not cute enough. A little too Pottery-Barn-Blah for my taste. So, I busted out the chalk paint, naturally.
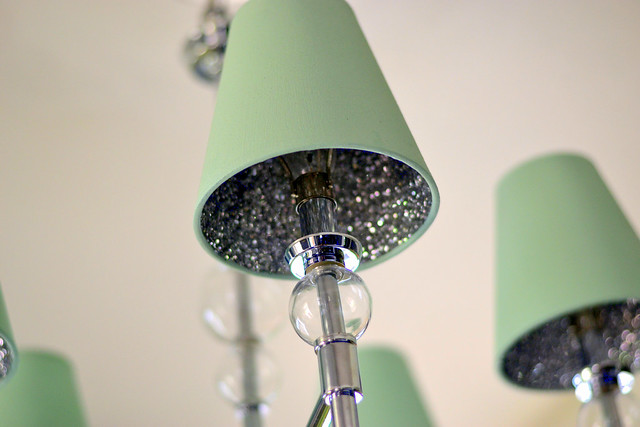
AND THE GLITTER. F.T.W. Yep, a little Mod Podge strategically placed, a can of glitter, and yessss.
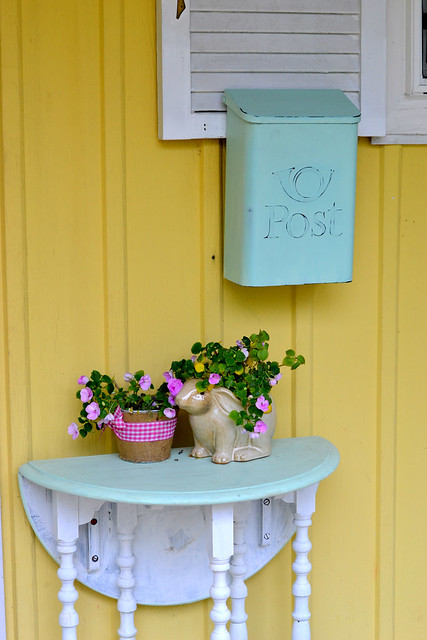
I decided to go right ahead with the same can of paint and attack that black mailbox at the same time. {You didn't think I'd just put that black box up, did you? Me?}
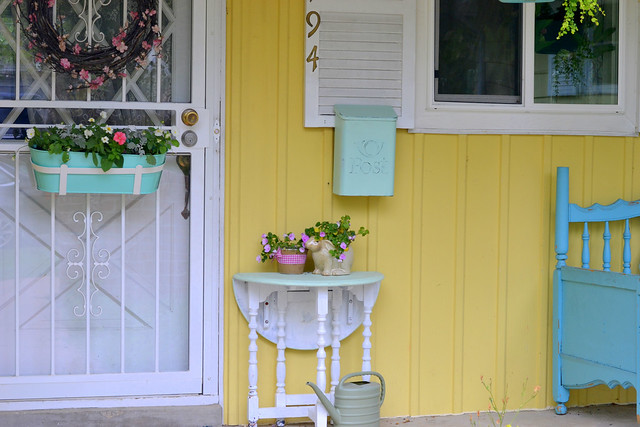
In fact, mailboxes are something I often notice first about homes--at least when they have pretty ones--and so I'd always wanted to find some cute mailbox for my bills to call home. If they have to.
You know what you should do if you like THIS? You should check out my mailbox board on Pinterest:
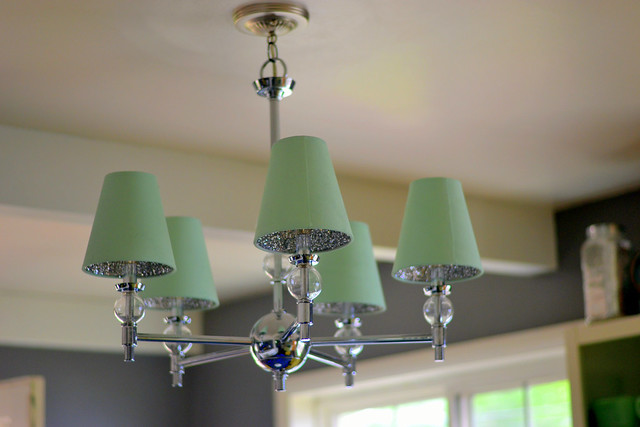
So, you see, fixing up your home to your liking doesn't have to be 'spensive. I love how the glitter sparkles in the evening over our dinner. And if you happen to find yourself with a used lampshade you like the shape of, but it shows wear, a little paint and sparkle is the perfect way to spruce it back up. Give it some bling, you know?
Now. Time to get new dining room chairs. {Remember these matched my last home's yellow retro table?} Also a new blogger template is in order, I think. Come back soon!
Cheers,
Heather
Eisley's Superhero 7th Birthday Party! 9 Aug 2015 3:07 PM (9 years ago)

Friends, my firstborn is SEVEN. When you have your first baby, they warn you how fast it goes by. It's cliche, but it turns out they aren't exaggerating.
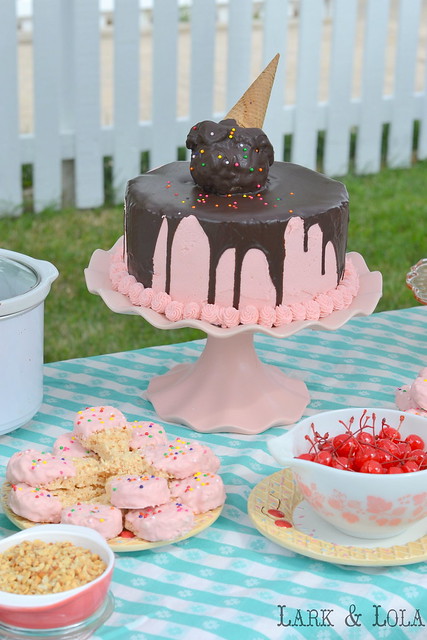
Last year, if you will remember, we took the 6th birthday easy and celebrated privately as a family. After her Alice in Wonderland 1st birthday, carnival 2nd Birthday, cowgirl 3rd birthday, ice cream 4th birthday, and tiger themed 5th birthday {that one was a doozy}--I'm pretty sure I had the most fun with this theme. Together, we picked a superhero theme for Eisley's 7th, and so it became her "Super 7" birthday.
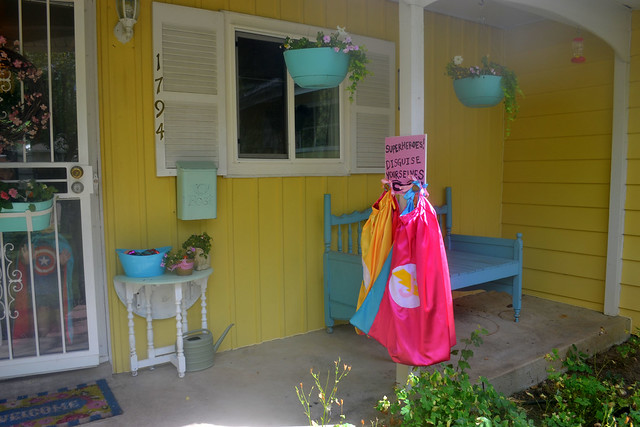
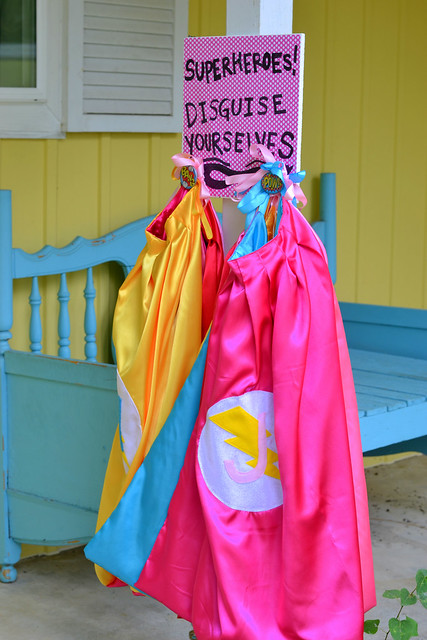
I sewed up some superhero capes for each guest. I got lucky and hit up Hobby Lobby while the poly satin was on sale while they had forgotten to take last week's 50% off sale sign down! This was a fun sewing project and went a lot faster than I'd anticipated. I could not WAIT to see a dozen or so little satin-cape-clad little girls running around my yard.
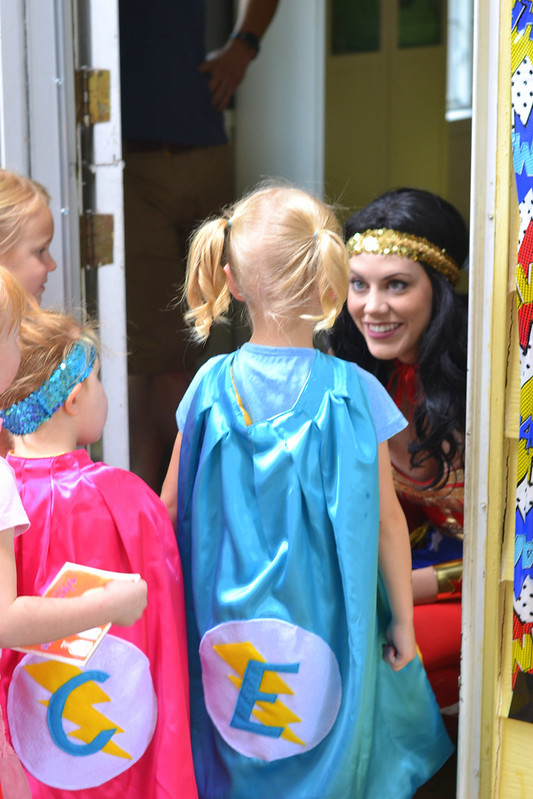
And so our best girlfriends were greeted at the door with their very own capes. {Might I add, making these erased the mom-guilt I felt these last couple years not making handmade Halloween costumes for my kids because I have silly standards for myself? There. I made twelve costumes this year.}
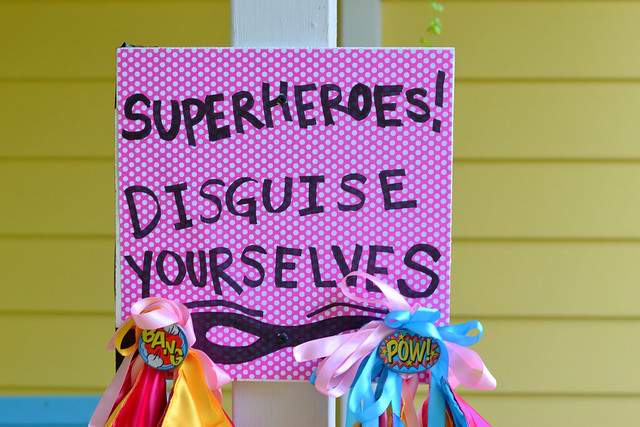
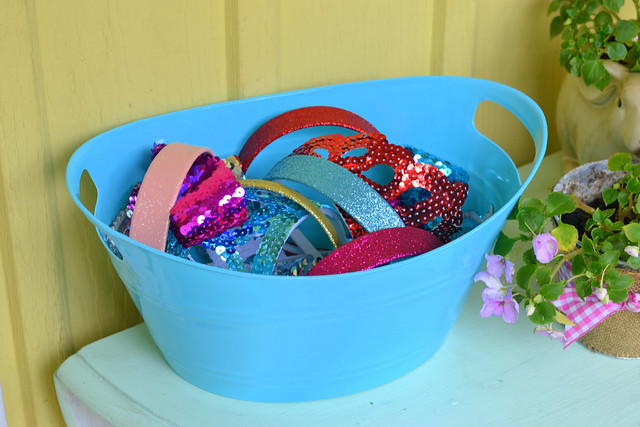
Superhero knobs from Hobby Lobby, I couldn't resist and found this use for them. Headbands from JoAnn's became party costume too.
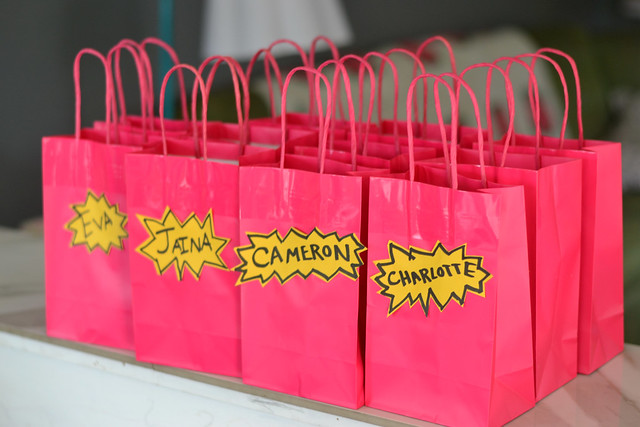
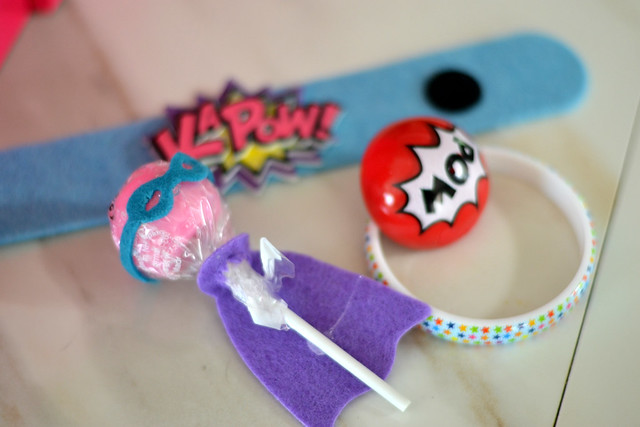
Oriental Trading Co. has some great superhero crafts {maybe a little lacking in quality, but nothing a glue gun can't fix!}
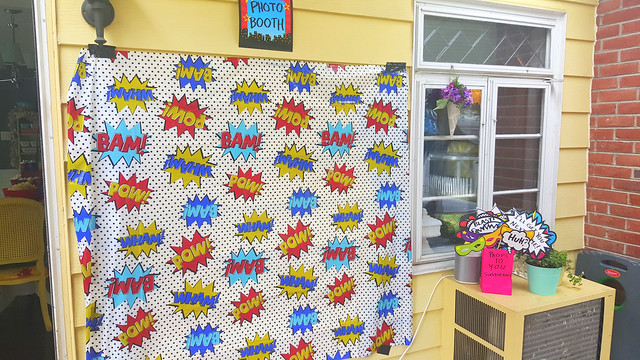
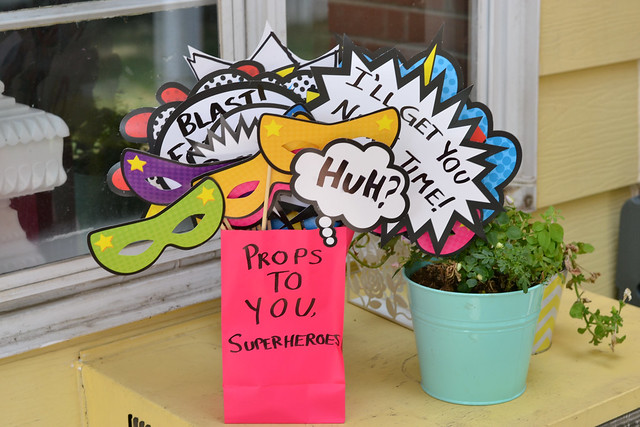
I crafted a last minute photo booth with a superhero tablecloth {Target} and teacher's bulletin board decor {U.S. Toys}.
Some wooden skewers, some hot glue, BAM!, done.
We don't like piñatas. But we do them anyway. This one {Oriental Trading} was too perfect to pass up. Plus, it's birthday tradition. They are an annual reminder of the pain of c-sections that accompanied your child's day of birth. Also, the kids love taking out their aggression on them.
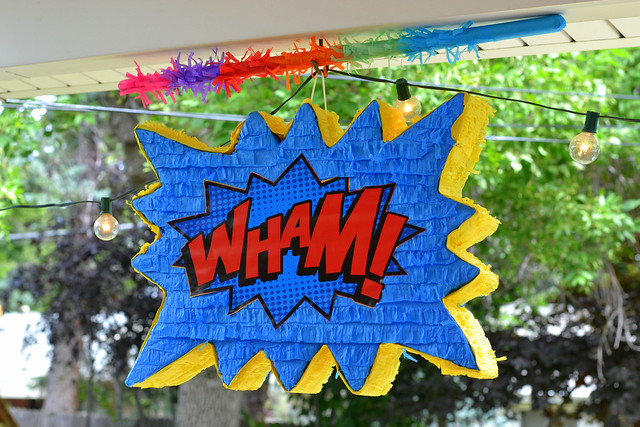
It was supposed to rain--as it usually does when I throw a summer party--right at 4 p.m. when the party was scheduled to start. 80% chance of thunderstorms, they said. Starting right at 4, they said. I set up on the back deck anyway, willing to risk it. {It did NOT rain! Hallelujah! Take THAT, Murphy's Law!}
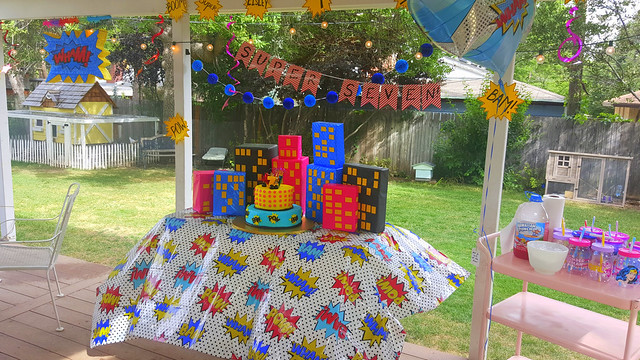
The night before any party you can find me in the kitchen cursing the fondant while Justin obsessively cleans up any powdered sugar I spill because he HATES the sticky floors. Decorating wise, however, this cake was simple and inspired by Pinterest. It was mostly buttercream because, like with many political topics, people have such strong opinions about fondant. The bombs were a last minute touch. BOOM!

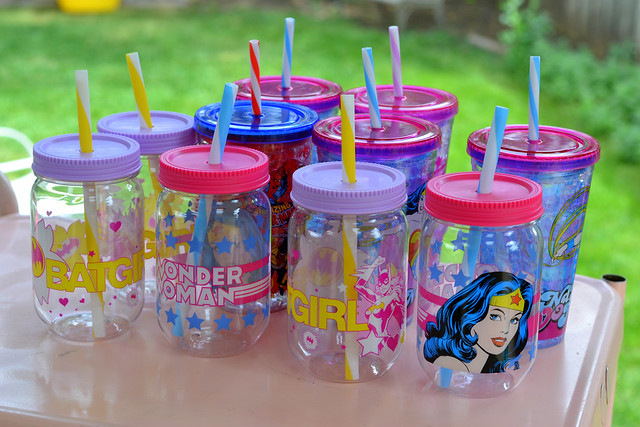
A few days before the party, I headed to Target with the kids to look for the paper party cups that matched their superhero party decor. They had been sold out the week before. Well, they were still sold out. But then I saw THESE beauties. I mean, how could I not?! Doggonit, Target. You always do this to me. {They're adorable!}
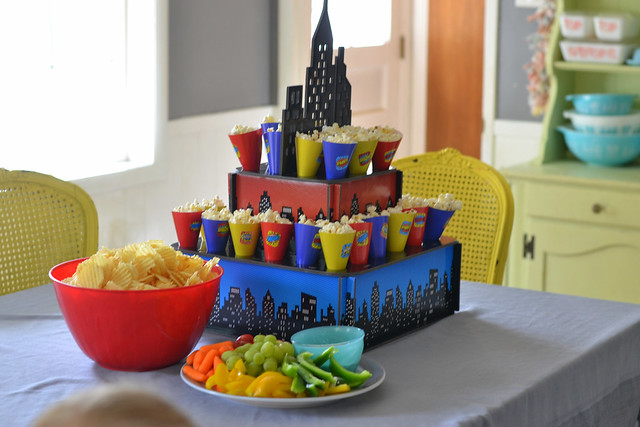
I've learned to keep it simple with the food for my already over-the-top birthday parties. Don't make too much, don't get too creative with all the themed snacks you can find on Pinterest. {I've made enough cake pops in the past to feed China. I'm over it.} Just feed people. That's what keeps them happy. So on top of a few snacks, we ordered pizza.
Right, Pax? Pizza makes you happy.
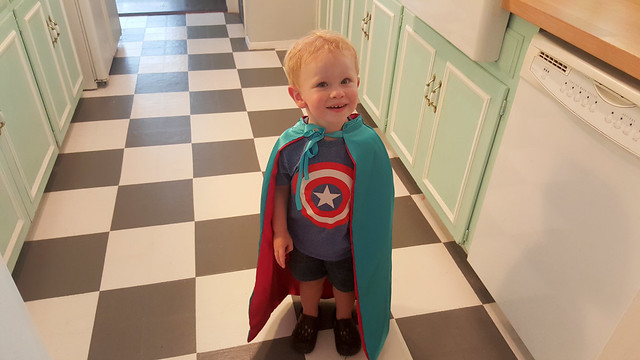
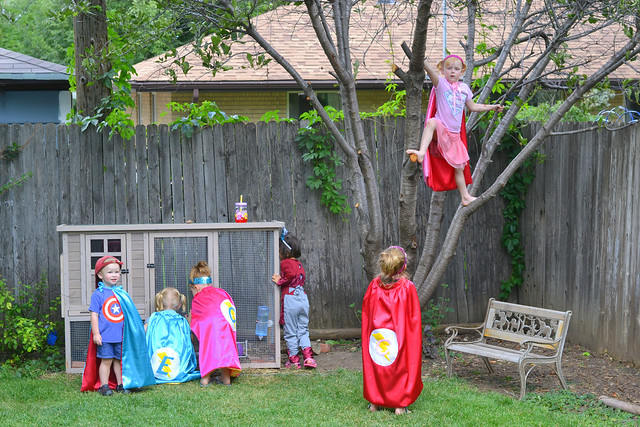
So the little guests started to arrive and put on their capes and started saving the day. It was ADORABLE.
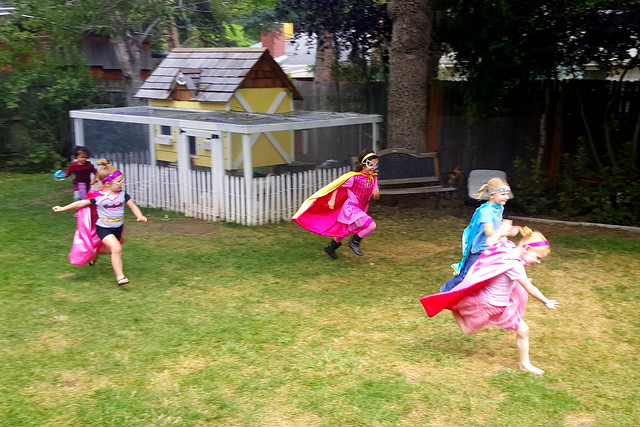
We have some great friends.
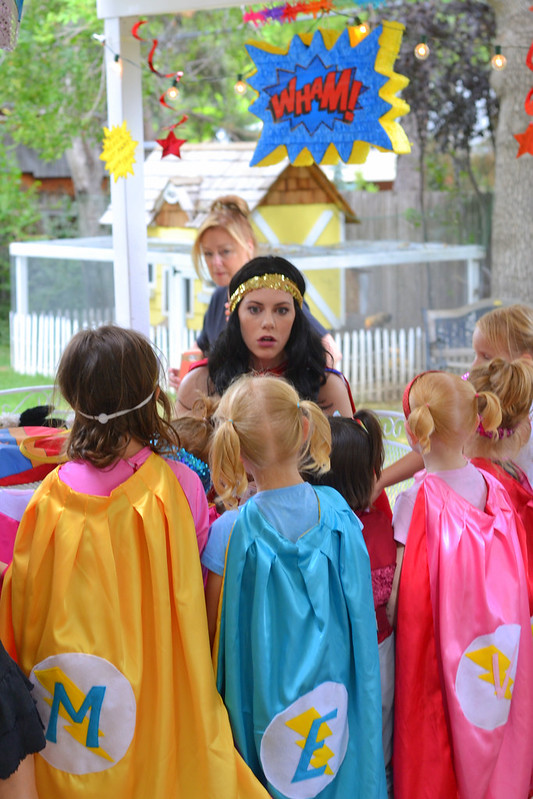
What's this?! A surprise guest...? Wonder Woman!!!
Whether it's a bounce house or a party entertainer, I've learned to lean on these magical people to make the parties magical for kids. I know party entertainers aren't always in the budget for people, it isn't always for us either, but when you can afford to hire them--what a fun memory!
It's priceless seeing the star-stuck looks of awe on the kids faces.
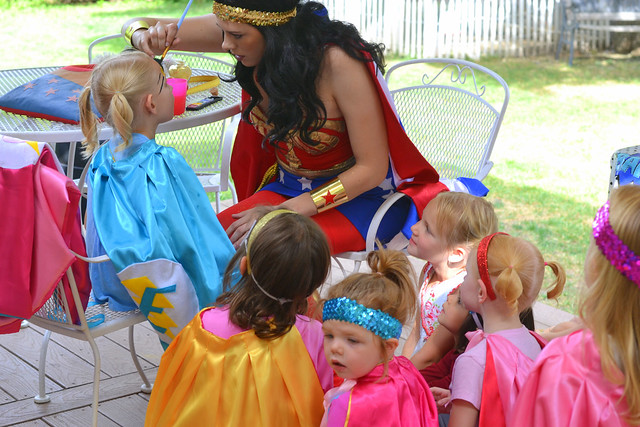
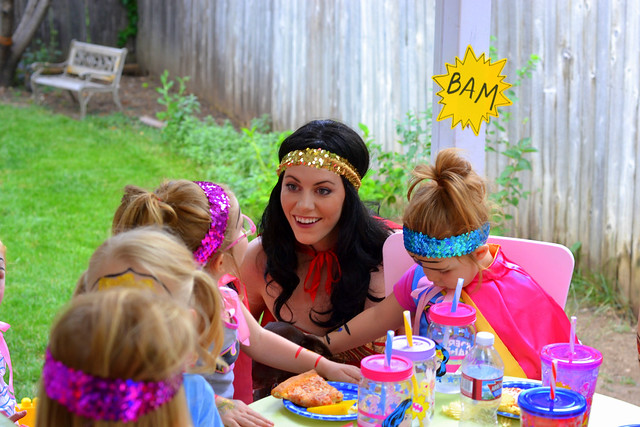
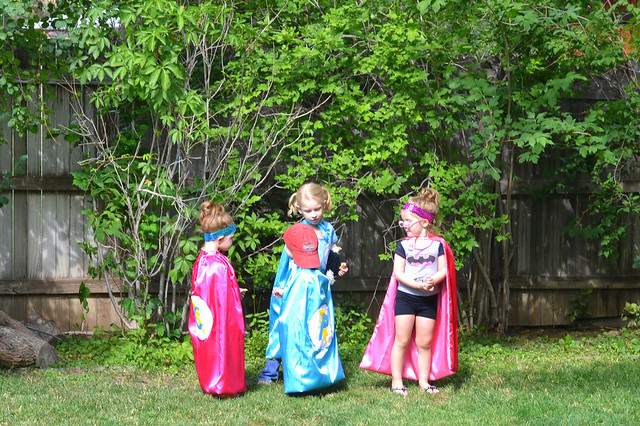
They had a pow-wow on the grass and discussed their super powers, bad guys, good guys, etc.
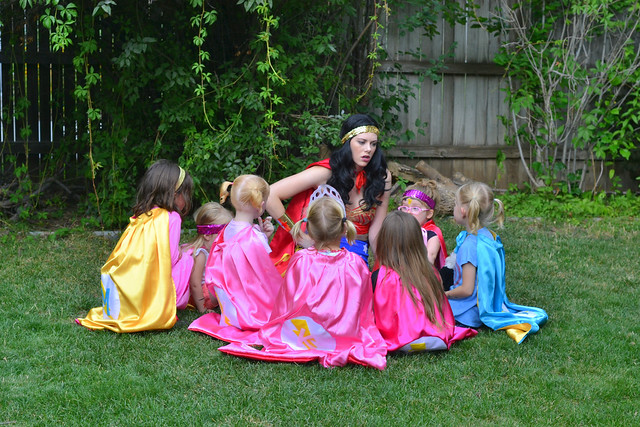
Look at all those girls in their capes! I want to squeeze them!
Then they brought out their super powers and poses for the parents {aka, villains} to see. Violet's super power? Kicking.
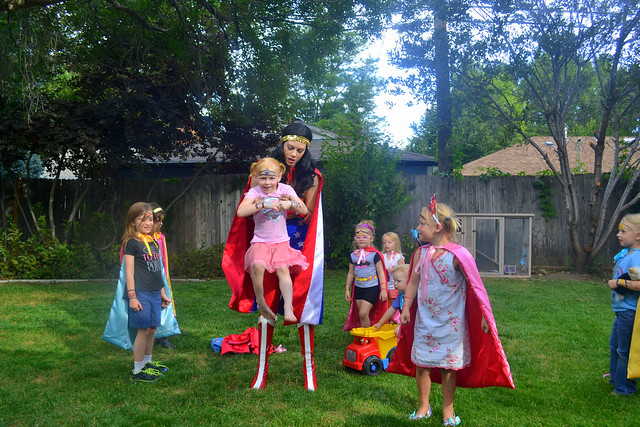
Practiced superhero poses. I love this photo.



I about died, it was so adorable to watch.

Eisley has been way into bald eagles lately, so she chose eagle super powers. Atta girl, Super E!

I can't think of a better way to turn 7.
After Wonder Woman left {to save the day} we sang to Eisley. {Who enjoys being sung at on their birthdays? I, personally, hate being the center of awkward attention like that. I think most people do. But...tradition!}

Presents! She's been waiting all year for this moment.

For being superheroes, this was incredibly weak group. Nah, I'm teasing. The truth is that they make piñatas these days so that you basically need a chainsaw to get them open. They finally succeeded in breaking the piñatas STICK. So Justin took matters into his own hands and busted that cheap-candy-filled thing open. {Somebody get that poor thing an epidural.} Candy-grab chaos then commenced.
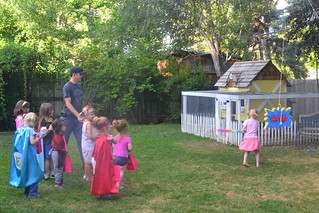
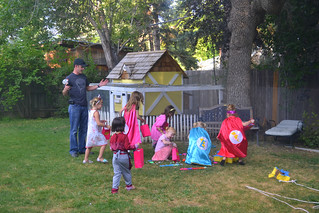
Over at the gambling table, adults placed bets on how many swats it would take and who would crack the darn thing open. {They all lost.}
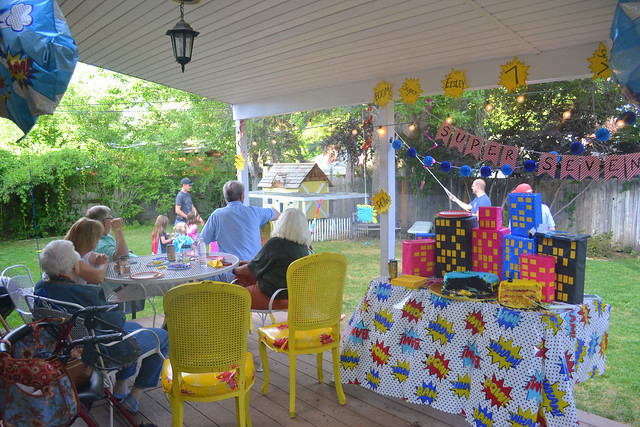
I might have taken a million photos {you can see them ALL here} because there were so many cute moments at Eisley's Super 7 party. Like Pax with the girls...

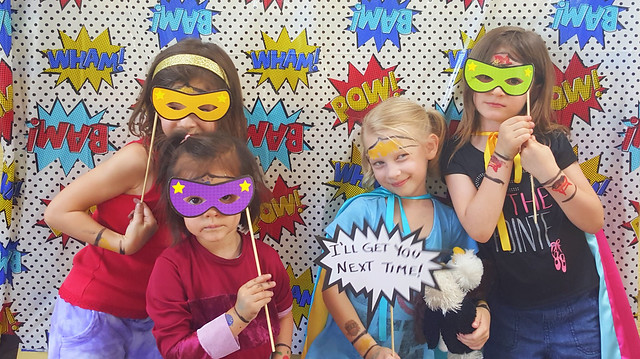
I love this one, Eisley with her Great-Grandma Sander, who is 97!


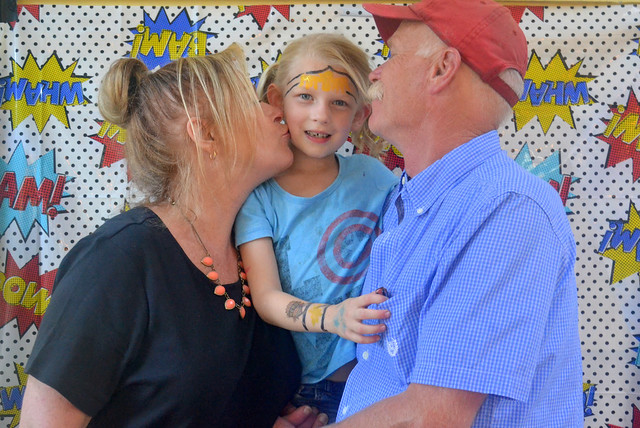
My parents...
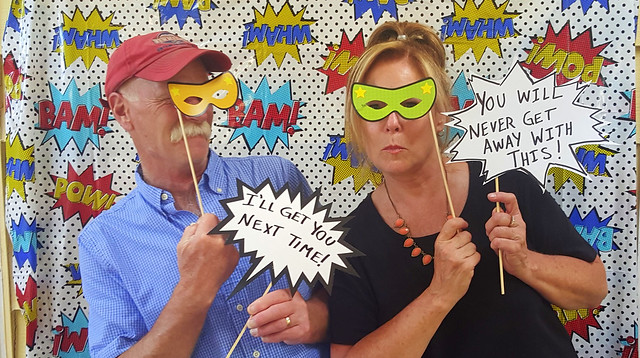
All of us...
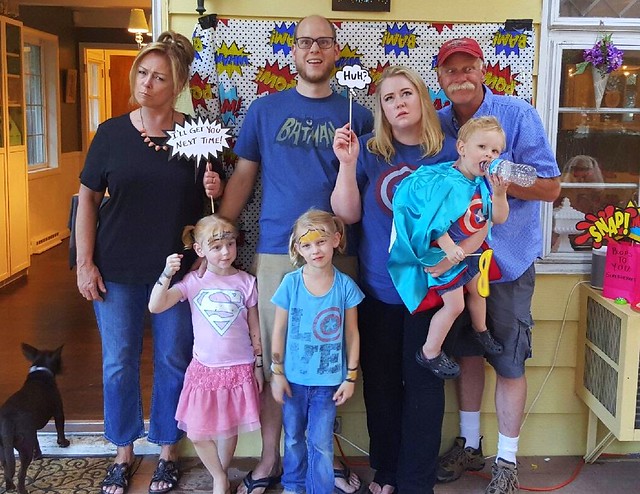
More grandparents...

Can't stop, won't stop.




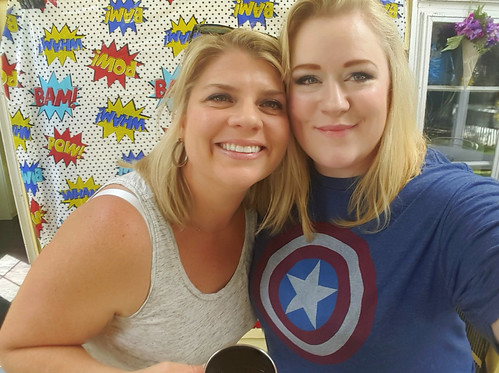
I have some great mom-friends. {Yes, I just used the term "MOM FRIENDS".} This one and I have been known to sneak dinner and wine into Amy Schumer movies. For the win.
Can we have a moment of silence for the observance of the torture that the Middle Child experiences when her older sister and little brother have birthdays not even a month apart, while hers is 6 months away?
Maybe you could say my super power is throwing parties for my kids? Ha. It's my love language, birthday spoiling.
HELP for Flickr & Blogger users! How to get rid of the Flickr logo all over your photos, and also how to make sure that Pinterest button shows up all the time, not just intermittently! 2 Jun 2015 9:41 PM (9 years ago)
 This is just a quick video to help anyone out there who might be frustrated by Flickr and the changes they made this year that make it difficult for Flickr users to post photos to Blogger and have their Pinterest buttons still work. Also, to get rid of that Flickr logo that shows up on your blog over all your photos! Finally, where to go to find out how to install the Pinterest hover button over your photos on your blog:
Elsa Cake 2 Mar 2015 11:30 AM (10 years ago)
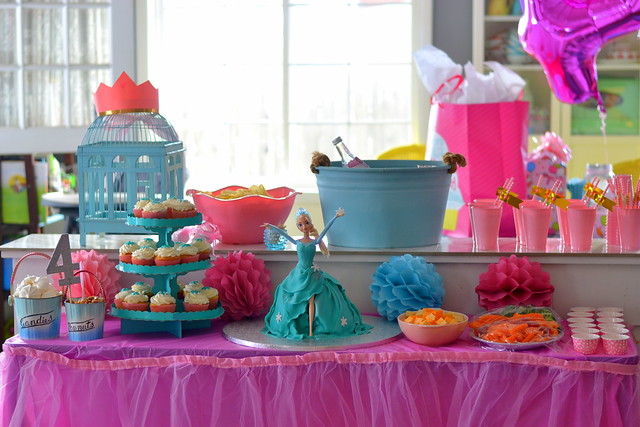
 My daughter's 4th birthday party was this past weekend {Happy Birthday Violet! See her party here on my family blog.} During the early party planning phase, she got it in her head that she wanted a doll cake, after seeing some fake doll cakes in the Target bakery section. Well, being a cake decorator myself {I took the classes about 6 years ago, and have done it as a hobby ever since}, I refused to pay for a grocery store doll cake. Hoping to take some of the party chores off my plate, however, I did shop around several local bakeries. Not only did they quote me starting at $85 {for a cake that would feed only 15 people!} they also put the "Elsa" idea in Violet's head. Suddenly, not only did she want a doll cake, she wanted an ELSA cake, and just like that I was planning more of an Elsa party. And cake. I was not handing over $85+ for a cake I might not even like. I've seen enough Cake Wrecks to know if you want something done right, you do it yourself.
I had to do it myself. So, I did.

Now, I must share that I got this entire "walking doll" concept and the tutorial over here, at Lacey Jakes Cakes' blog. She did a fabulous job giving instructions on how to make this cake. And her's looks much better than mine too.

Honestly: this is one of the easiest birthday cakes I've done for my kids. Honest. If you can work with fondant, you can do this cake. I baked the cake in the Pampered Chef Batter Bowl--which made a dome shaped cake--but Wilton also makes a similar sized doll shape pan. I also set the Pampered Chef-baked dome cake on an 8 inch round cake {about 2" tall, with a layer of buttercream between of course}.

Since Lacey did such a good job on the tutorial, so I'll leave it at that. Draping the fondant was fun and relatively easy.

Now, while in the past I've always made my own marshmallow fondant, I decided to cut corners and try a new, premade fondant from the cake store {Denverites, I go to Cake Crafts on Broadway, they are the best}. I took a chance on the Fat Daddio's "Tiffany Blue". It was perfect! It rolled and worked so well, it was the perfect Elsa-blue, and it tasted much better than Wilton's nasty fondant.
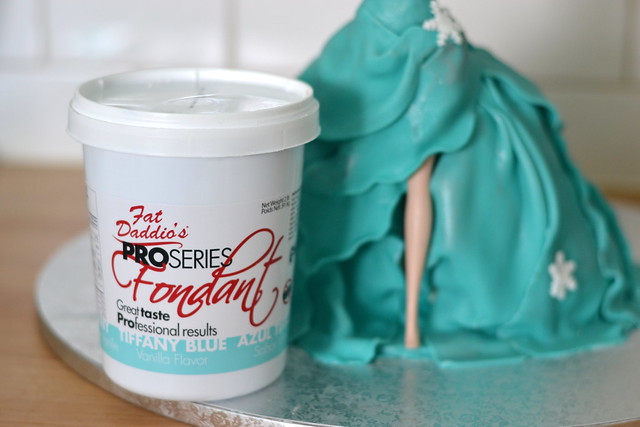
The Elsa cake was definitely an impressive centerpiece to Violet's birthday party spread.

In fact, the snow queen herself even seemed impressed!
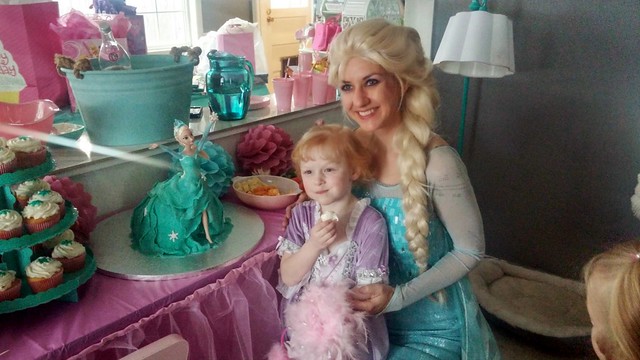
And yes, we ate it! Or at least the kids did. And yes, the inside was Elsa-blue too. {That's what you get for trying to include your kid in the party planning, and so you find yourself in the baking aisle asking, "Blue velvet, Violet? Really??? Not chocolate or funfetti? You want blue?"}

So maybe I made some cupcakes too.

Thank you for the inspiration, Lacey!
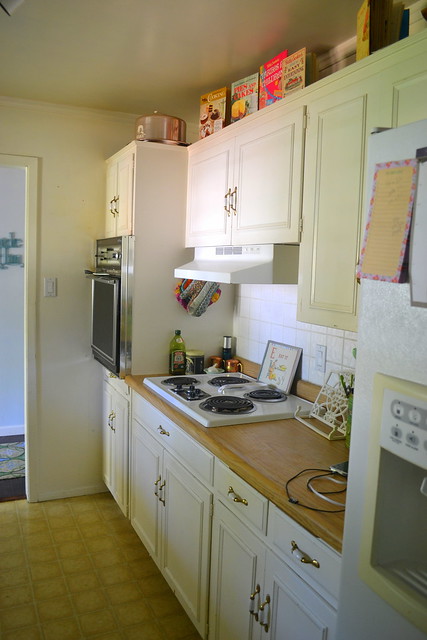
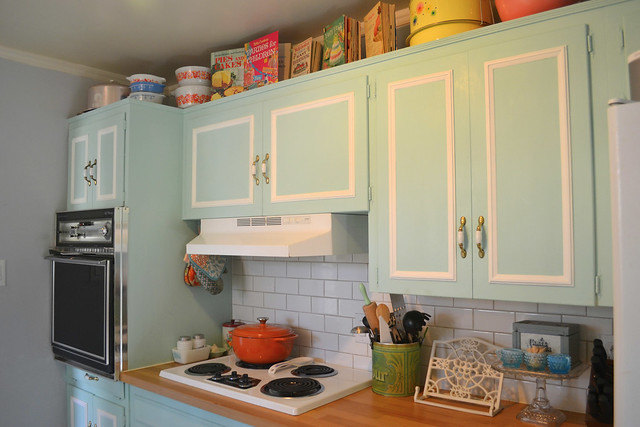
Lark & Lola House: The Kitchen Makeover Before & After 4 Dec 2014 9:02 AM (10 years ago)
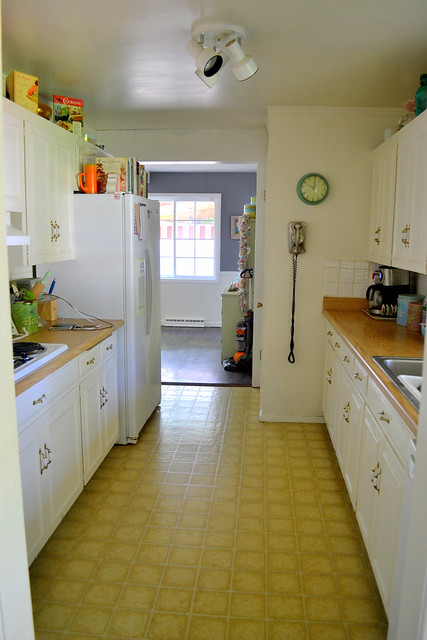
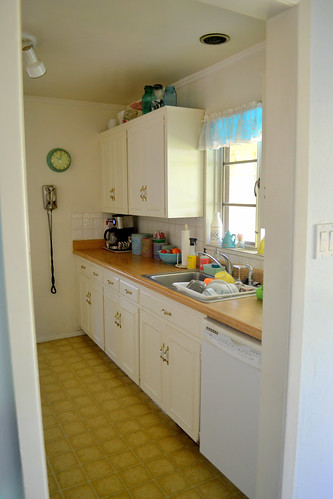
Before...
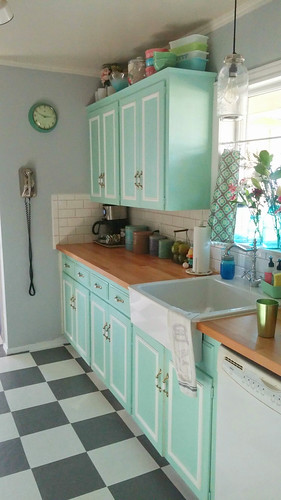
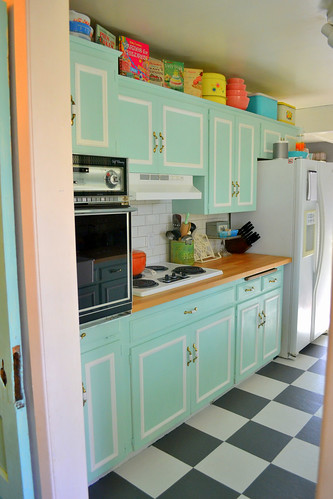
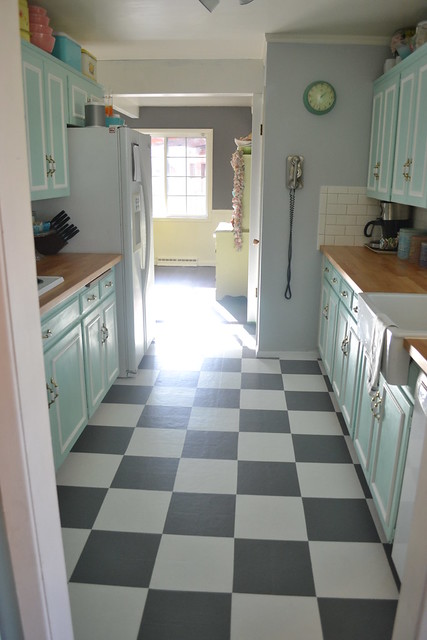
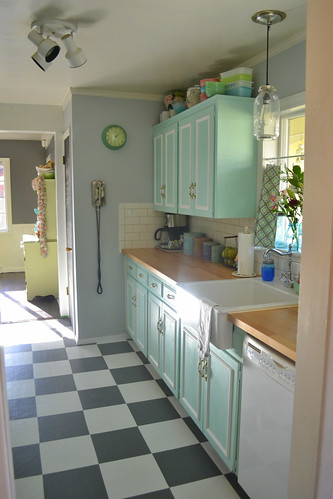
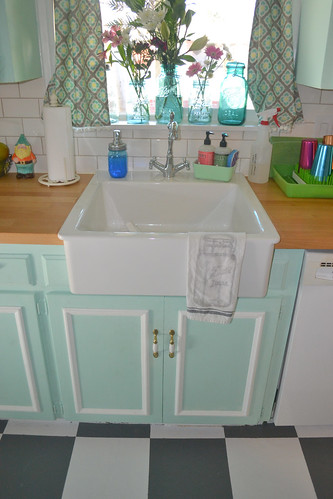
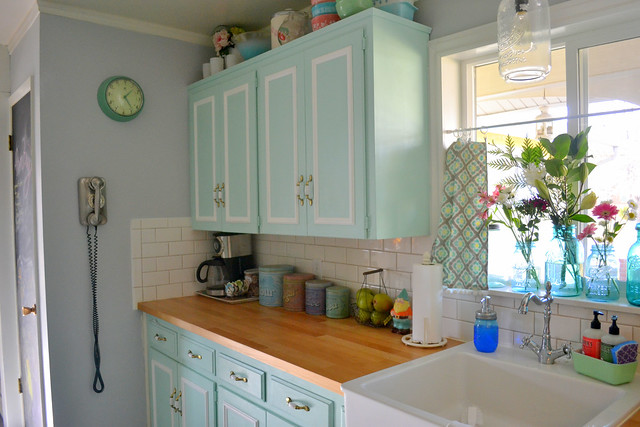
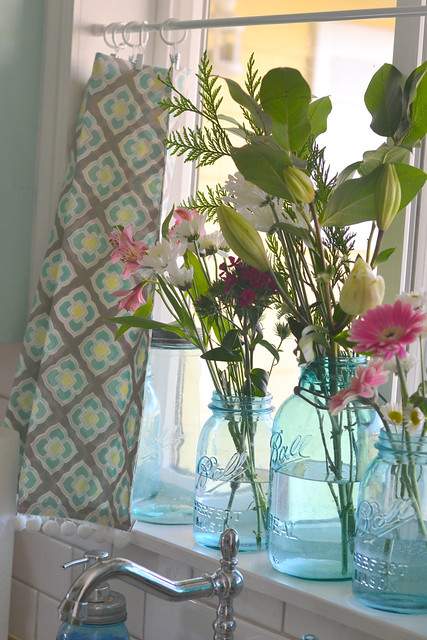
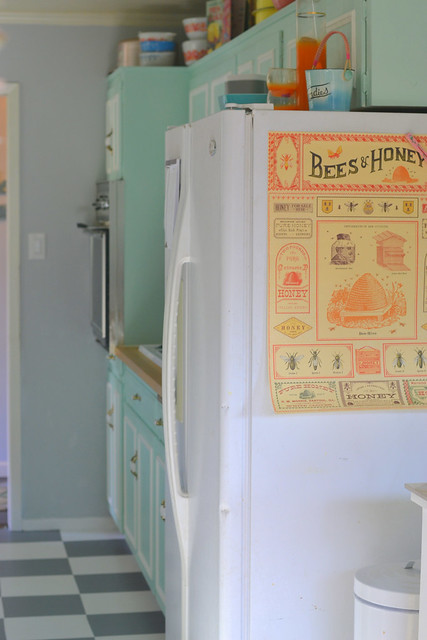
And this is what it looks like now.
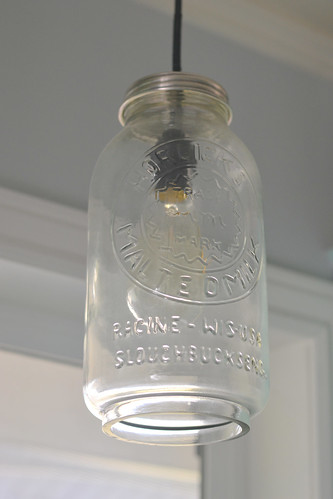
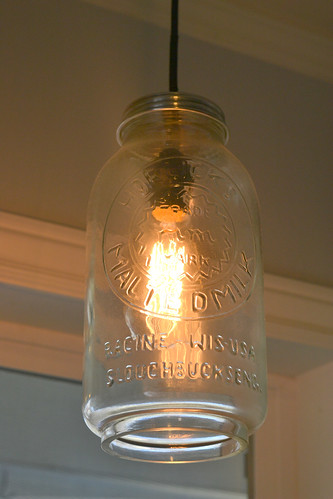
with an Edison bulb and all!
{Again, you can read more about that process here.}
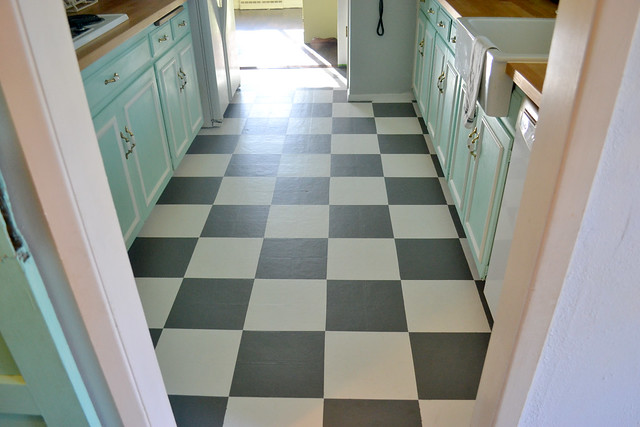
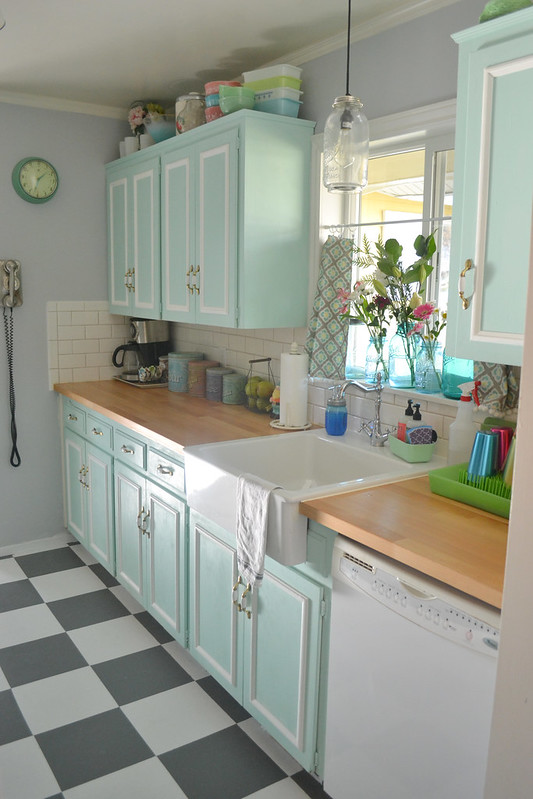
It was a tedious job, just taping off to do checks, but so worth it. Look, there is a lip at each end of our galley kitchen that brings the floor down. Basically, we can always add tile or hardwood or whatever. We could easily make the kitchen level with the rest of the house and install some tile, but for now, to save on cost and to get immediate results, we PAINTED the linoleum.
{You don't just paint with wall paint, however, I have a tutorial coming.}
REMODEL TIMELESSLY--NOT TO TRENDS!
Trends are for throw pillows, light fixtures, and everything else easy to change.
Watching her show, I noticed how she often pushed these things:
How do I like it?
Um....I FREAKING LOVE IT!!!
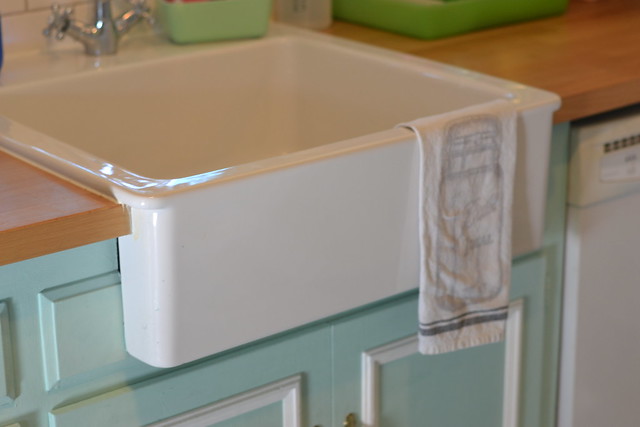
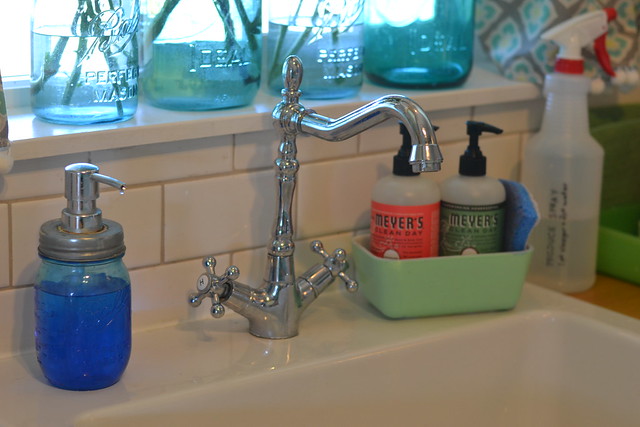
First, why does every home have a divided sink? We have dishwashers now, we don't need to scrub and soak like we used to. This isn't an industrial kitchen. I don't get it! I fully embraced the one basin apron sink. The baby takes baths in this, I can fit the whole highchair tray in it. I could probably fit all my Pyrex in it. {Haha!} It's large and roomy and I love it. One basin is just perfect!
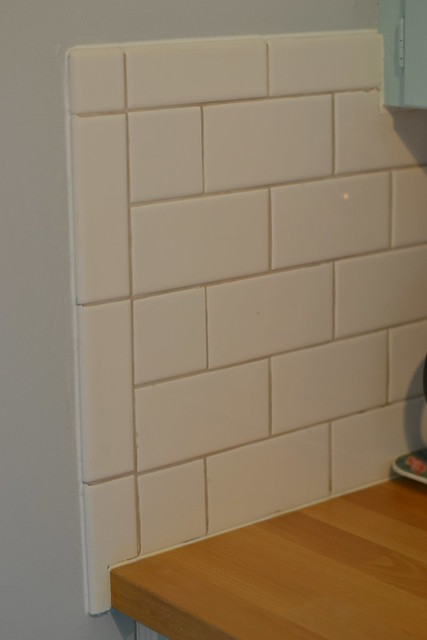
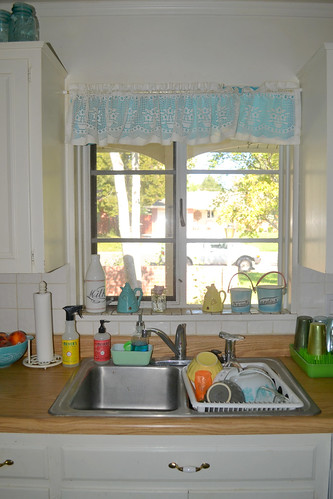
Ironically, if you look at the before photos again, you'll see we didn't change that much looks wise. There was already white tile to begin with, but it was a horribly done gritty grout job. The laminate countertops were also wood patterned. We just traded up for more white tile and real wood!
It was one of those things we didn't have to do, but figured now was the time--as we ripped out tile and sinks, you know? I have to admit, I'm impressed that my husband did such a good job, even the trim is perfect.
{This is why I had to open a shop.}
They don't do well in dishwashers.
{I learned that the hard way.}
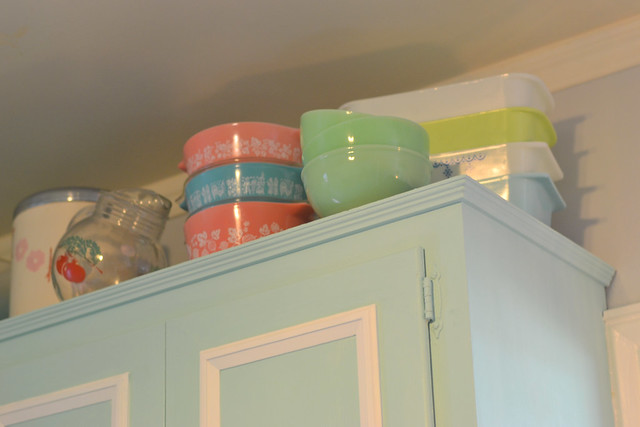
Admit it, your grandma had some of these, didn't she?
Thanks for visiting me and my new kitchen!
Lark & Lola Halloween Crafts 30 Sep 2014 8:58 AM (10 years ago)
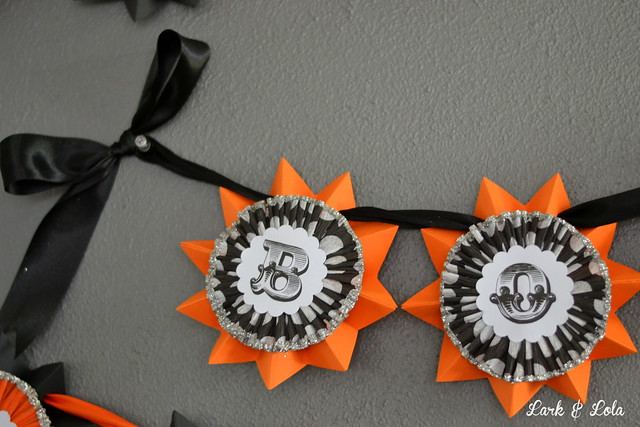
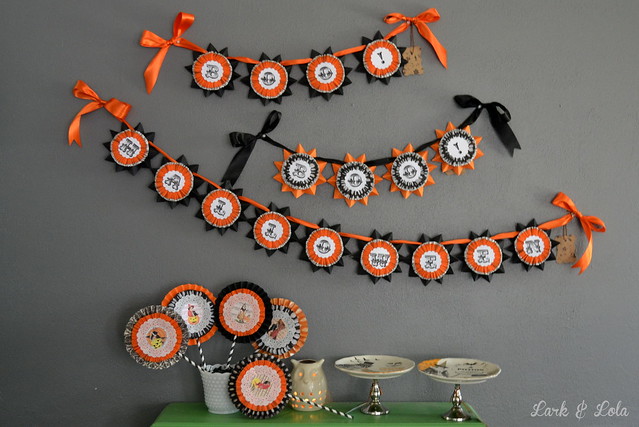
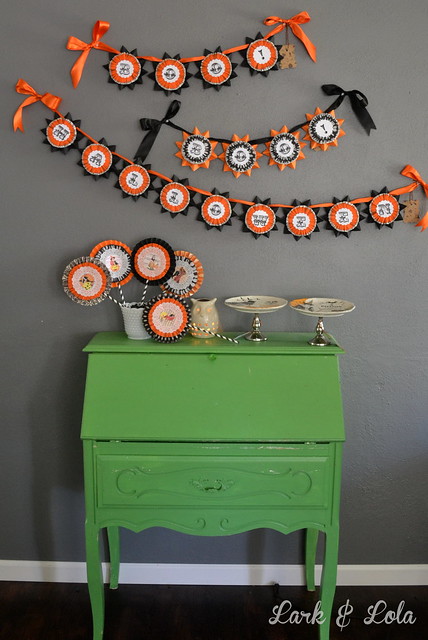
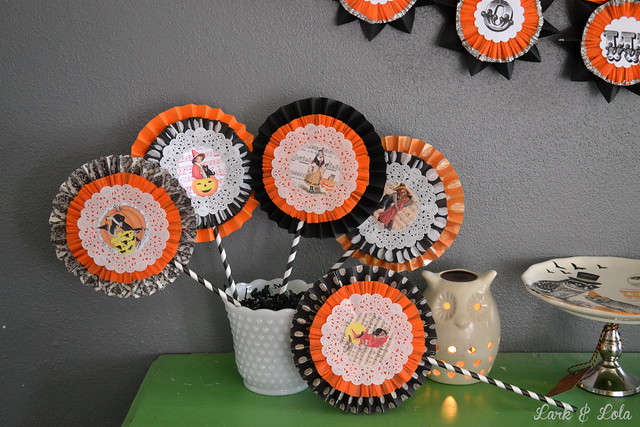
I tried something new with polka dot black and white crepe paper. I think I love it!
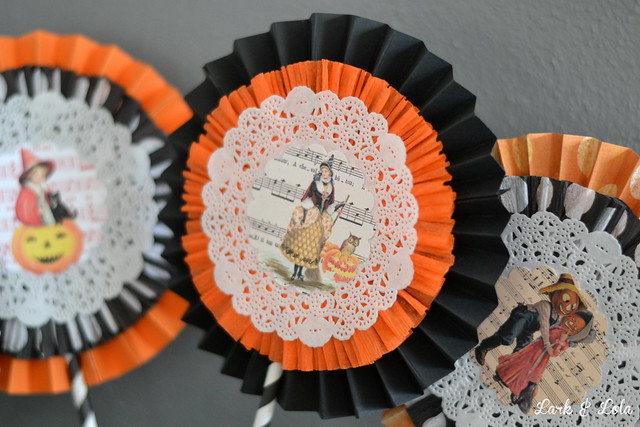
There is just something about crepe paper ruffles, rosettes, glitter, and old-timey Halloween images that make my heart sing.
Whoopie Pies 20 Sep 2014 10:24 AM (10 years ago)

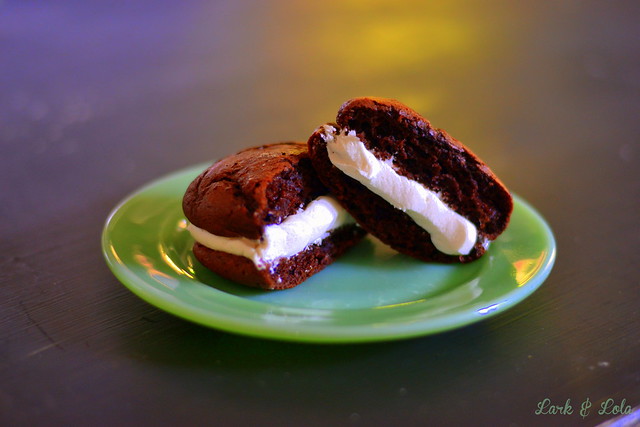
Oh my stars, whoopie pies. You be delicious. I made these for the first time last fall, and they were so easy and delicious, it's now imprinted in my soul as a fall treat. But that's ridiculous, isn't it? The time is always right for making whoopie. Pies.
I've seen pumpkin versions, red velvet versions, sprinkle-coated versions. Me? I just like an unadulterated whoopie. Pie. Using box cake mix and marshmallow fluff, it's never been easier to make whoopie...pies. {Alright, I'll stop now. You're welcome.} These are REALLY EASY. These are also REALLY YUMMY.
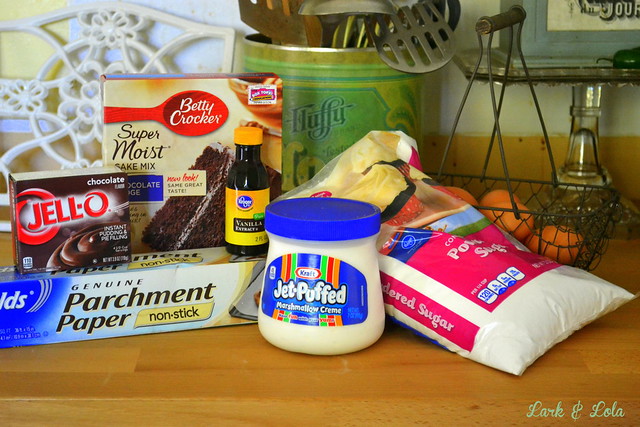
{Forgive the gross state of our backsplash, by the way. We're undergoing a kitchen makeover and you can read more about that here. Hopefully soon I'll have a before & after post for you.}
This is quite simple, see, you take a box mix of chocolate cake {try devil's food sometime} and prepare it as the box instructs EXCEPT use 3/4 cup water in place of however much water the recipe calls for. Other than adjusting the water, make as directed. Then, once it's good and mixed together, throw in a package of chocolate pudding. Mix well.
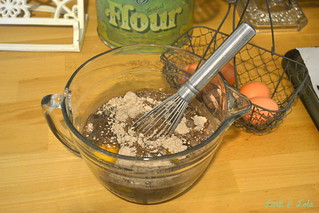
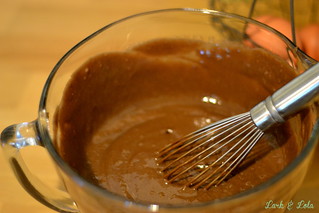
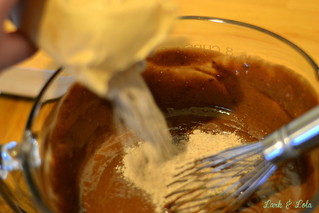
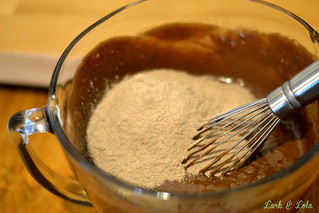
Drop rounded spoonfuls onto a parchment lined cookie sheet, a good 2" or more apart. A cookie scoop would help you keep them round, but they don't have to be perfect for making whoopie...PIES. {Sorry.}
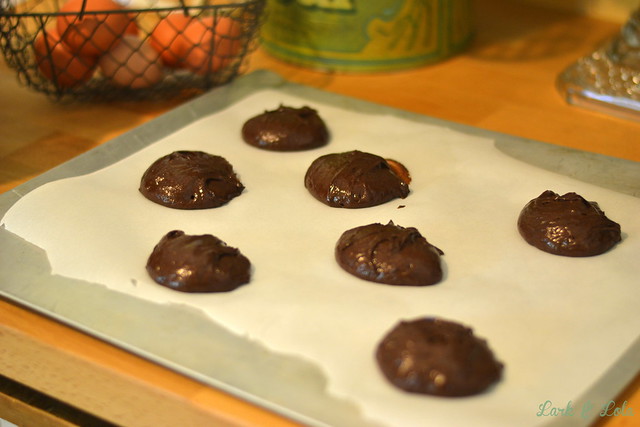
Bake at 350° for 12-15 minutes until they are firm in the center. Here's a tip I learned: baking them higher up in the oven resulted in fluffier, taller whoopies. Those I baked lower in the oven fell flat, no matter what pan I was using.
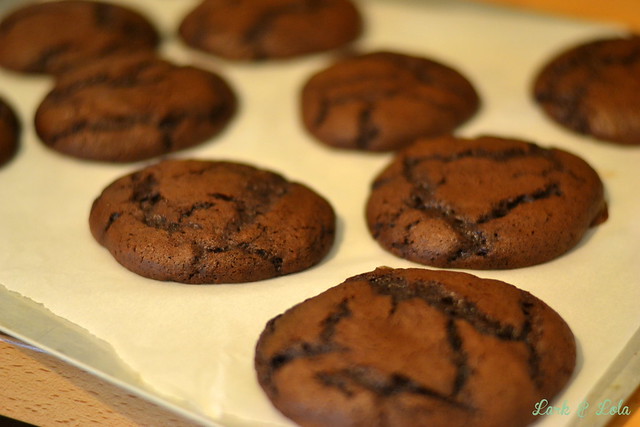
While your whoopies are cooling off and having a cigarette, start making your cream filling. I've seen other recipes for filling, but I wouldn't recommend using one that didn't have marshmallow creme in it, no sir. That's not how you make whoopie pies.
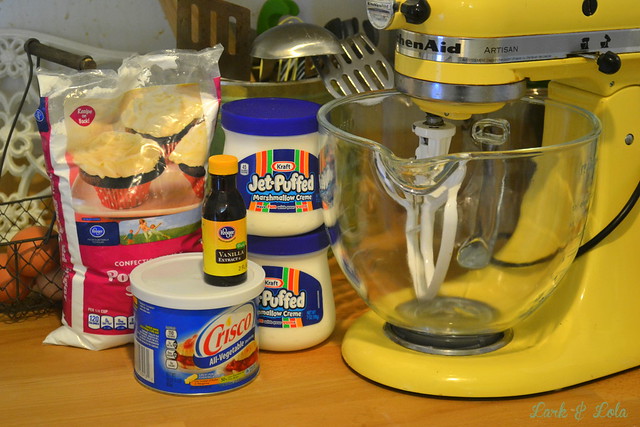
1 cup butter OR Crisco {traditionally made with Crisco, but whatever}
2 cups marshmallow creme {or FLUFF}
2 cups powdered sugar
2 tsp vanilla
Mix and beat together. I added a LITTLE bit of whole milk to thin mine just a tad, but that's an optional thing. This is similar to a classic buttercream recipe, so it's foolproof: thicken by adding more powdered sugar, thin by adding milk.
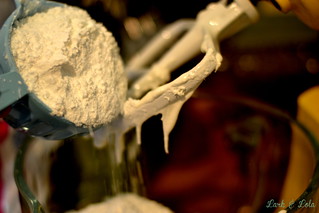
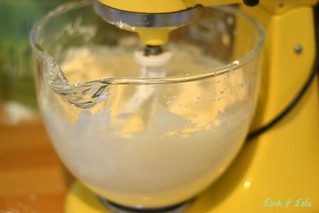
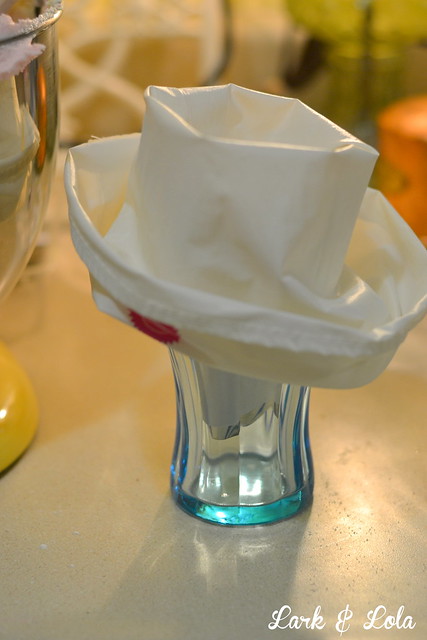
You can just plop dollops {who else hates the word "dollop" all because of a certain saccharine sour cream jingle?} of your filling between the whoopie cookies, or fill a pastry bag {or Ziploc, if that's your thing} with filling and pipe it out. TIP: place a pastry bag over your hand, shaped like a C, or put the pastry bag in a cup and fold the top over, using a spatula to scrape filling in the bag against the cup or your fingers, this makes filling the bag super easy and clean. Oh dear. I just complicated things, didn't I? ﴾͡๏̯͡๏﴿
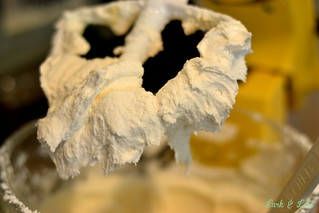
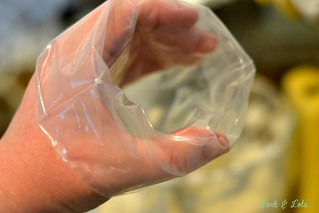
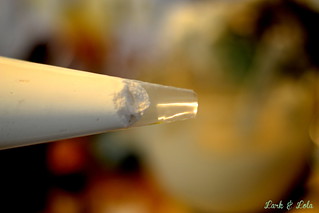
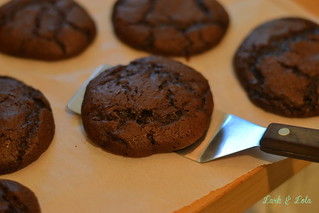
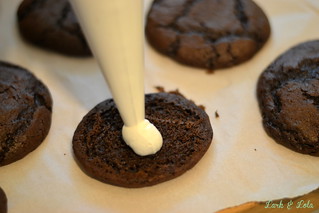
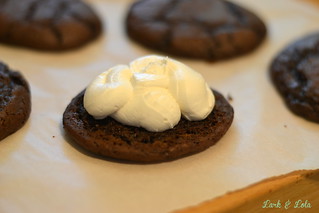
Look, when it comes to making whoopies pies, I feel like it's fairly straight forward...as it is when making most types of whoopie.
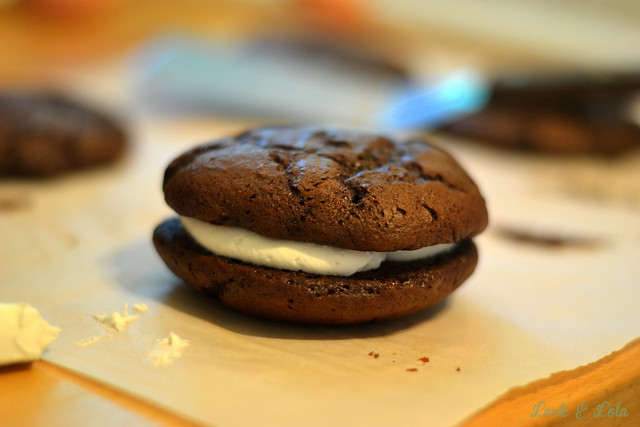
You can make these cookie sized, or try smaller versions. This recipe yields about 8-10 large whoopie pies.
My kids asked me what I was making and I said, "Momma's making whoopie in the kitchen with..."
I said, "They're whoopie pies."
"What's that?"
"It's like a...like a...a cake cookie!" And as I said those words together, I realized that is why everything is so wonderful when it comes to whoopie pies. Cake. Cookies.
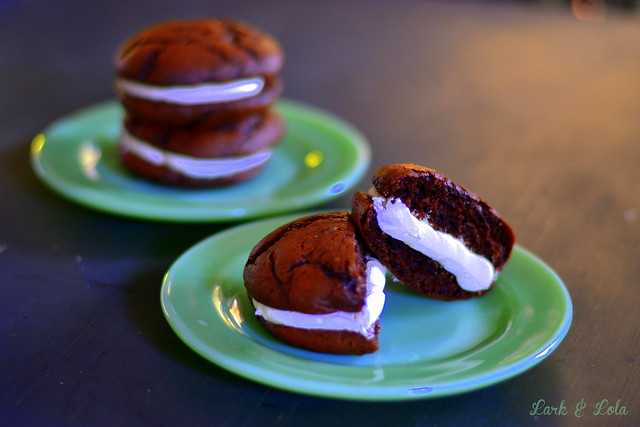
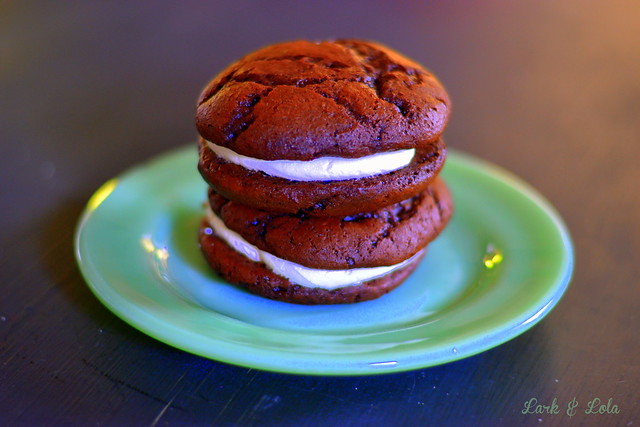
WHOOPIE PIES
Ingredients
1 box chocolate cake mix
1 (3 oz) box chocolate Jell-O pudding mix
Water, eggs, oil--whatever cake mix recipe calls for
Heat oven to 350° and line baking sheets with parchment paper. Prepare box mix cake batter as directed on box, EXCEPT using 3/4 cup water. Mix until well combined. Add pudding mix, mix well until well combined. Drop rounded spoonfuls onto parchment lined cookie sheet. Bake for 12-15 minutes or until center is firm. Cool, moving to cooling racks or sliding parchment onto cool surface after a couple minutes.
Filling Ingredients
1 cup butter or shortening
2 cups powdered sugar
2 cups marshmallow creme
2 tsp vanilla
Combine ingredients in mixing bowl using stand mixer. Beat until well mixed. Fill whoopie pies using small spatula OR fill pastry bag with filling and pipe onto cookie to create whoopie pie sandwich. Om nom nom nom... ( ^-^)_旦
Store by placing in an airtight container, separate whoopie pies using parchment or wax paper {these are moist and soft and can stick to each other} consume within 3 days, or wrap individually in plastic wrap--can also be placed in freezer this way and saved for later.
Enjoy!
Cheers,
Heather
If you like this recipe, check out my other recipe posts here!
Estate Sale Finds 9 Jul 2014 5:23 PM (10 years ago)
My husband has Saturdays off now, with his new job. While I miss having a week day to fool around, the plus side is that I can get to estate sales and auctions without disrupting his work schedule and bringing three kids by myself! Yay!
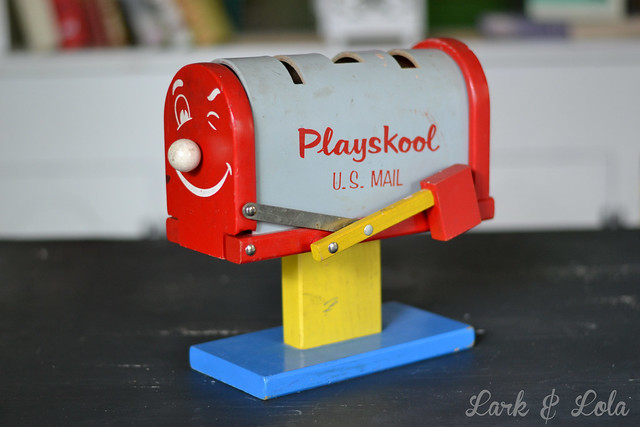
I saw this Playskool mailbox at an auction last month and I paid entirely too much for it. But I had to have it. It came with the original three "letters" which fit into their own holes on top of the mailbox. We have all three, but for this photo shoot, the red one was off being played with. I've really grown to love 1950s & 1960s toys.
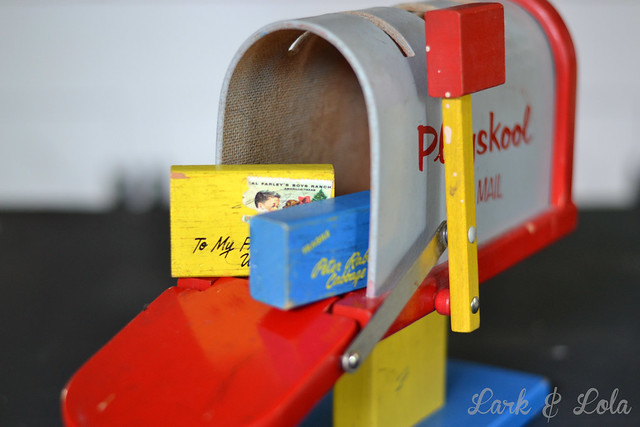
There is a third letter block, but the girls were playing with it and so it was missing for this photo shoot. But darn, if I don't love vintage toys. Instagram has definitely fine-tuned my taste in the vintage goods! Vintage toys are sort of "in".
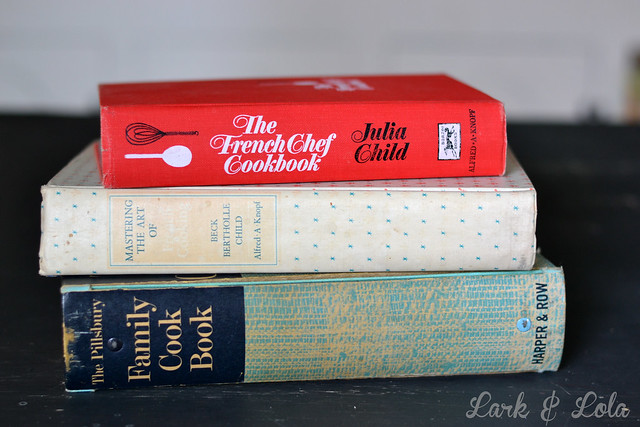
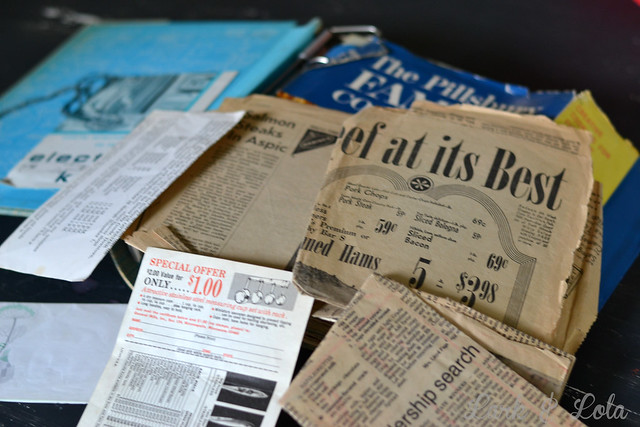
Vintage cookbooks. Love 'em. Especially when there are clippings and hand written recipes tucked inside. I've seen plenty of Betty Crockers and Better Homes and Gardens, but I had never seen a vintage Pillsbury cookbook until I spotted this one at an estate sale. I picked it up for $1.
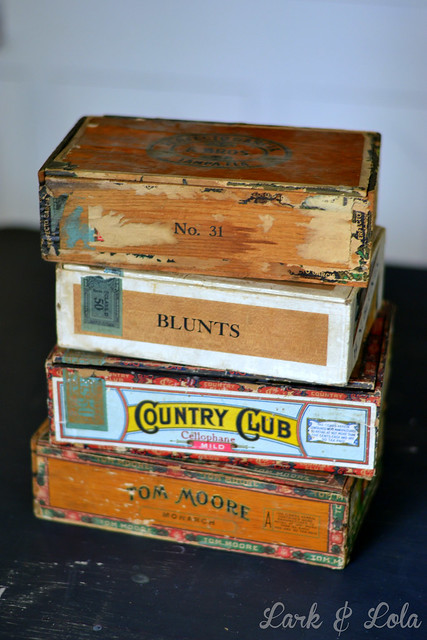
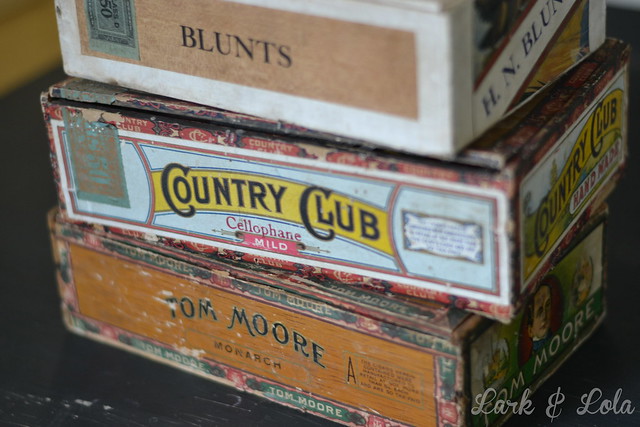
Also $1/each, these vintage cigar boxes. I'm saving them in my studio to hold and organize supplies.
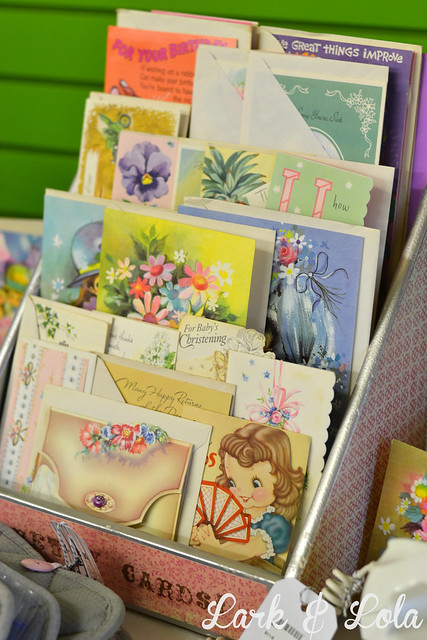
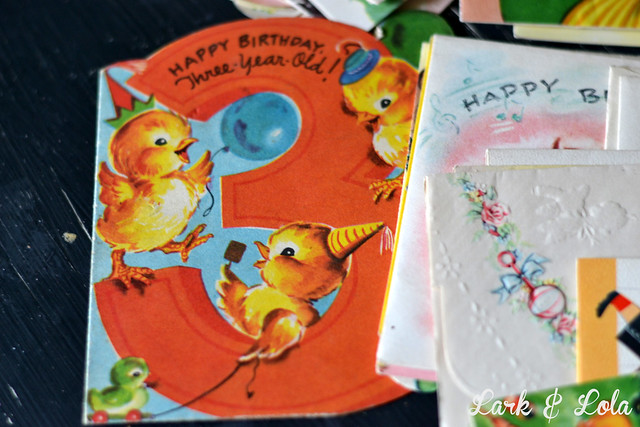
At the same estate sale, I found a bag full of hundreds of vintage cards. I'm a sucker for vintage cards! No way I was leaving without them.
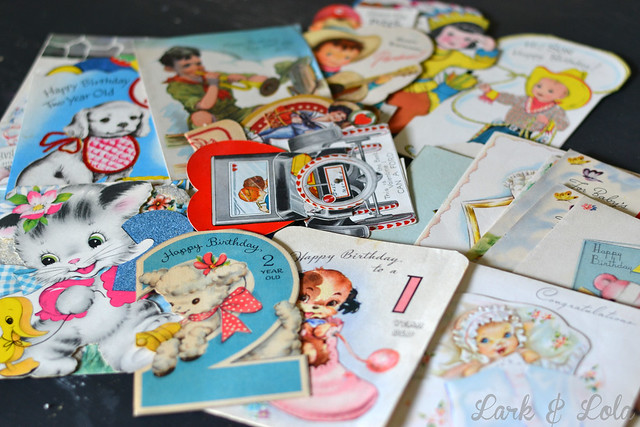
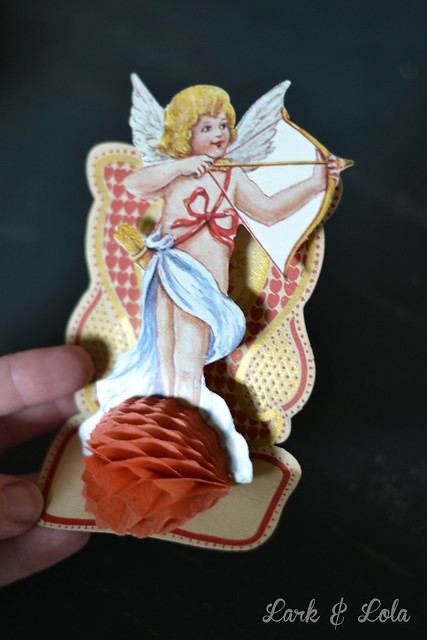
There was a handful of Valentines in there too, lucky me!
I resell these, I use them in crafts, I copy and edit them...vintage greeting cards have SO many fun uses for a crafter.
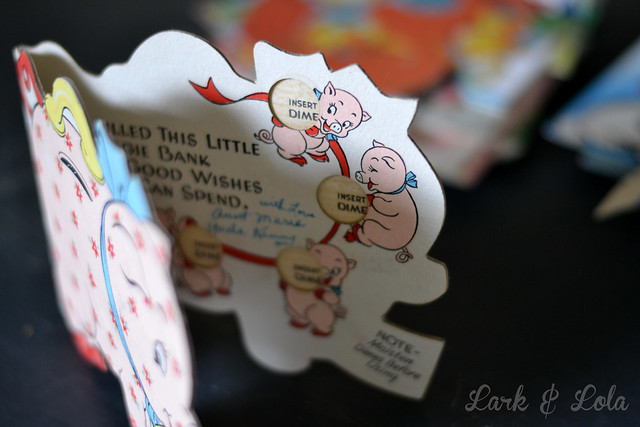
The bundled included an handful of really unique cards, such as this "piggy bank" card which stores a dollar's worth of dimes.
BABY cards, my weakness.
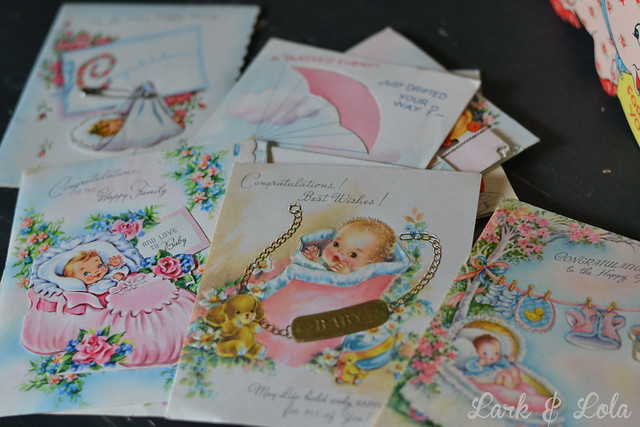
Every time I got to buy a greeting card, I cringe at spending $5 for a piece of cardstock with a corny poem I would have never written. Why can't they make cards like they used to??? Short, sweet, adorable.
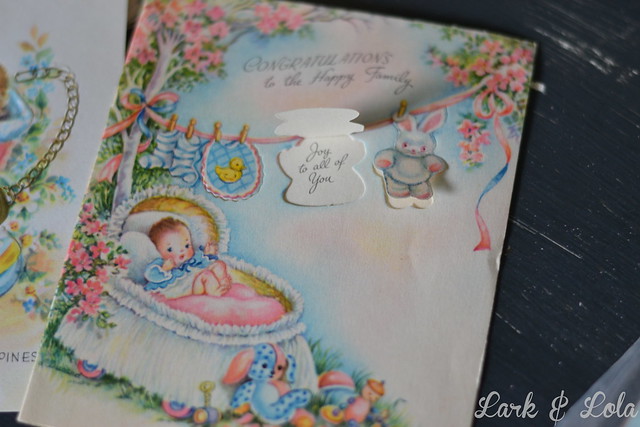
So, as you can see, finding a huge bag full of vintage greetings cars {some signed, some not} at an estate sale was an especially exciting find for me.
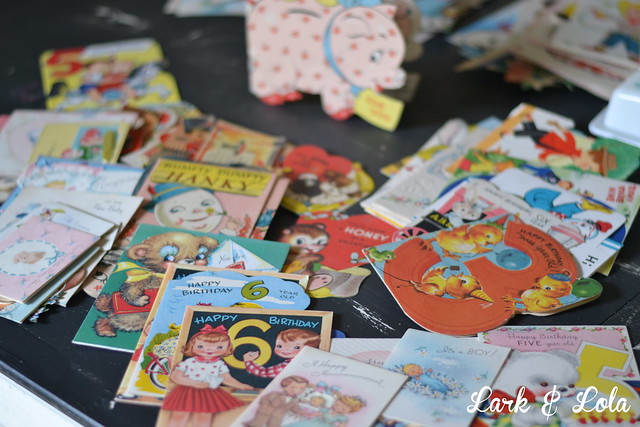
Then, I saw the pillows.
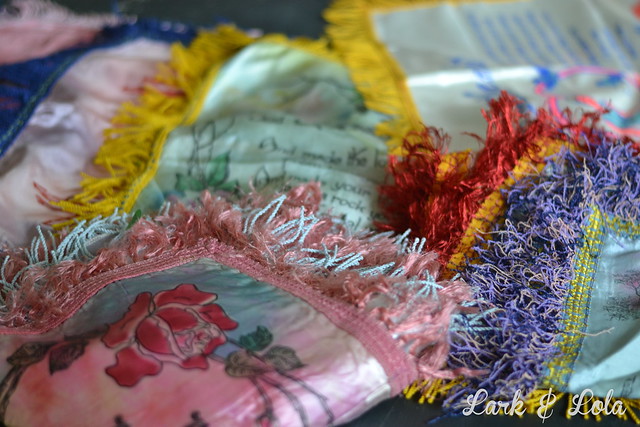
Souvenir pillow cases, that is. These fringed squares of state pride or family love used to be a staple in souvenir shops. They were easy to pack and take home, cheap, and pretty. Nowadays, these pillows can be collectibles.
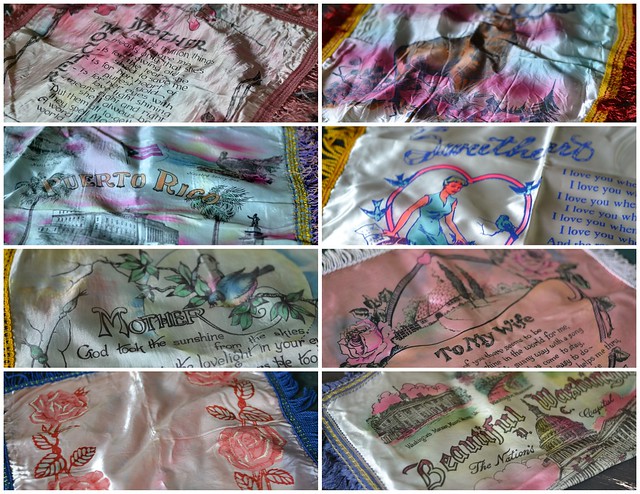
I happened upon eight of them at a yard sale recently. For 50¢ each, I couldn't say no. I plan to stuff and sew up every single one.

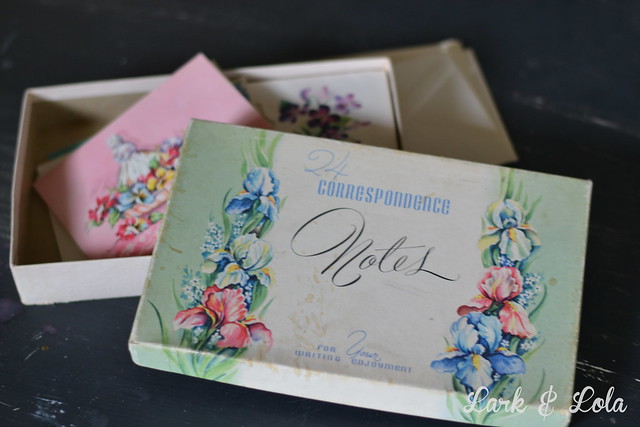
I'm apparently not done showing off my vintage stationery yet.
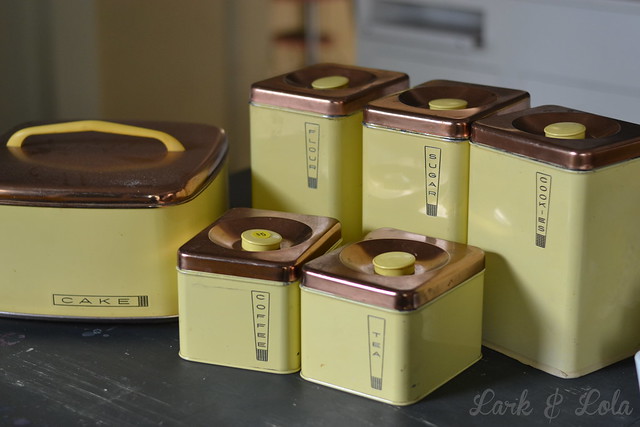
Then, at one estate sale I saw this canister set. Vintage, yellow, and adorable. And OH SO complete, what, with the cake saver and the cookie jar even. Folks, you rarely see this, feels like. "Five bucks," they quoted me. "For the whole set?" I asked. "Yep." Sold.
What are your favorite recent vintage finds? How have you been faring at estate sales this summer? I'd love to see your vintage goodies!
Cheers,
Heather
Russian Pork Chops & the Colorado Cache Cookbook 8 May 2014 9:19 AM (10 years ago)
Russian Pork Chops!
This is one of the few recipes I grew up eating regularly, and I still make it regularly for my family. It is an incredibly easy, delicious pork recipe that cooks up in a creamy, tangy sauce that is perfection when paired with pork. You probably have all the ingredients in stock right now, save for the pork itself perhaps. Pork chops were buy-one-get-one this week at my local grocery store, so I stocked up. I decided the first recipe I'd use would be my favorite pork recipe: that's Russian Pork Chops, via Colorado Cache Cookbook.I'll show you how easy the pork is in a minute, but first, allow me to share with you the most incredible, nondescript cookbook you'll ever know. Most of my Colorado friends know what a treasury this cookbook is, and so they already own a copy. I own my grandmother's copy. I love seeing her notes when I open it up to start cooking. It's from the 1970s and is still highly reviewed today by locals and food critics. I've never tried a recipe from this book that hasn't been 5-star. Oh, and their baking recipes are ALREADY HIGH-ALTITUDE ADJUSTED! Which is probably why the chocolate chip/raisin oatmeal cookies are the best stinkin' cookies I've ever had here in the Mile High City. It's a must have: The Junior League of Denver's Colorado Cache Cookbook.
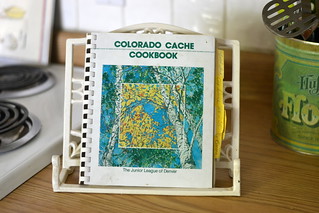
If you live in
Okay, now moving on...
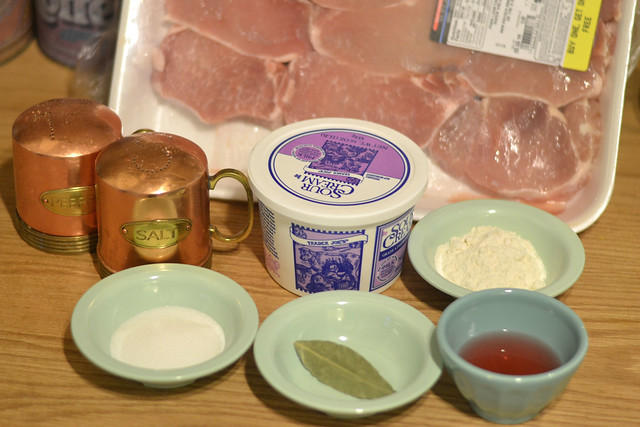
As I said earlier, these Russian Pork Chops are incredibly easy to make. I don't know what makes them "Russian". I just know that they are delicious. Sweet & savory.
Ingredients call for 1 to 1.5" pork chops {growing up, my parents often used bone-in chops, I usually use boneless}, sour cream, sugar, flour, red wine vinegar, one bay leaf, and salt & pepper to taste.
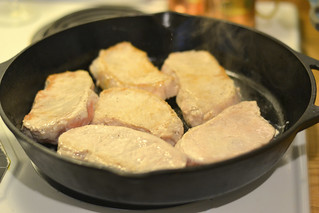
Oh, and a tablespoon or two of oil, which is how you start this recipe out, browning the chops in oil over med-high on both sides.

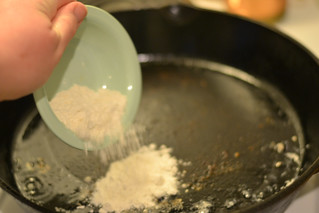
Then you add the flour to the pan, and create a fond for a pan sauce. Using a wooden spook to scrape up those flavorful brown bits left behind. {Christopher Kimball has taught me how important those bits are!}
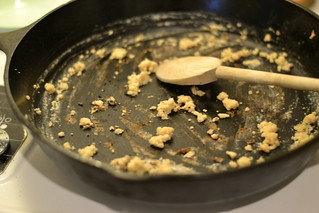
Add all the remaining ingredients. I usually double the sauce ingredients and up the pork chop count from 4 to 6 {my baby himself can eat two}. So, I add 1 cup sour cream, 4T red wine vinegar, 4t sugar, 1-2 bay leaves, and then just salt & pepper to taste. So easy. Many times I have made this recipe without even pulling out the cookbook, just adding those memorized ingredients to taste--it always turns out good.
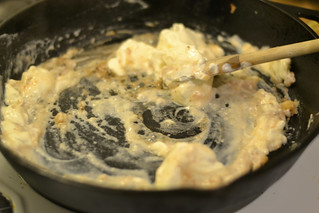
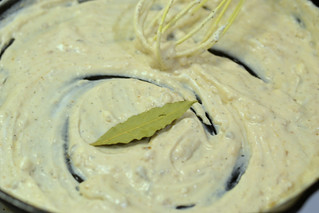
Mix it all up in your pan, nestle those pork chops back in, cover and cook on LOW heat for about 50 minutes.

Before serving, I usually taste the sauce and adjust it a tad. Not tangy enough? Add more wine vinegar. Not sweet enough? Add more sugar. Or sometimes it just needs a pinch of salt. Or, sometimes it's just perfect and ready to serve. Point is, this sauce is foolproof and forgiving.
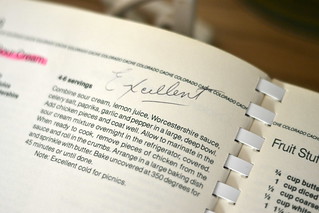
See how tattered and used my Colorado Cache Cookbook is? I believe Violet even added some of her own notes. You know it's a good cookbook when it's tattered and splattered with grease spots from decades of use.
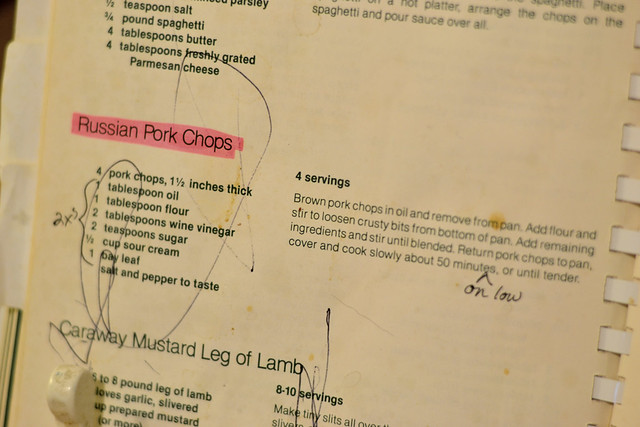
As I said, I like more sauce, so I usually always double all the ingredients except for the pork chops.
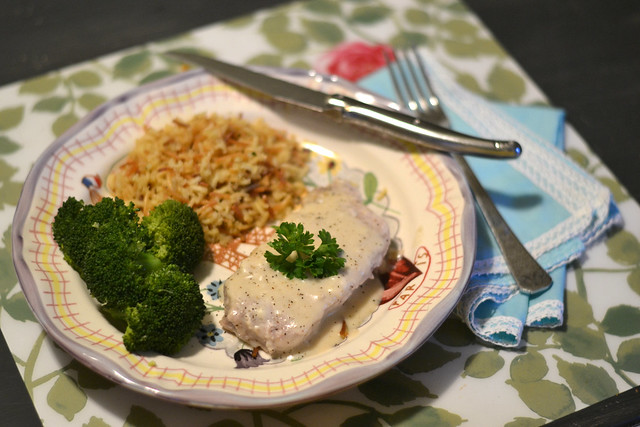
And that's IT, folks! Easy and so very simple. So very tasty. Just ask this guy:

If you already own the Colorado Cache, please tell me your favorite recipes! I'm still slowly making my way through as many as I can. I'm itching to get into the Mexican food section. This cookbook is huge.
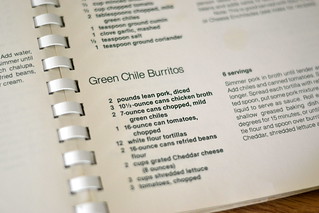
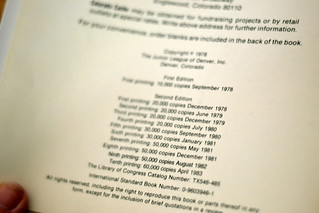
If you don't own it, think about changing that. My favorite recipes you should try first include: French steak, Chicken Boursin, "The Best" Oatmeal Cookies, and my mom has made the Mandarin Salad every Christmas since I can remember.
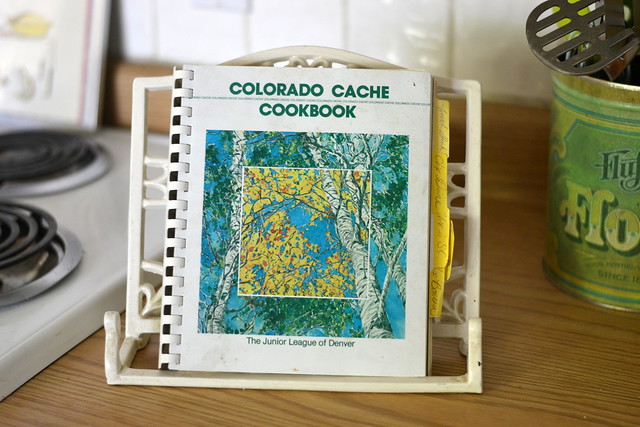
She's a keeper. Enjoy!
Cheers,
Heather
Loads of Commodes 7 Apr 2014 9:15 PM (11 years ago)
In our little rental house, we had a clawfoot tub that I spent half of my 2nd & 3rd pregnancies soaking in. I loved that tub. I had a hard time saying goodbye. Our new house has no such tub, so when a friend of mine from ReNew told me about Do-It-Ur-Self Plumbing here in Denver, I decided to check it out for myself.
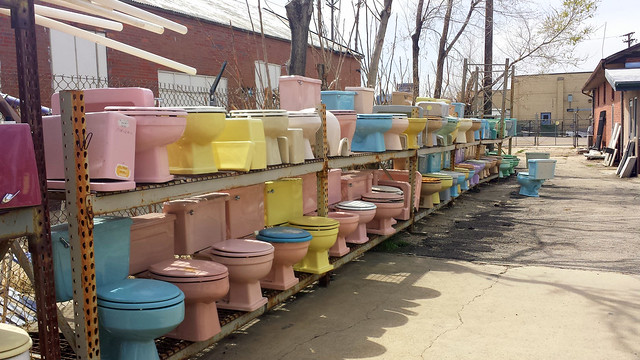
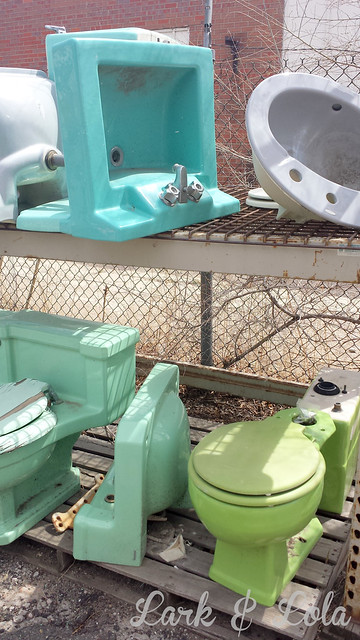
So file this under things I'd never thought I'd feature on a blog post! Colorful toilets. {We have a pink and a blue toilet in our new house, and this place had me re-thinking my hatred of them.}
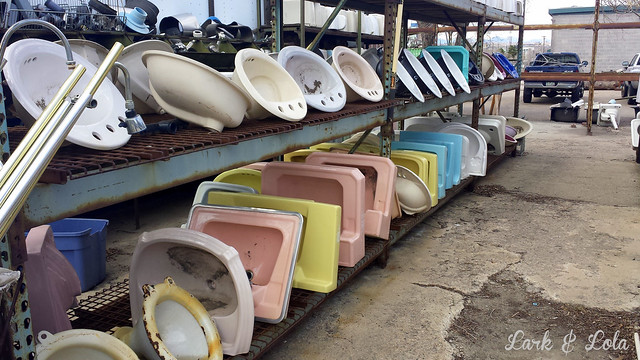
Colorful sinks!
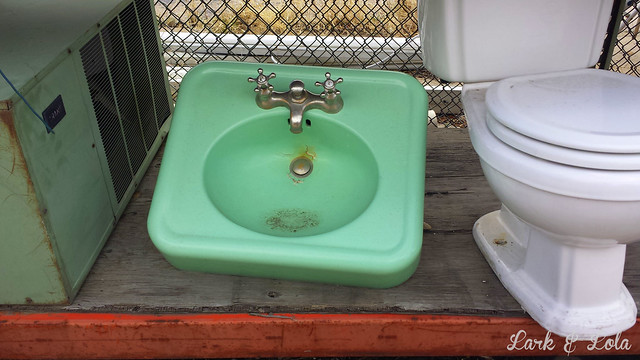
I wanted to take this green sink home with me soooo bad.
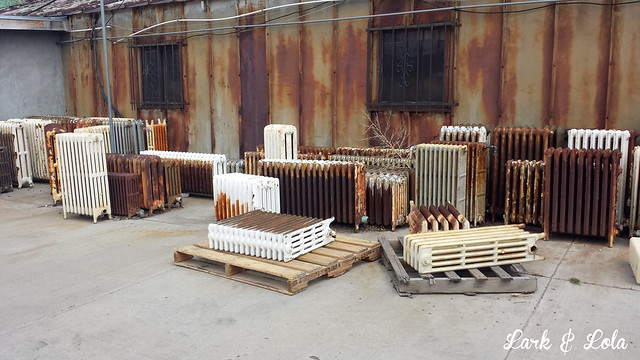
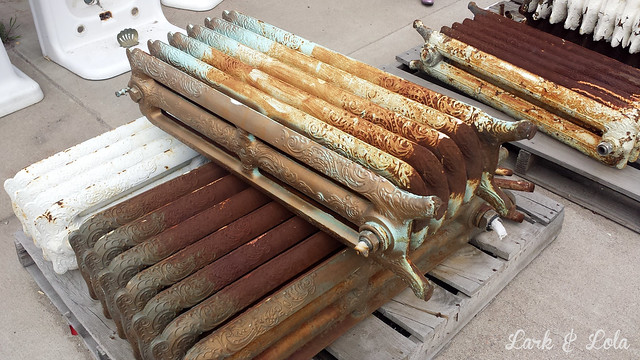
And then there were the radiators...
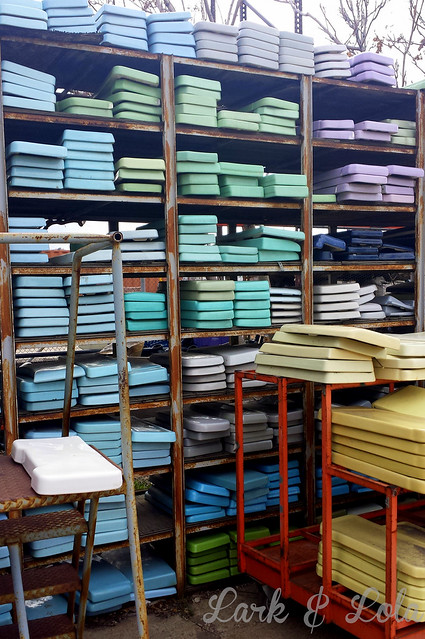
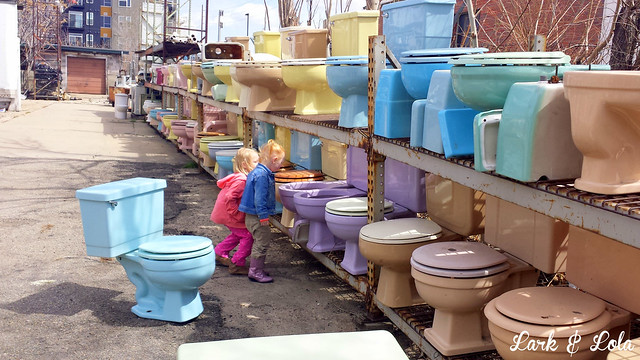
A stock pile of toilet tank lids in every shade you could imagine. Toilets made pretty all stacked in color grids. Well, I never...
My kids were equally awed. Purple toilets?!
They have antique clawfoot tubs for sale. This is what we came to see. I must have one in our new house, eventually...someday. You have not lived until you have soaked in a clawfoot tub.

Their tubs on the outside need work. But they are old and beautiful just the same.

I also never thought I'd marvel at radiators. But the patina on some of these ornate heating elements left me wishing for the good old days.
As well as the sink/cabinets from the 1940s and 1950s...I adore these sinks.
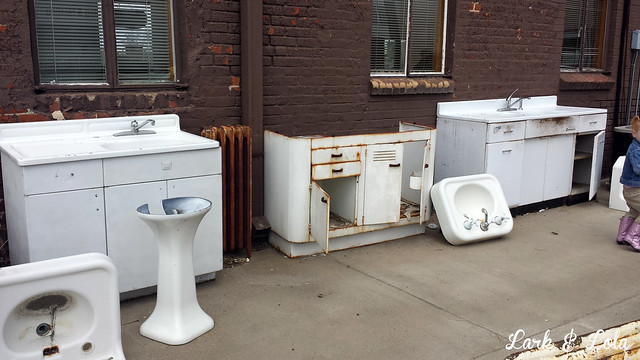
Do-It-Ur-Self Plumbing is not all about the vintage and patina, however. Inside their building, they have quite the showroom. Their nice, shiny tubs include antiques and reproductions--or so we were told--and you can shop the re-glazed or brand new tubs as well.
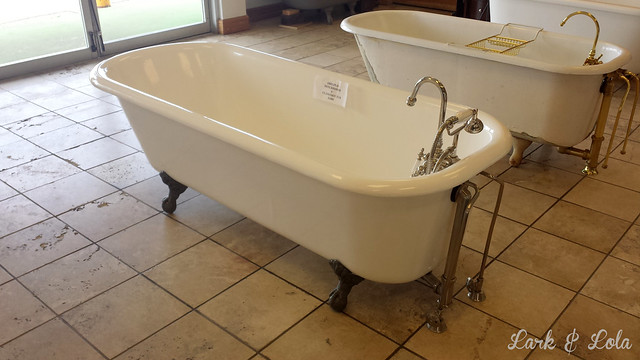
THIS tub spoke to me. It said, "Come on in, Heather!" So I did. At the urging of my husband and the saleslady who asked if I "was a soaker" {I totes* am!} and if I read in the bath {totes* do} and she told me to try this one out because some prefer their arms resting at different levels. Well, I got in it and...told my husband I'd be spending the rest of my life there so he should just go away with the kids and have a nice life.
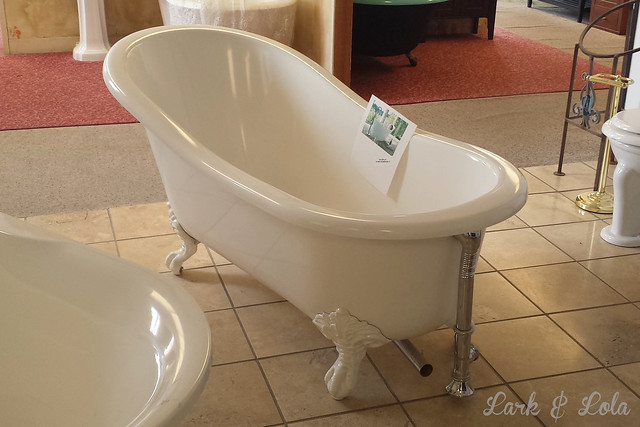
* Hate the word "totes".
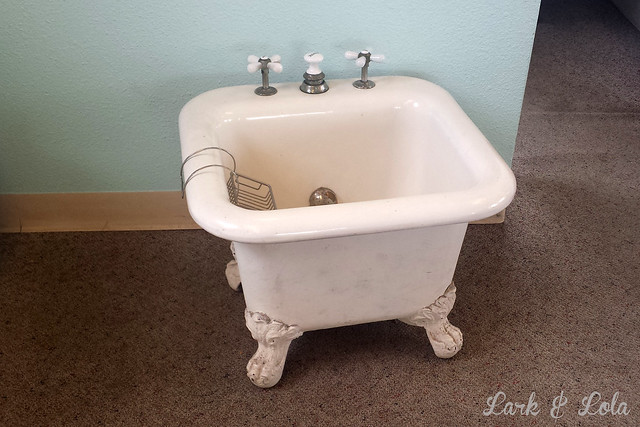
They have a few amazing "museum pieces" in their showroom. Behold, this MOP sink! A clawfoot MOP SINK! What?! Yes! I need one! I promise, honey, I'll mop all the time!!!
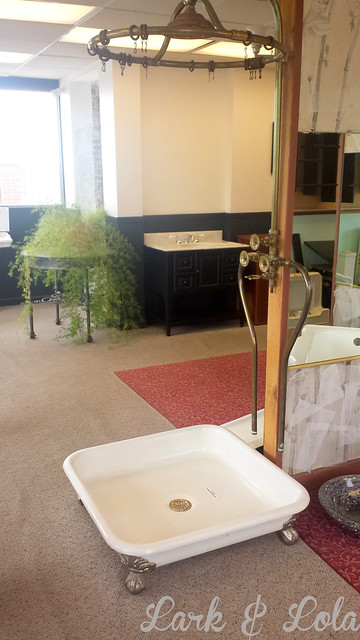
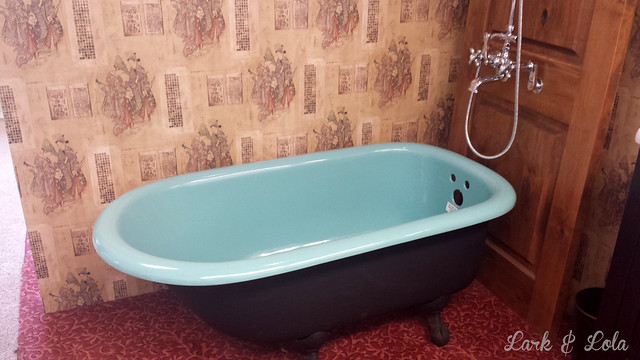
And I have never laid eyes on a clawfoot shower until today. That's just what this is. Amazing, isn't it? I never knew they had such a thing. This entire piece, along with the plumbing you see, is all antique and real.
Back "in the day" I would have soaked in a tub like this:
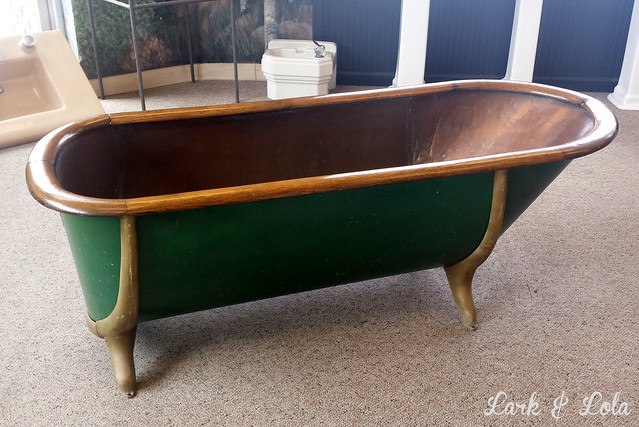
But the re-glazed beauties are lovely also.
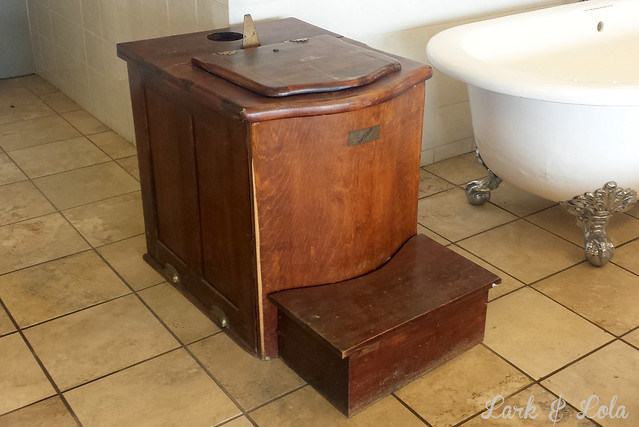
Speaking of commodes, here's the oldest one you'll ever lay eyes on. Yes, that's a toilet.
All this to say... I can't wait to remodel our bathroom.
Cheers,
Heather
Cucumber Toasties 29 Mar 2014 8:35 PM (11 years ago)
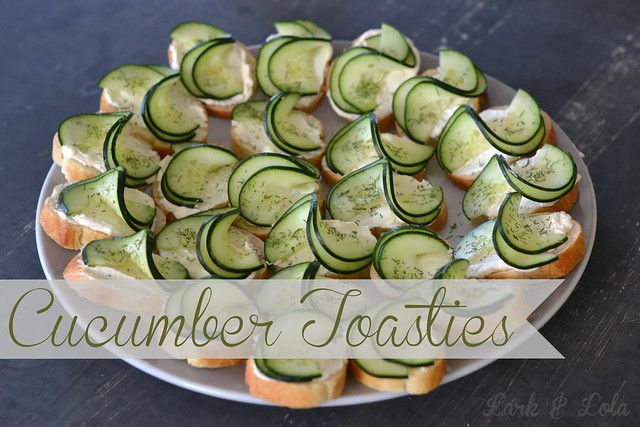
For several years now, Cucumber Toasties has been my go-to recipe for things like baby showers and church luncheons where I am expected to bring a dish for a light lunch. I love this recipe because cucumber and dill are so fresh and yummy, but this recipe is also SUPER easy to make and yet it looks like fancy finger food. Perfect for high tea or a ladies social.
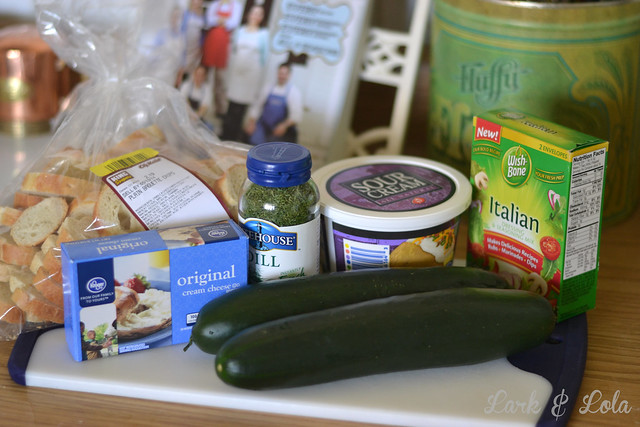
The ingredients are simple. To make cucumber toasties, you need:
- 1 or 2 cucumbers {depends on your slice size}
- 1 8oz package of cream cheese, softened
- 1/2 cup sour cream
- 1 packet of Italian dressing mix
- dill, fresh or freeze fried, though I prefer freeze dried as I've sometimes gotten fresh "dull dill" that doesn't taste like anything
- 1 baguette, sliced into 1/2" slices {save yourself the trouble and ask the bakery at the grocery store to slice it for you, they have super fast machines that can do it in a flash}
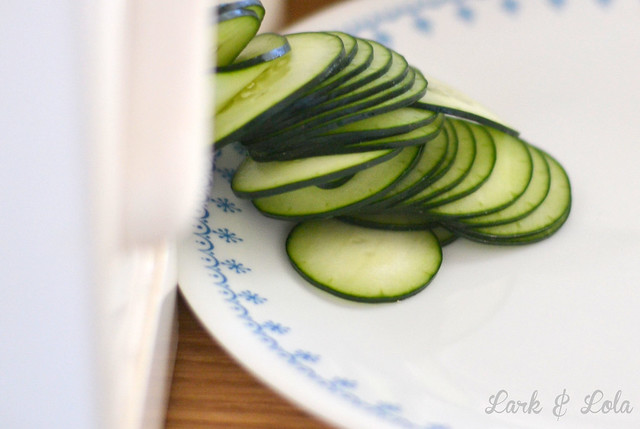
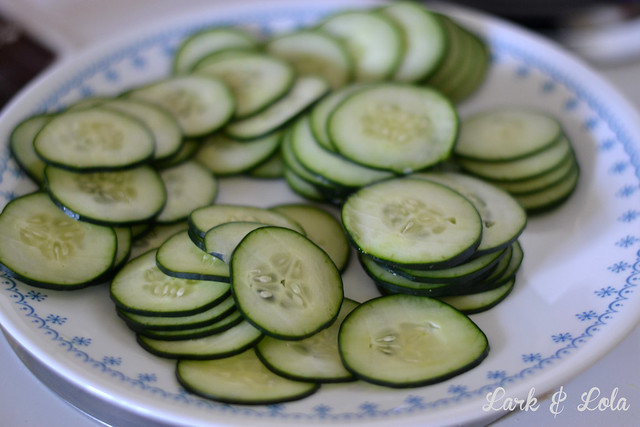
If you have an electric slicer, awesome! That will make slicing your cucumbers very easy. If not, no problem, I've done it both ways just fine. Grab a knife and slice up your cucumbers as thin as you can manage. They don't have to be perfectly sliced. No one will notice.
To make the spread, mix the cream cheese, sour cream, and the Italian seasoning packet together in a bowl. I usually add half the Italian dressing seasoning, then mix to taste. You can add as much or as little as you like.
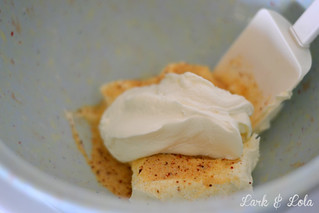
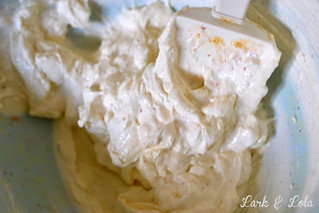
Of course, some just top their toastie with a slice of cucumber, but why not fancy it up a bit, eh?
Blimey! There is nothin' be'er van a fancied up cucumber toastie fer a party, am I right? Of caaahrse I am. Nuff said, yeah?
{That's my Cockney accent, right there. You're welcome. I learned Cockney when I played Dotty in Noises Off in high school. Funniest play ever. You should check out the movie with Michael Caine, Christopher Reeve, Carol Burnett--love her--and John Ritter. It's hysterical. Anyway, this cucumber toastie reminds me of England and tea sandwiches so it reminds me of being Dotty...and having to say "SARDINES" a million times during that show with a Cockney accent. SAAAHR-dines}.
Back to the toasties...
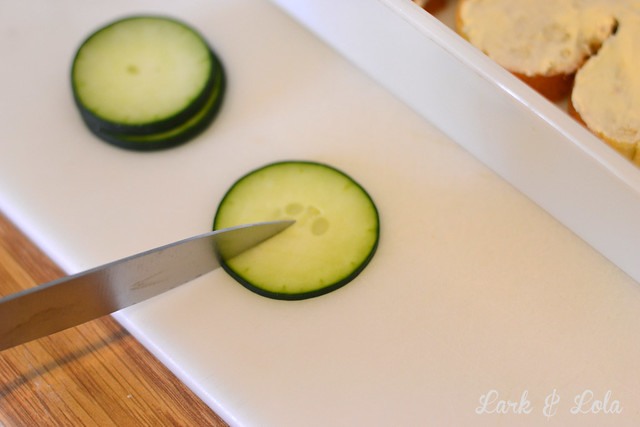
The fancy twist is easy: cut half the cucumber slice in half. Wait, does that even make sense? HALF IN HALF? Cut a slice through half the half. Not all the way. Just half. I'm confused.
Then twist it, one side to the right, one side to the left, and you get a twist "S" shape. Press it down onto the spread, it sticks nicely.
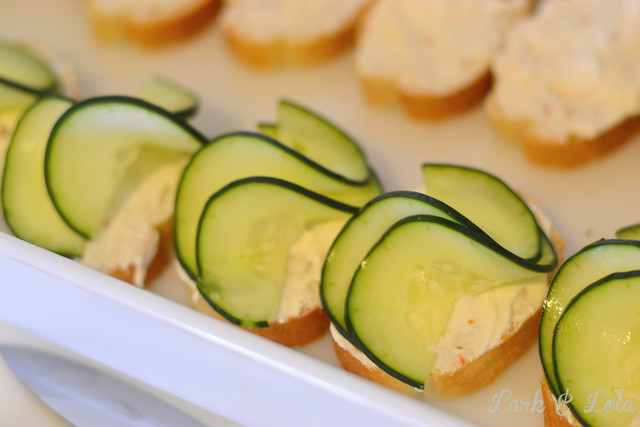
You can do one slice or two. I like two slices for each toastie. Because cucumber and fancy.

Last step, my favorite. Take your dill...
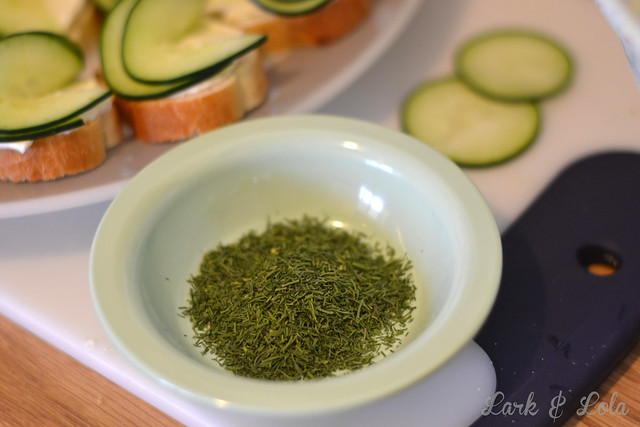
And sprinkle it just like you were a fairy sprinkling your fairy dust. Get it all over those toasties. Dill is important, people.
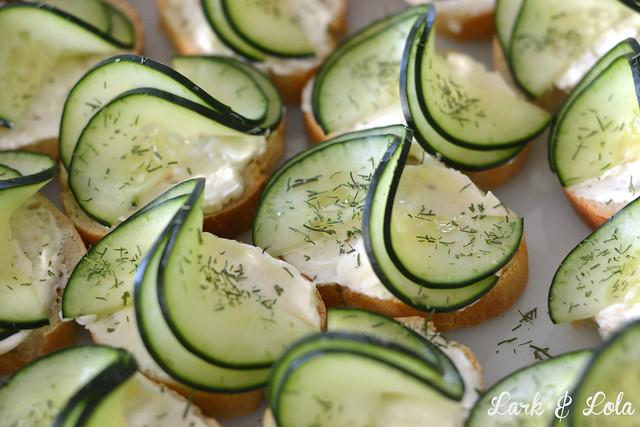
Cover in plastic wrap and refrigerate until it's time to serve your fancy Cucumber Toasties! Just like they have in their secret fancy tea parties in England with the queen, what, with their lady fingers and cream...think they're better than us, do they? {Along with their SAAAHR-dines.}
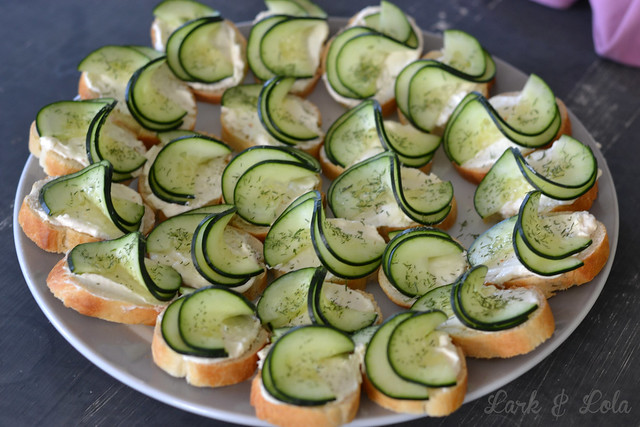
It never fails me, this recipe. Every time I make it I get people hounding me for the recipe. I refuse to give it to them. It's a secret family recipe. I'll never share it.
Cheers,
Heather
Pops of Color at Lark & Lola House 27 Mar 2014 12:27 PM (11 years ago)
It's no secret to anyone who knows me that I love color. There was a time when I tried to jump on that shabby chic, white-washed bandwagon...but as much as I love the Swedish white look, I just can't. I don't have it in me to ban color from my life.When I picked our master bedroom paint color, the Lola inside me was screaming, "Nooooo! Don't do it!!!" While the Lark side of me was grinning mischievously and egging me on, "Do it. Do it! You know you want to." Sometimes I'm glad I listen to Lola, but this time I was glad I listened to Lark. Check it out. TEAL.
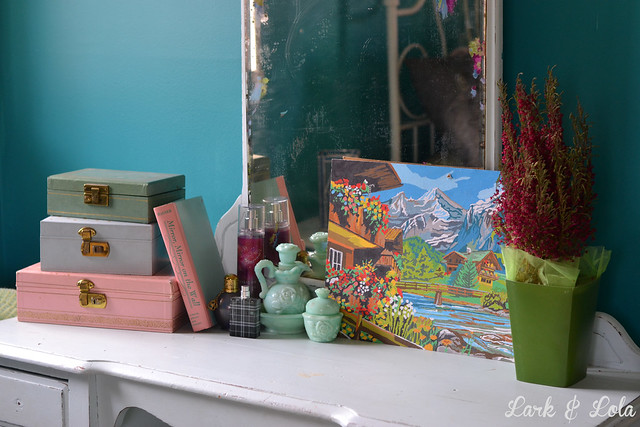
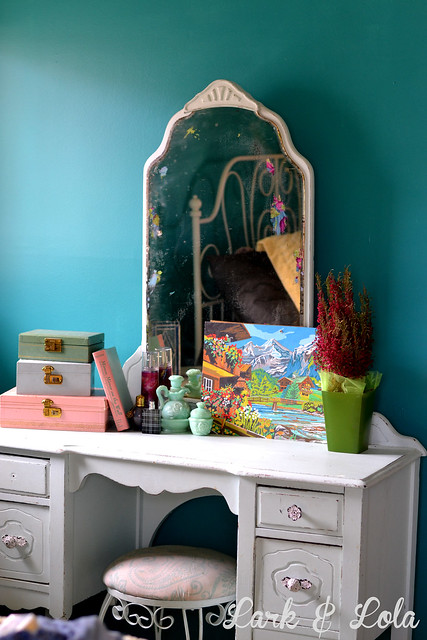
One thing I learned last year while reading decorating blogs: paint color should almost always be your last choice when decorating. While I knew I wanted Seal Gray for our living and dining area, partly because I already knew of my colorful decor that would be furnishing those rooms, the master bedroom was troublesome to me. I have that light blue antique vanity. Then there is the yellow chenille bedspread. Our green and blue area rug, dark floors...what would be the best paint color for all this?
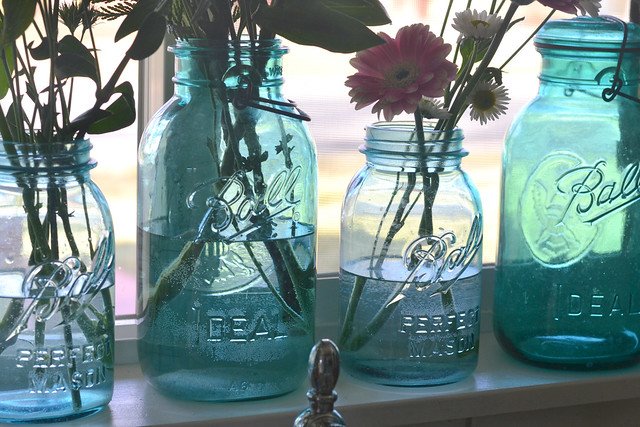
Finally, I remembered how lovely yellow and teal look together. In fact, I've long had an entire Pinterest board dedicated to "Teal & Yellow". I knew that teal would look awesome against the light blue vanity. I imagined the color: like the darkest shade in the shadows of those antique blue Mason jars. Yes!
I haven't finished the trim or put up wall decor yet, so I'll get full-room shots for you soon. But for now, here's the color reveal, now you know: I went with teal. It's darker in person than in these photos too. I've read that 2014/2015 style trends are leaning away from all these pastel blues and greens, and heading more toward jewel tones. So, perfect.
Also, I love navy paint, and that's the hottest new color to paint, it seems. I almost chose navy for this room. But I knew teal would look better.
I've also recently learned, much to my surprise, that brass is making a big come back. Not like the shiny gold/yellow brass that was in for a while in the 1990s, this time we're seeing antique, brushed brass. The more patina, the better. Old brass. Our master bedroom was the one room in our new home that was fitted with brushed brass outlet and light switch plates. I cringed when I first saw them and ever since...until I saw how they shine against my new teal paint. Now? I love them. Me? love something brass? Well, shoot.
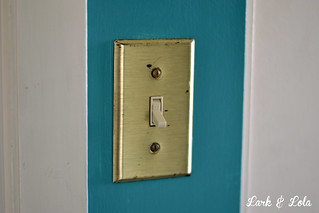
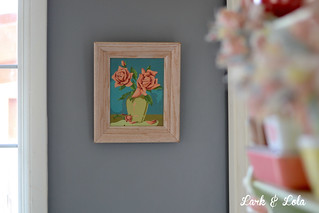
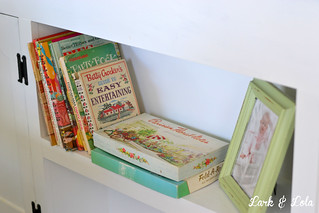
 Between the gray walls, the white trim, and all this new-found LIGHT we're enjoying in the new home, my love for color is more obvious than ever.
Maybe this part part of why I love the vintage block color look of paint-by-numbers? They pop too.
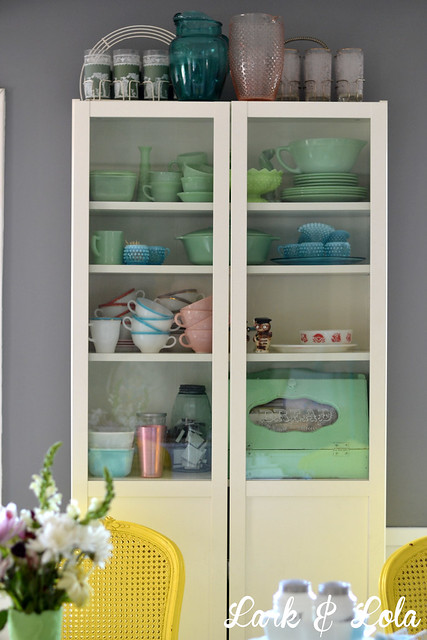
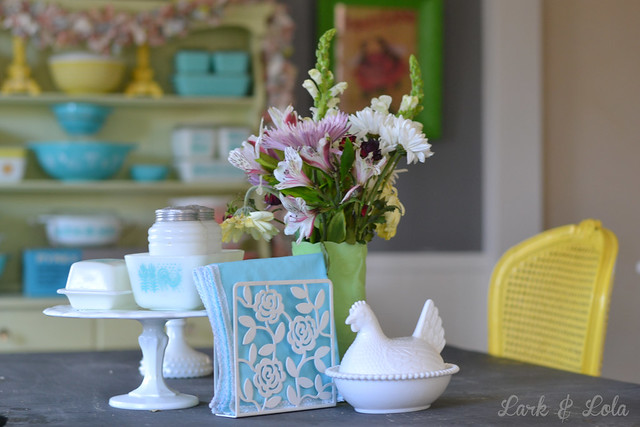
Vintage glassware, jadite, milk glass, and Pyrex looks fantastic against the gray contrast. It's all about contrast, if you ask me.
Sometimes even I am taken back when I see photos of all the different colors. No matchy-matchy here. I believe my dad once said my decorating looks like "a sugar-coated candy land". Haha! It's true...
I recently joined the Houzz community--great fun over there, by the way--and posted our pre-move renovations over there. We got a lot of kind comments, just a couple "you ruined its" and "that furniture is hideous" posts. Mostly kind things, but it's fine, I can take the criticism too. I'm a big believer in showing yourself in your decorating, and in that way it shouldn't appeal to everybody. My sister and I recently had a discussion on how Pottery Barn-style catalog-imitating decorating can sometimes look so "soulless". Put your soul into your home! Just be okay with the fact that not everyone is going to like it as you do.
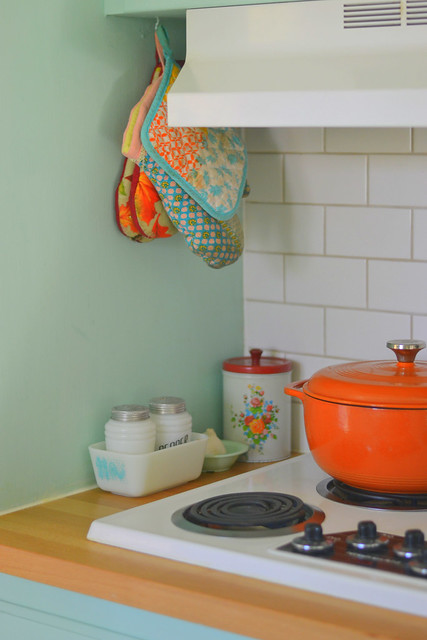
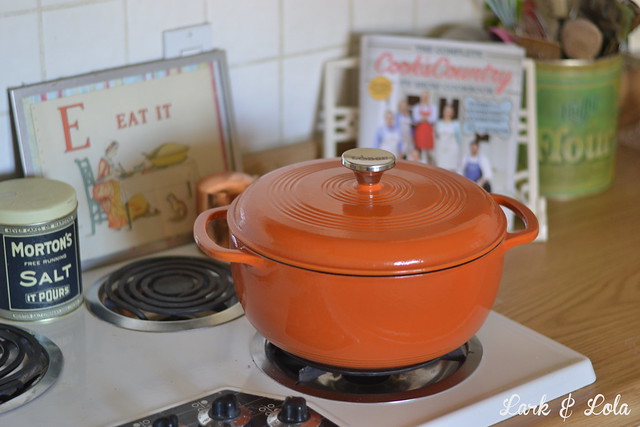
Speaking of fresh color, my mom got us a Lodge enamel stock pot as a housewarming gift! I couldn't decide which color, so I told her to surprise me. She picked Pumpkin. I love it. We've always wanted a Le Creuset--and have lusted after them many a time while watching Cook's Country--but then after reading this post I learned: the only difference between a Lodge and a Le Creuset is $230. Anyway, love the color of the Lodge and the flashy updated metal knob.
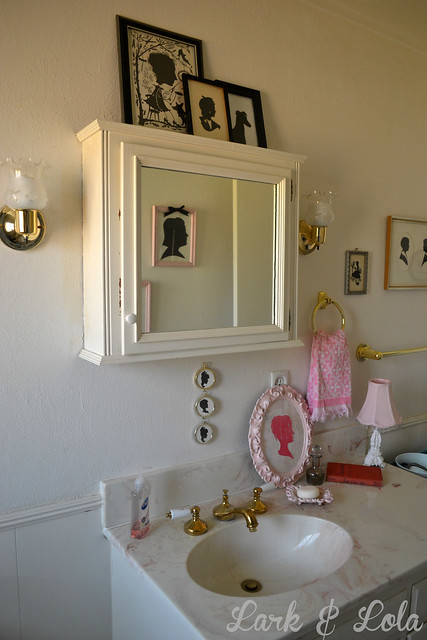
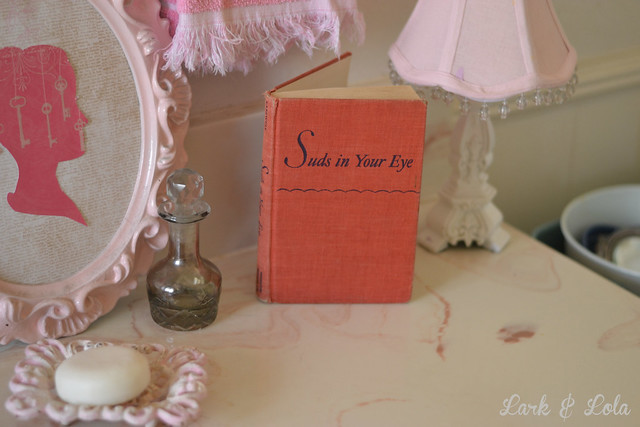
Here's one room, again with that bathroom, where I just can't manage the color. I mean, how do you deal with yellowed window inserts, a pink toilet, and pink and white swirled sink? It's not me. I threw my silhouette collection in there for now {though truth be told, I'm growing tired of silhouettes}. I'm just going to sit on my pink toilet until the time for some real $change$ comes.
{Suds in Your Eye pops in there, at least.}
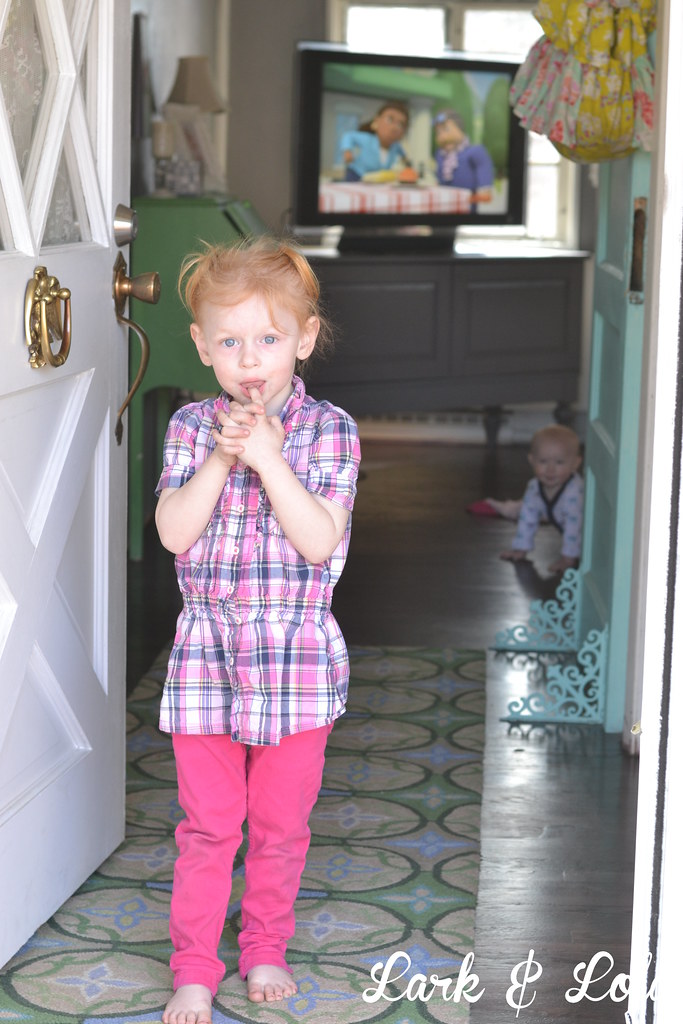
Most important of all, the people who live here look good to me too. Like my Violet, with her red hair and blue eyes. She pops.
Your style reflects you, what color schemes do you have going in your house? There is no wrong answer, so tell me! Or better yet, show me. Do a color post.
Cheers,
Heather
The NEW Lark & Lola House First Makeover: New floors, painted beams, & MORE paint 14 Mar 2014 4:04 PM (11 years ago)
So you've seen my home tour, which took place in my rental house. For four years I decorated that little white house with the picket fence and the awful, damaged 1940s original hardwood floors. We have now moved on...
Today, I'm introducing you to the NEW Lark & Lola house. We just bought our first home, a yellow 1950s ranch with a finished basement, a Dutch door, and a really stinky old garbage disposal that needs replacing. We love it!
So you tell me, Lark & Lola readers, do you wish to continue seeing home improvement updates? We have a lot planned for this place!
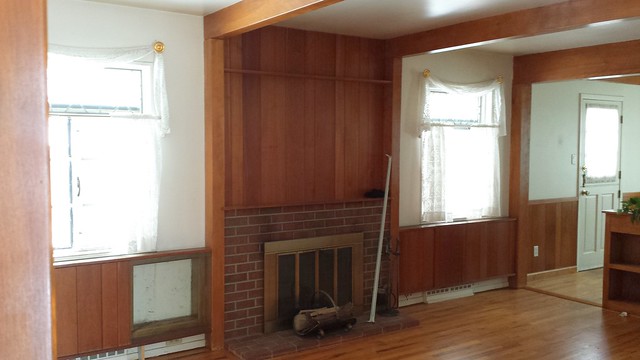
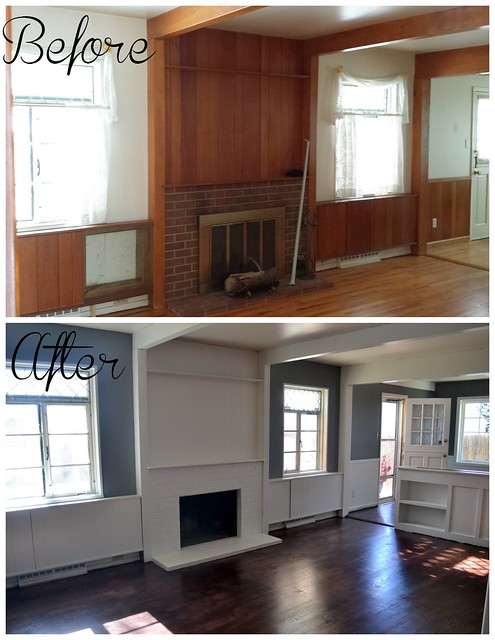
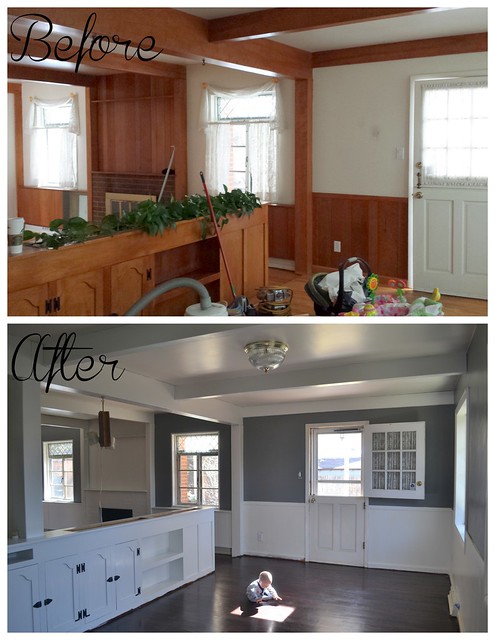
Here's the before and after of what we got done the week before moving in. We had a LONG to do list! It very nearly killed us.
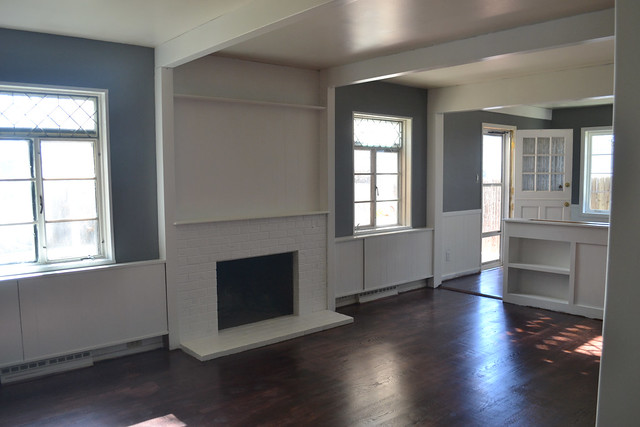
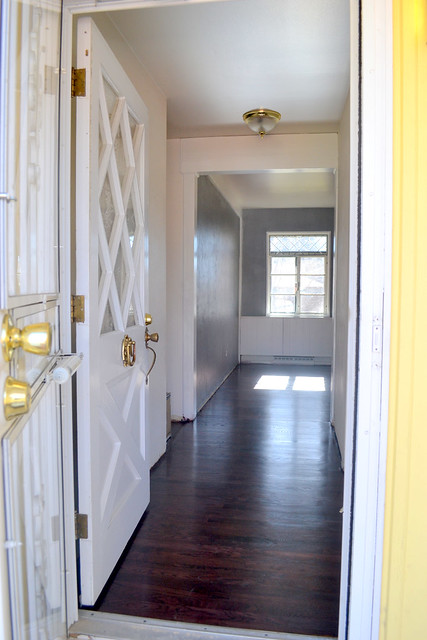
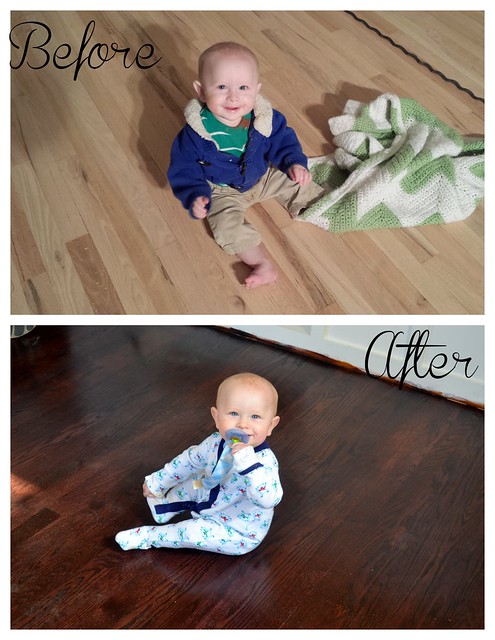
We refinished the hardwood floors, on the entire main level {apart from the icky, possibly-asbestos-containing linoleum floors in the kitchen and baths}, because not only did we want to change the stain shade, the floors desperately needed refinishing.
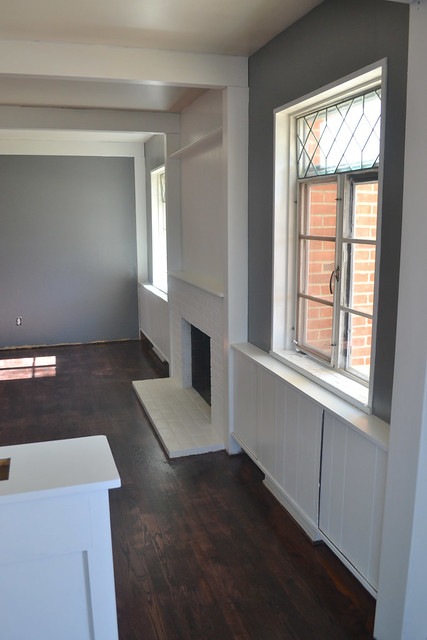 |
| {There is an air conditioner unit hidden behind those sliding panels, hence the crack. We love funky old homes!} |
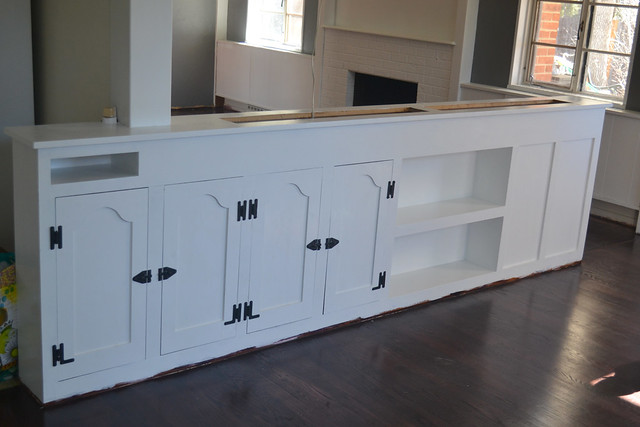 |
| {Yes, the bottom us still unfinished, we need to attach a quarter round down there.} |
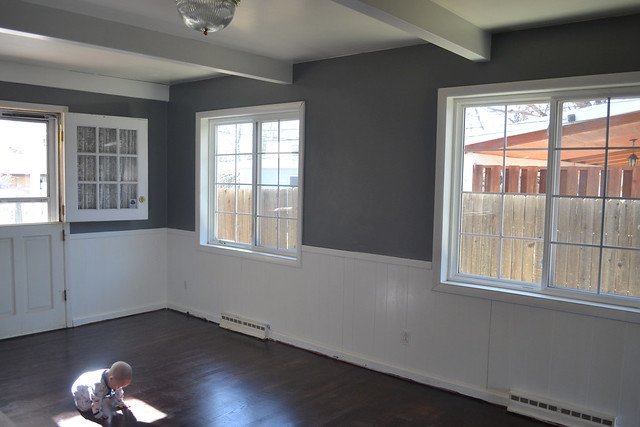
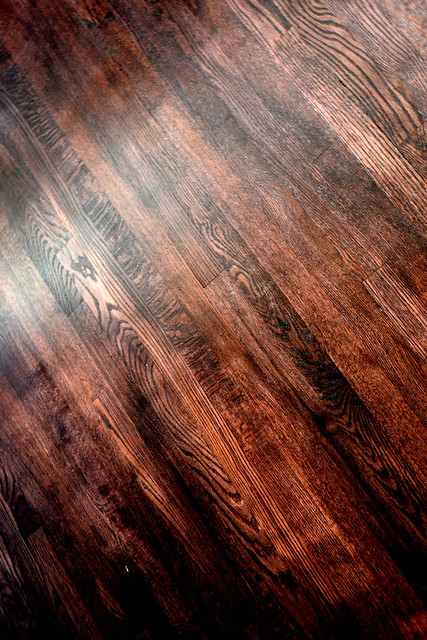
The floors are Royal Mahogany by Dura Seal, and we chose a water-based varnish by Bona in semi-gloss.
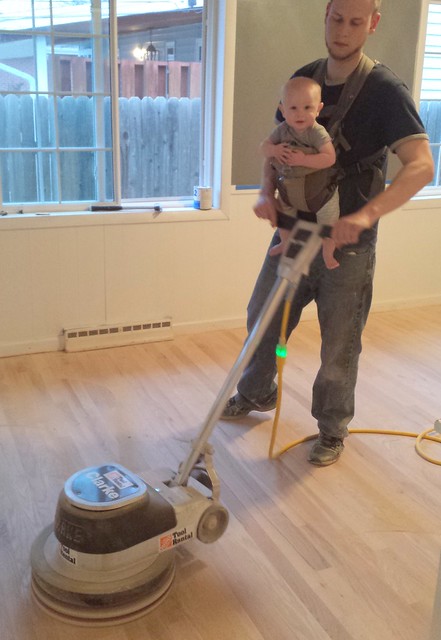
The entire sanding process, and all the headaches involved, is well documented on my family blog. If you want to see more of what that process looked like, see here.
For my Lark & Lola fans, I mainly wanted to share my before & afters of the first redecorating project in the new Lark & Lola house. {Yes, I've named my house.}
What do you think? It's EXACTLY what I had in mind. Here was a photo that was inspiration for me, when I went Googling for "dark floors gray walls white beams".
Cheers,
Homeowner Heather
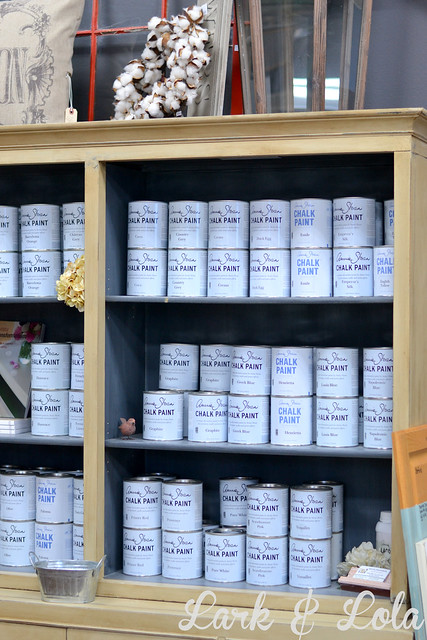
I ♥ Chalk Paint! 25 Feb 2014 10:29 AM (11 years ago)
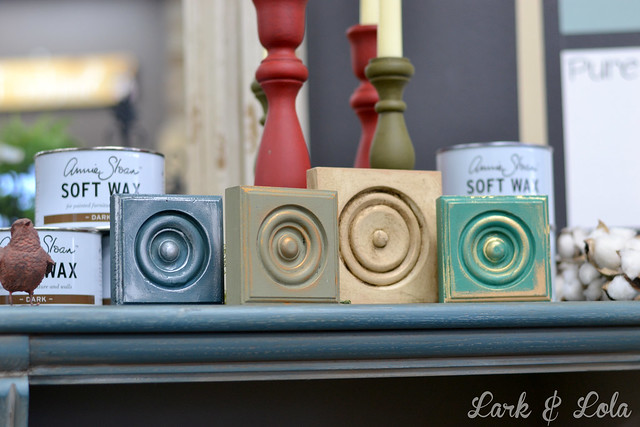
2. The smell! ...as in, there is no smell. I feel completely comfortable using this paint a couple of feet from my little baby. There is no toxic smell to this paint! Oh, and it's safe to use on cribs and such, according to Annie Sloan herself.
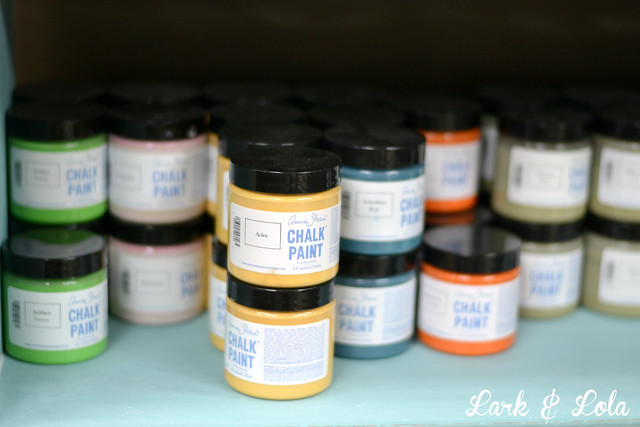
3. The versatility combined with simplicity. I love that there are not a million paint chips to pick colors from, and that makes picking a color a lot more simple. The palette with Chalk Paint is simple and no-fuss. At the same time, you can get hundreds--maybe thousands?--of different looks by using different waxes and combining colors. Creating texture with paint has also never been easier, Chalk Paint builds up fantastically.
4. It goes far. The Chalk Paint cans are small, and they run about $40 around here. That seems like a lot, yes, at first. But I've been shocked at how far each can has gone! My first can is still half-full and I've painted several pieces of small furniture and also many small items such as frames. Plus, no sanding and no priming cuts down on other costs. I actually figure that I spend no more on Chalk Paint than I would another paint choice, such as latex, after all the supplies needed.
5. It distresses so well. I've always used latex paint in the past but I've hated how latex distresses so poorly, it stretches and pulls and rubs off too easily. Chalk Paint is matte {before waxing} and distresses, well, beautifully.
Have I sold you yet?
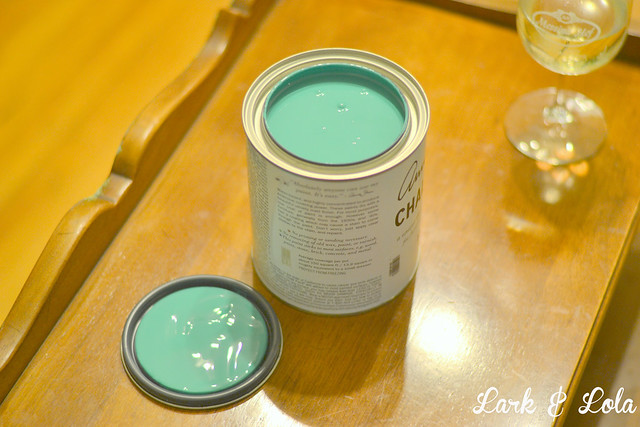
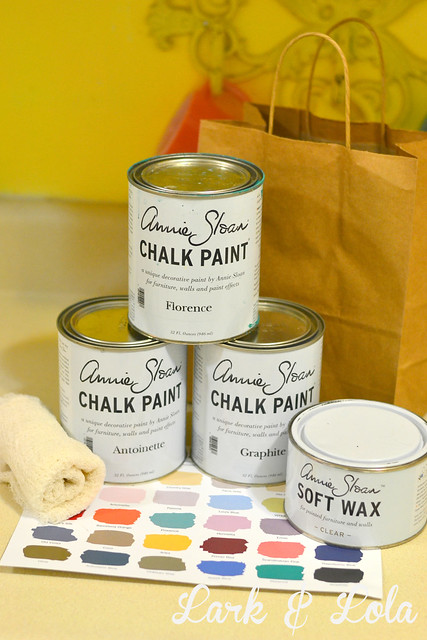
I first heard of Chalk Paint {not to be confused with chalkboard paint, this stuff is in a class of its own} when I moved into ReNew a few months ago. ReNew sells a lot of furniture, and much of it is refinished or painted before being sold. My friends at ReNew talked this paint up so much that I finally had to try it for myself.
Annie Sloan's Chalk Paint is nothing new, this stuff has been around for 20 some years. For some reason it's really caught on lately, and I'm probably the most recent enthusiast.
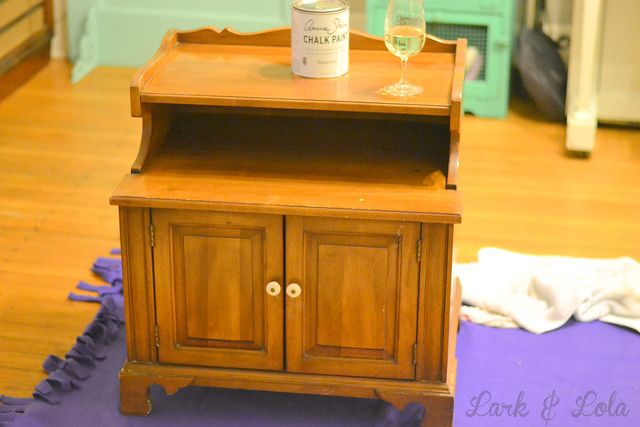
I tried out Florence as my first color. What do you think?
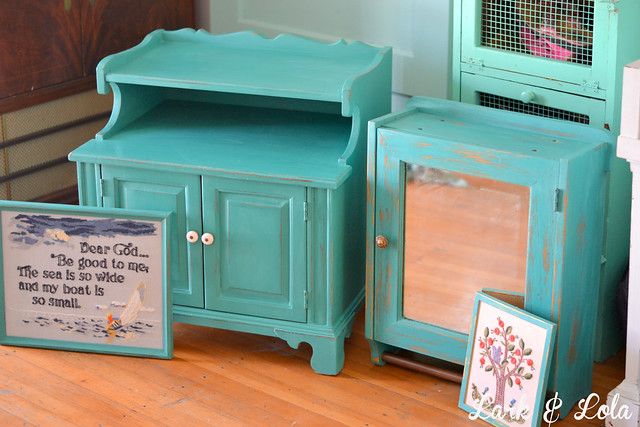
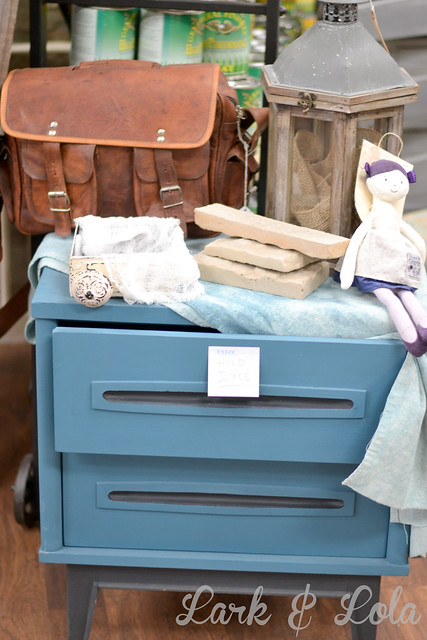
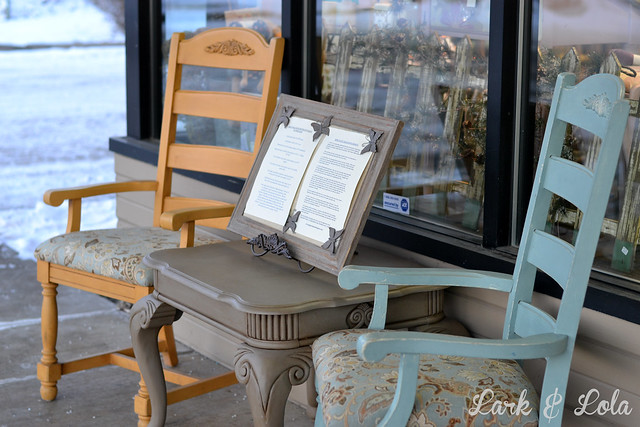
All these items went into my booth at ReNew. All of these sold very quickly!
Cheers,
Heather
***
Home Tour 2013: The Rental 20 Feb 2014 6:19 PM (11 years ago)

My husband and I are under contract on a home right now--we hope to close in twenty days! The process has been draining, but you can read about all that on our family blog. This post is about our rental house, which we've lived in for four years now. In fact, last spring I was so flattered to be asked to participate in Heather's lovely blog series over at Home Made Lovely. {Go check out her blog if you're like me, and love seeing into other people's homes.} She asked for a home tour and so I took these photos and put together a post to show my home and decorating style. I get my kicks peeking into other people's homes. Today you get to peek into mine!
{Note: Heather posted my home tour and it got tons of really lovely responses! Her readers are lovely. Then she switched her blog to another server and suddenly all those comments were gone. This combined with the fact that we're close to saying goodbye to this rental, I decided to post the home tour on my own blog! Enjoy the peek.}
{Also, you should know, my home is never this clean. In fact, the day I took these photos, I moved messes from room to room just to avoid them. Now that we've started packing up, it's even more chaotic around here. These photos just show everything at its best. But in reality, we live here. It's messy.}
My little family of five lives in urban Denver, in a little ranch house with a white picket fence. We've learned to make small spaces work because we love the city. It's also great being fewer than ten minutes from my husband's work. We've lived in this little white house for about four years now, but it might surprise you to know that we rent! It's a challenge when renting, to make a home feel like it's your home. We can't change the flooring or architecture, but when we moved in our wonderful landlords said, "Paint away!" and so we've made ourselves quite at home, as you'll see...
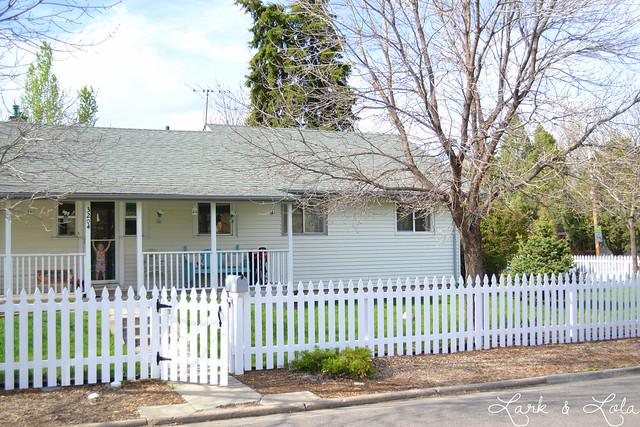 |
| Our rental in Spring |
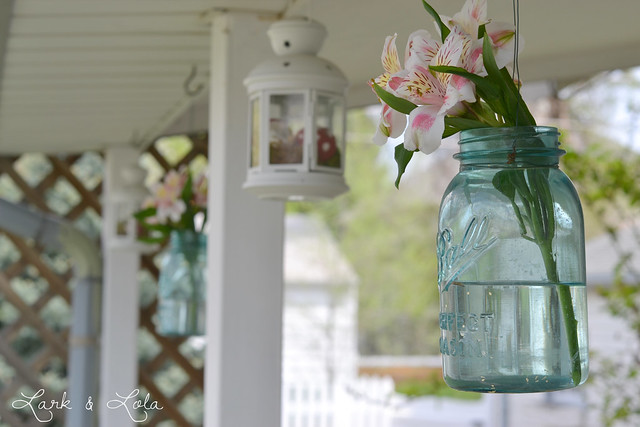
When we first moved into this home, with its large porch, I was frustrated that I couldn't afford tons of big flowering hanging planters. So I made do with what I had at the time, and it turns out it's been my favorite way of decorating our porch for years now: simple vintage blue Ball jars, hung and filled with flowers.
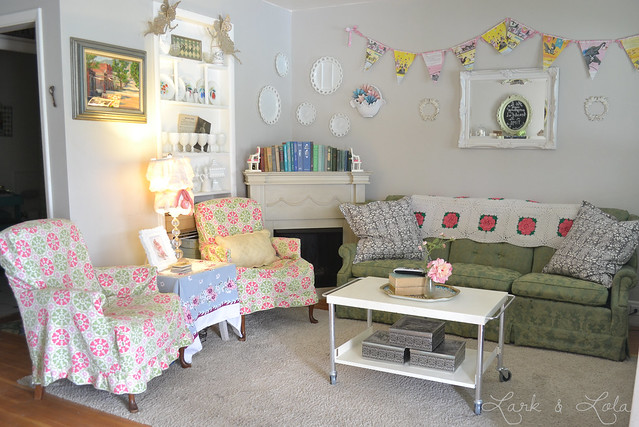
This is our living room. Most of our furniture has come from either thrift stores {like our couch and coffee table}, grandparents {like my slipcovered chairs}, or IKEA.
The built in shelving has caused me trouble ever since day one. I redecorate it often, right now it's holding some of my milkglass collection.
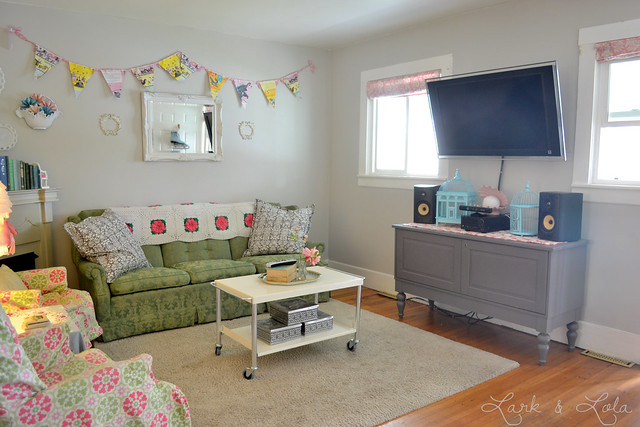
The TV and stereo is about as much black as I can handle in my house. My husband works in the audio/visual industry, so I can't kick them out all together! {Well, that, and if it the TV were gone, how would I watch Downton Abbey?}
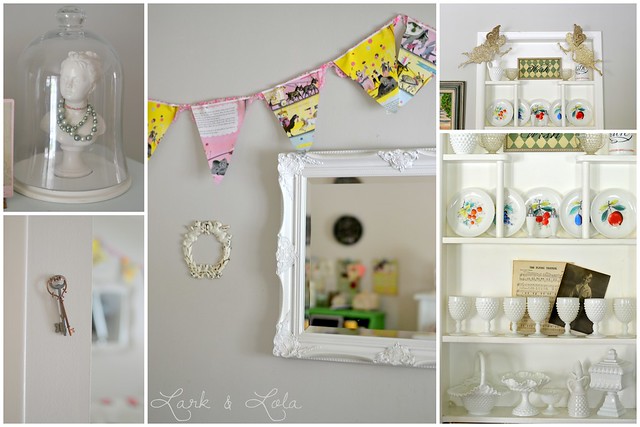
I love the white wash look of some shabby chic homes, but it's hard for me not to bring in pops of color all over. I love color, as you'll see. I've never been too concerned with "matchy matchy" color schemes. I just bring in what I like, purge what I don't like, and somehow it all just comes together.
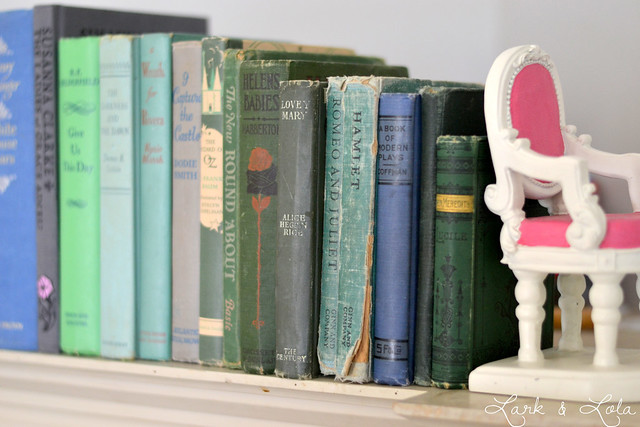
Sorting books by color can be fun though. I have a thing for buying pretty and old books at thrift stores.
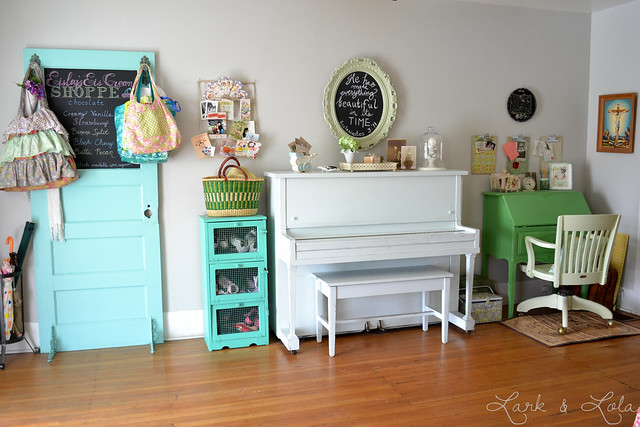
Looking at this wall of our house makes me laugh, it's a good example of how I don't pay much attention to matching color, but it also gives a good look at my personal color palette. Apparently I like blues and greens. AKA, mermaid colors!
This is my little secretary desk, where I'm typing up this post! I recently painted the chair a very pale green, though I've had it for years.
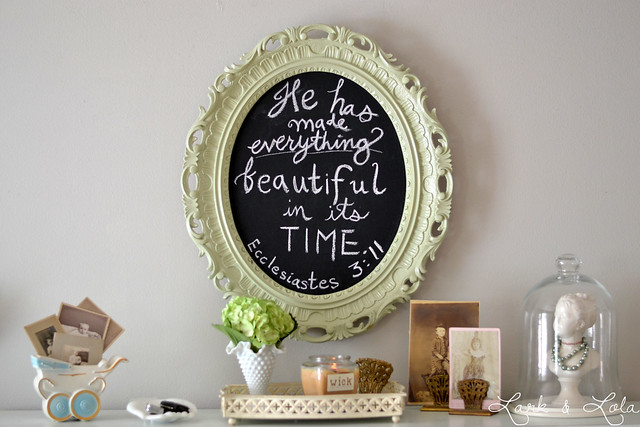
This is another area that is constantly redecorated, the top of the piano. Right now it's pretty simple looking. I almost always have a candle burning in my home, all the day long.
I love throwing fun parties, and this door was a prop for my daughter's ice cream themed party. After the party I brought it inside and turned it into a coat rack. I had plans to redo the chalkboard paint, but for now I like it as it is.
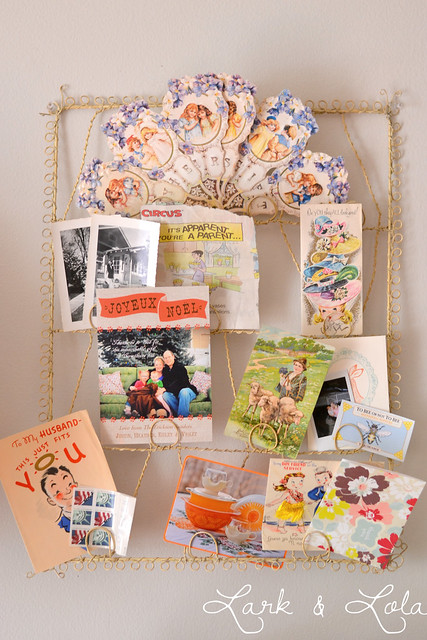
This is supposed to hold our mail, but I really use it to hold only pretty mail and cards. {Why can't they make bills prettier?}
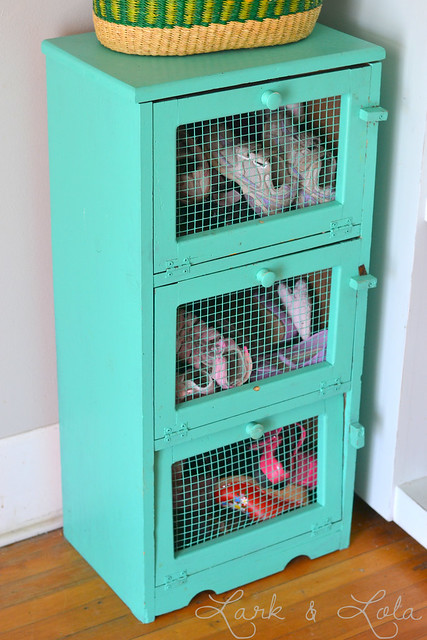
This is a little idea for those with small homes--since we don't have a foyer or a mud room or even a coat closet--I painted my grandmother's old "rabbit hutch" and now it's a "shoe hutch". First thing we do when we get home is kick off our shoes and stuff them in the shoe hutch.
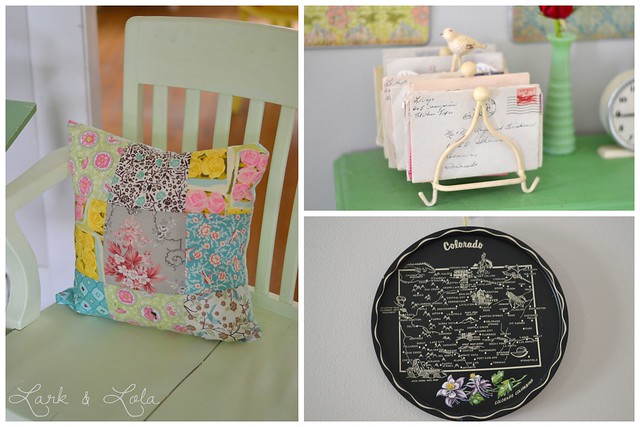
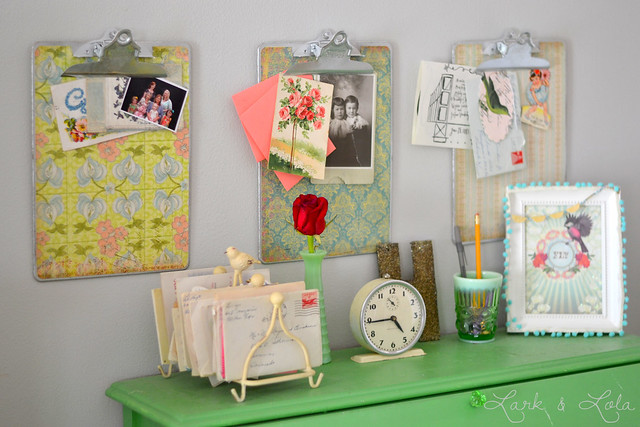
The clipboards are unfinished crafts of mine {from back when Lark & Lola did flea market/craft shows} and I keep grandma's old letters nearby because her handwriting was so pretty and no one sends snail mail any more. They make me happy when I look through them.
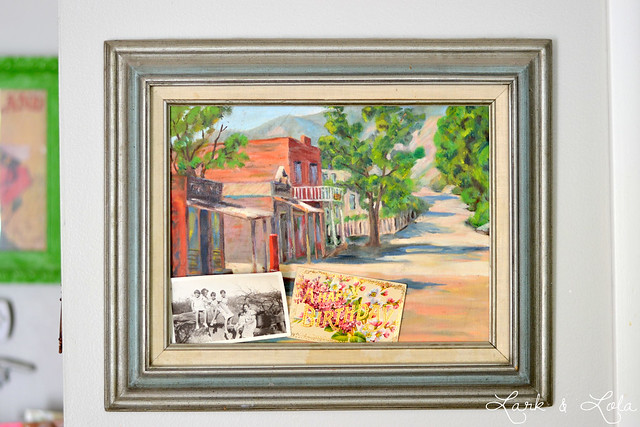
My great grandmother painted this and so I'm proud to have it hanging in my home. The best treasures at home are things that have been passed down within the family.
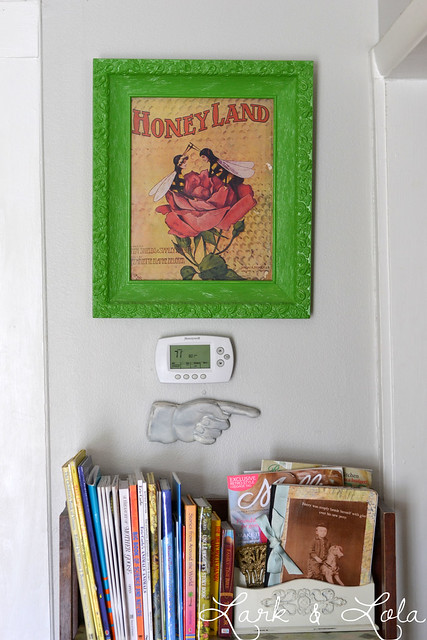
The Honey Land picture is actually a cover from a book of antique sheet music. My husband and I are beekeepers, so I loved this as soon as I saw it and decided to frame it.
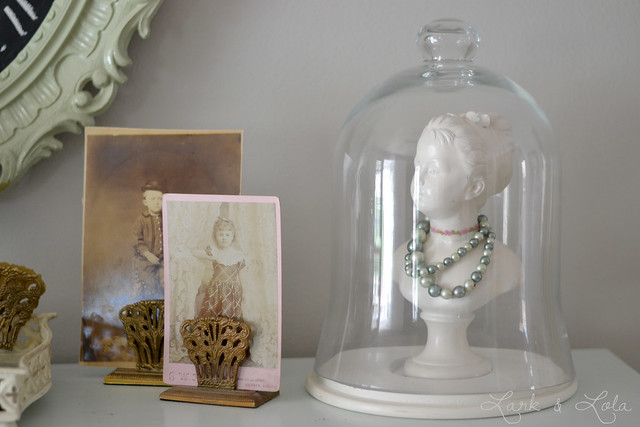
My girl bust wears a necklace and sits under a cloche, and I often move photos from my old photo collection around the house. I especially love old antique photos of children and babies, even if they never look happy.
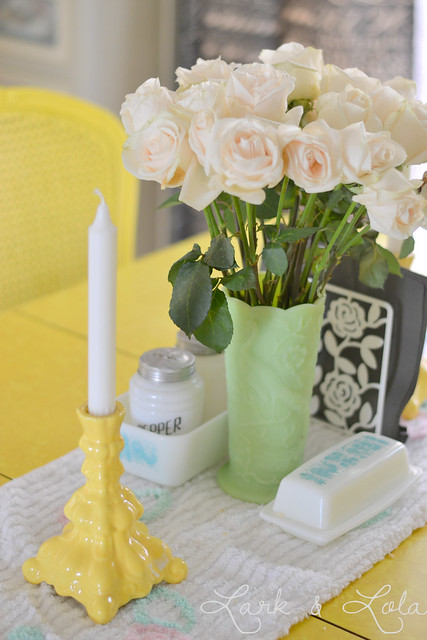
A few months ago we found a yellow retro dinette table at an antique mall, we loved it--and had been searching for one!--so we took it home. I'm okay mixing retro and shabby chic, so the dining room has turned into quite the hodge podge of a room.

The cane back chairs were grandma's and I just recently painted and recovered them in oilcloth so they'd work with the retro table.
As long as it's pretty and appeals to me, anything goes in this house!
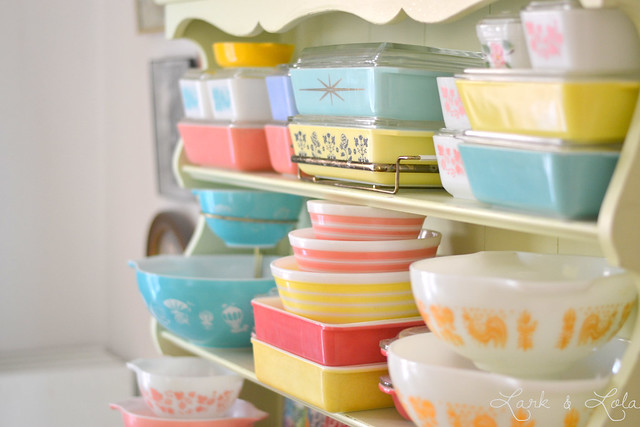
My vintage Pyrex collection {well, part of it} is also showcased in the dining room. I've been collecting for three years now...it's gotten a tad bit out of control.
I love this old sand toy, the little acrobat inside flips and turns when you turn the box over clockwise a few times. I like to tuck little curiosities like this around my house. Keeps things interesting, you know?
From the dining room we move right into our little kitchen...and yes, I mean little.
Oh! Look at that, more Pyrex. {There may or may not be some more in the basement and cupboards. Shh!}
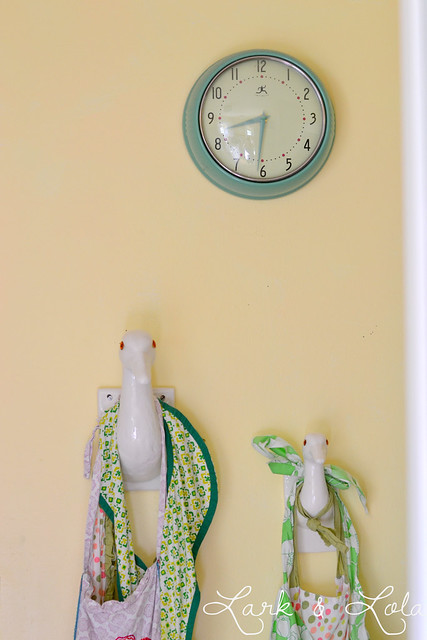
I find these fun ceramic animal heads at thrift stores all the time {cows, geese, ducks, sheep, etc.} so I thought these little geese would be perfect for holding our aprons.
Our kitchen is a small hallway kitchen, but I've had some good fun decorating this part of our home. Good thing, since I spend a lot of time in this room.
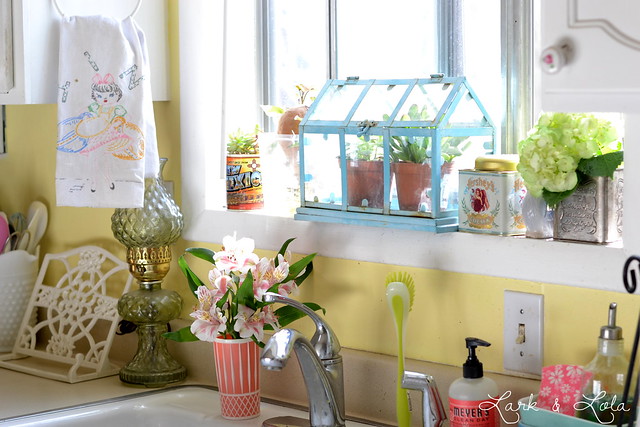
We painted the kitchen yellow, I like it bright and cheery, and I like to bring all sorts of color into it where I can.
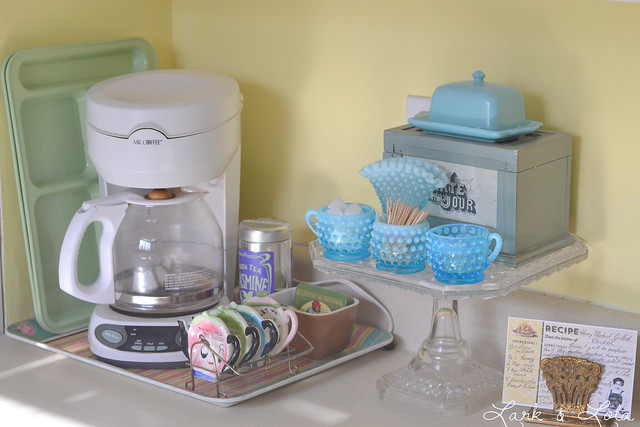
I keep the little coffee and tea tray at the ready, while my great-grandmother's glass cake stand holds my recipes and things up out of the way.
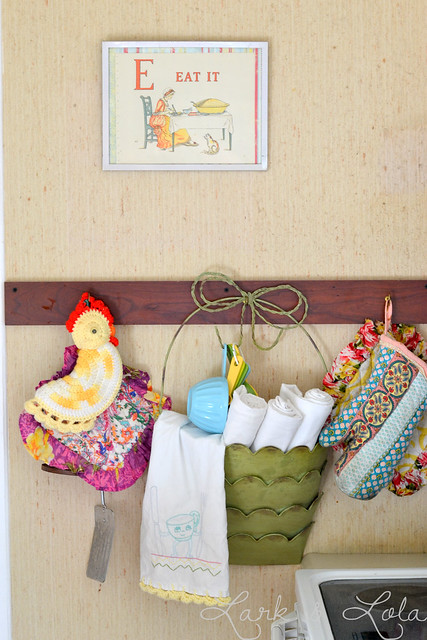
Next to the stove I keep some kitchen towels, and the like. The "Eat It" sign is a page from an old children's book.
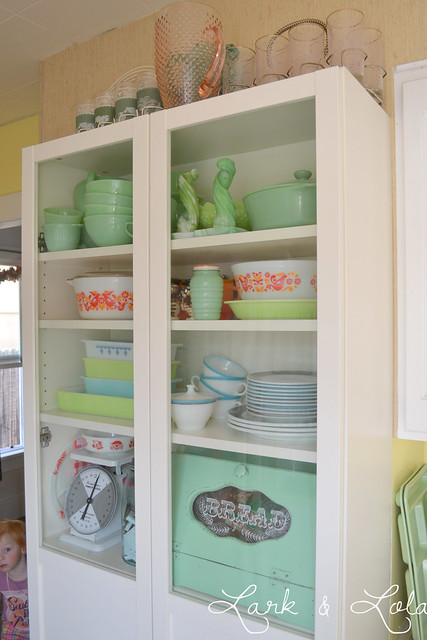
The IKEA cabinet fits perfectly in our small kitchen, but holds a lot. I don't know how I ever lived without it.
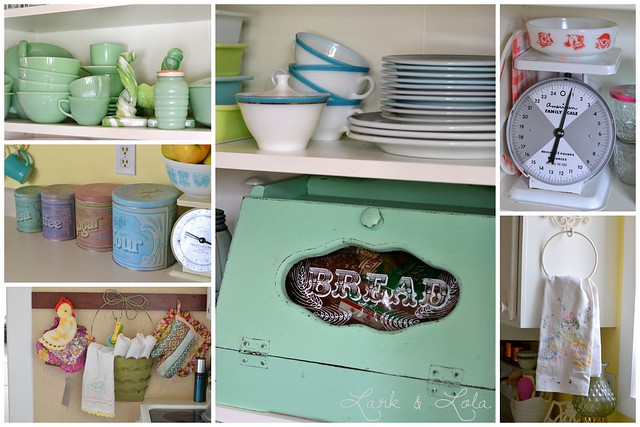
It holds some of these things for me. As well as a mess in the lower part.
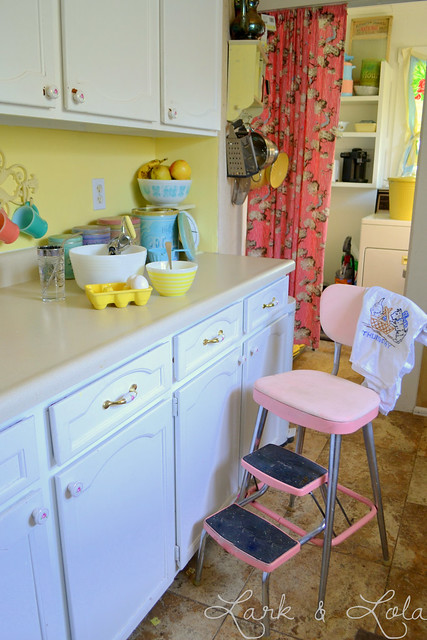
It was exciting to find one of these old kitchen stool/chairs at a flea market last summer, and in pink! My daughters love to stand on it and watch me cook, and that makes me happy.
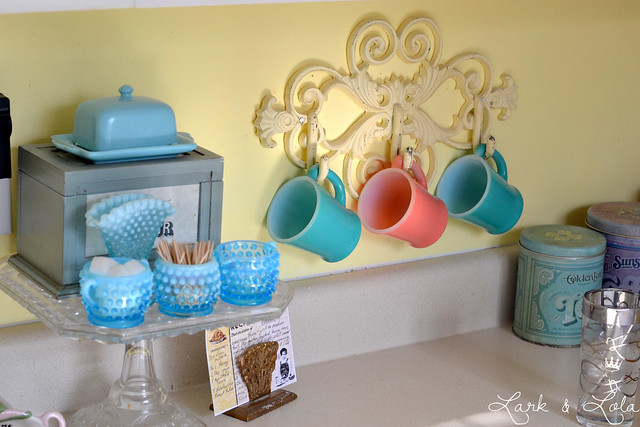
I keep some old Fire King mugs at the ready.
Moving on to one of our two {very small} bathrooms...
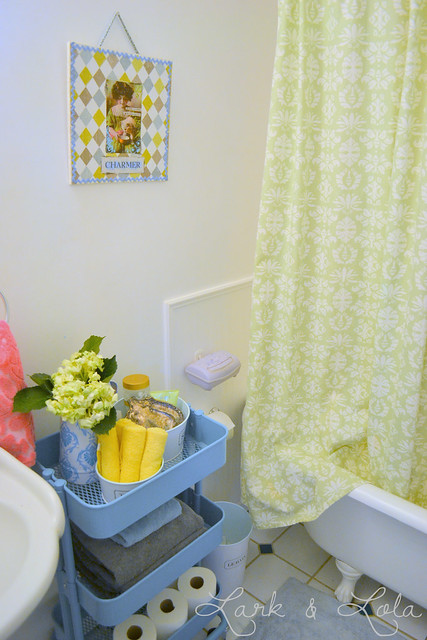
When we were looking for rental homes in Denver, this one had me at clawfoot tub. I have spent many a cold evening soaking in lavender scented epsom salts in this bathtub. I spent hours in that tub laboring, the night before my Violet was born.
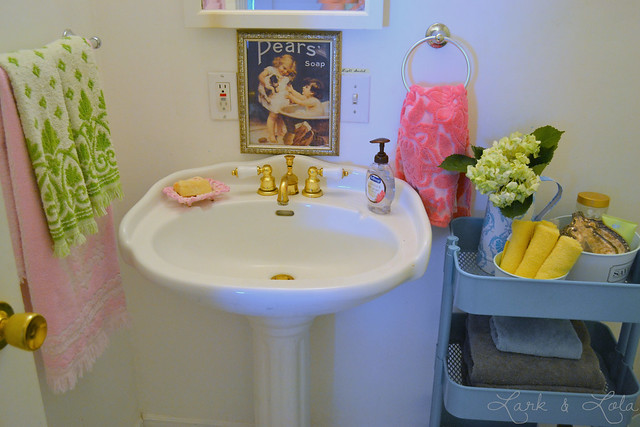
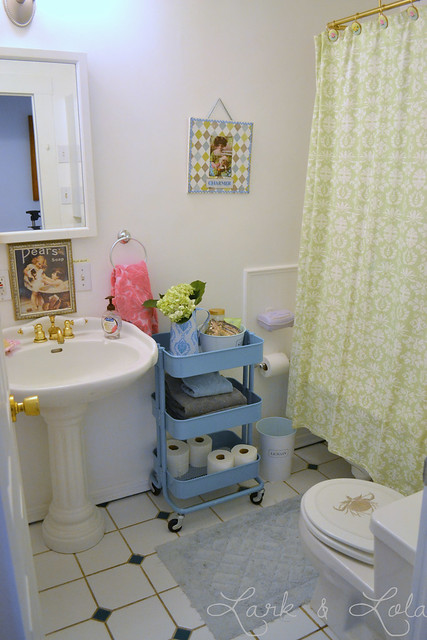
I use the small IKEA trolly to keep some bathroom neccesseties. I'm also trying to hunt down more vintage towels, because I love the way they look.
Yep. It's the deep, wonderful clawfoot tub that makes me love this house. I use it as often as I can for baths.
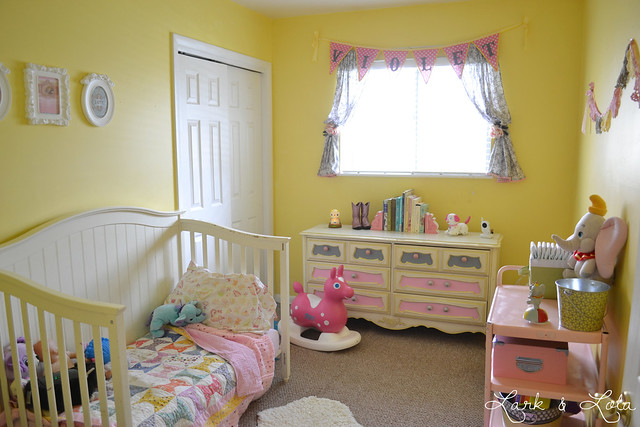
This bright yellow room used to be my very own craft room! When baby #2 came along a couple years ago, we had to turn it into a nursery.
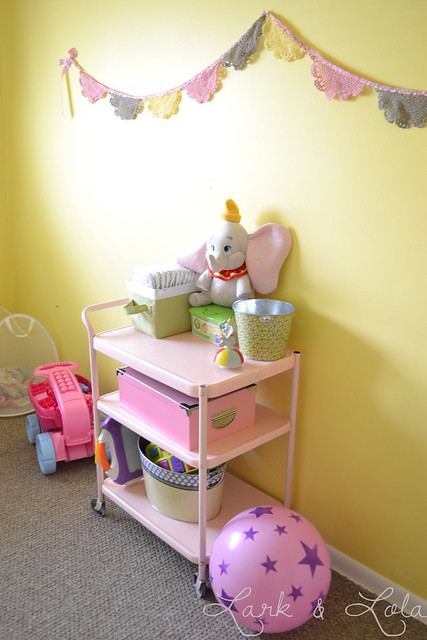
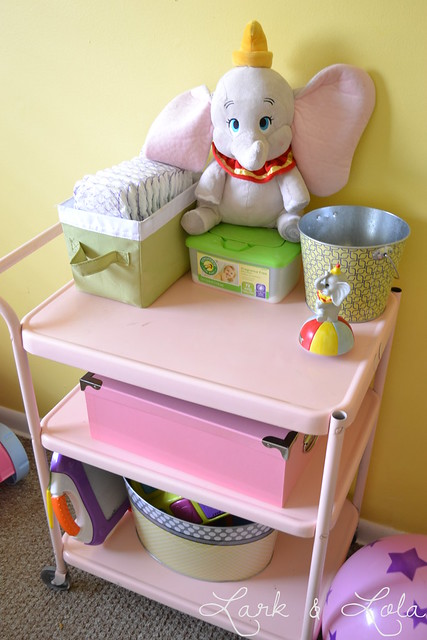
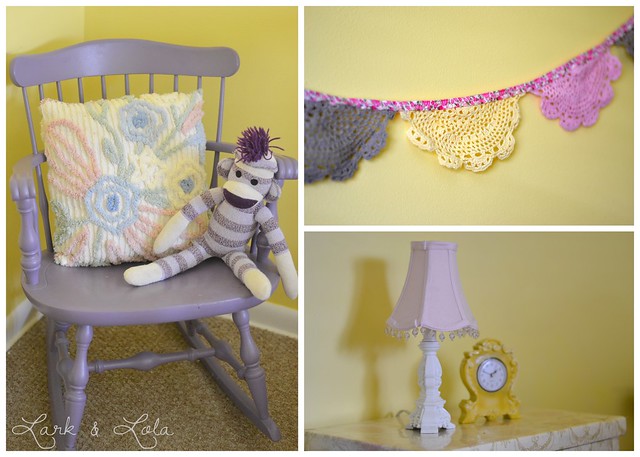
I love doily garlands. Violet loves Dumbo.
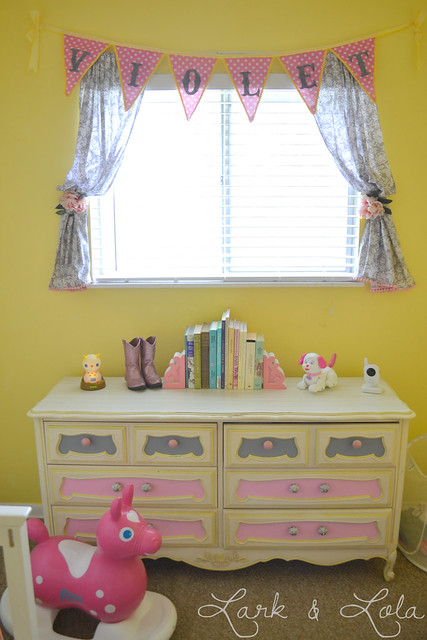
My kid's rooms are the only places I seem to do color schemes in my house.
This vintage cart was thrifted and painted pink by yours truly. It serves many purposes at our house, but right now it's making a nice little table in Violet's room.
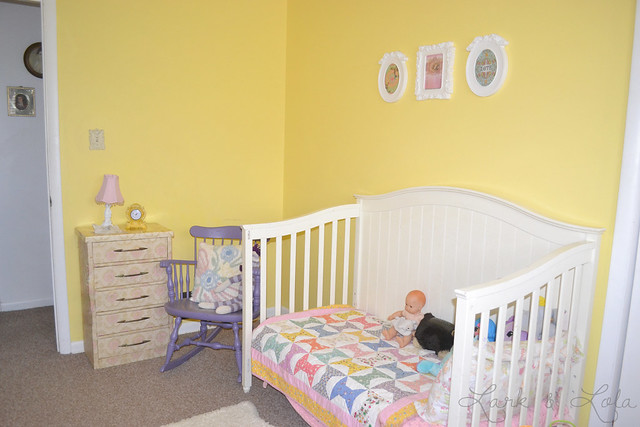
And we recently made the switch from crib to toddler bed! That's been...interesting.
My older daughter, Eisley, has a bright pinkish purple room.
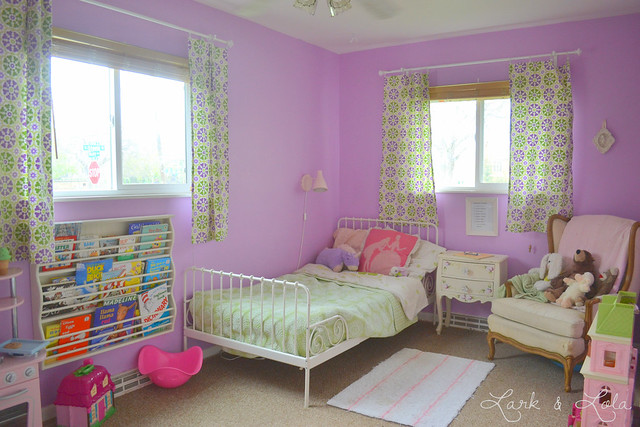
We've kept much of the decor from that ice cream birthday party and used it to decorate her room.
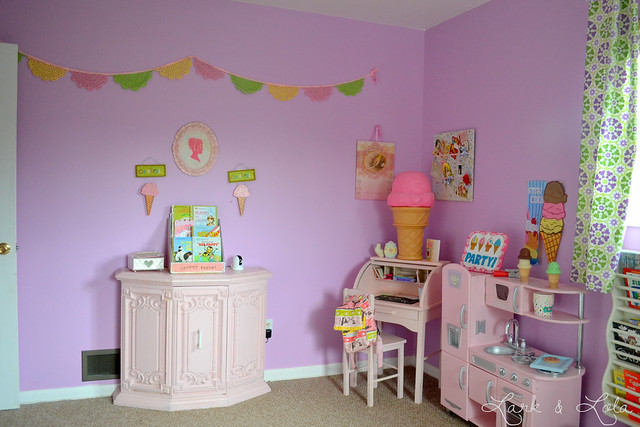
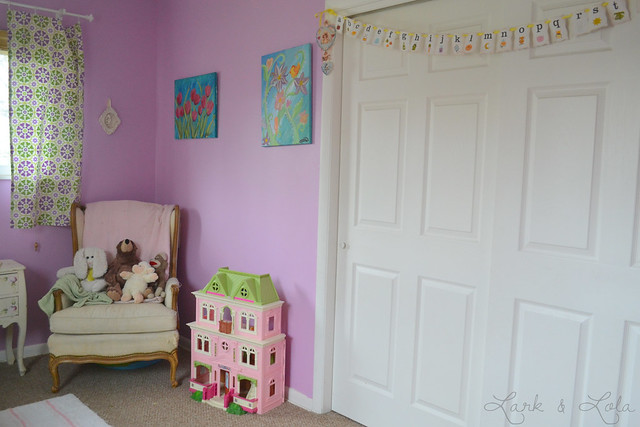
I love all things girly. Love doll houses. Love dresses. Love it all!
{Our third child is a boy, he will get a cute vintage themed nursery in our new house. I already have it planned out in my head.}
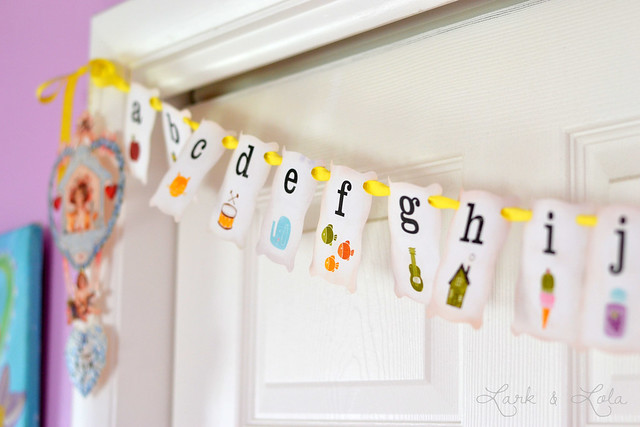
The ABC garland was a pack of flashcards I strung up, I think they're cuter this way. Also less messy.
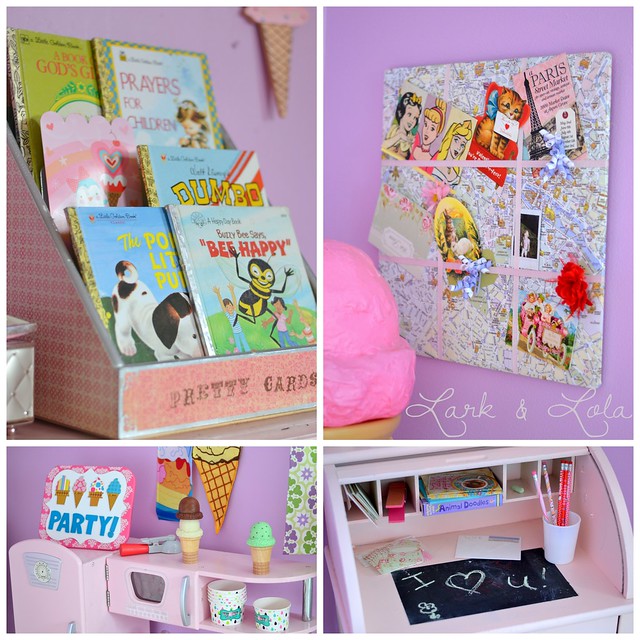
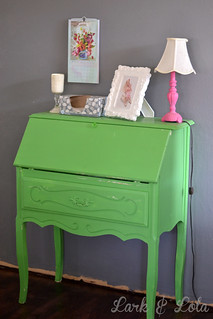
Her little roll top desk is a favorite find of mine, as well as the retro play kitchen.
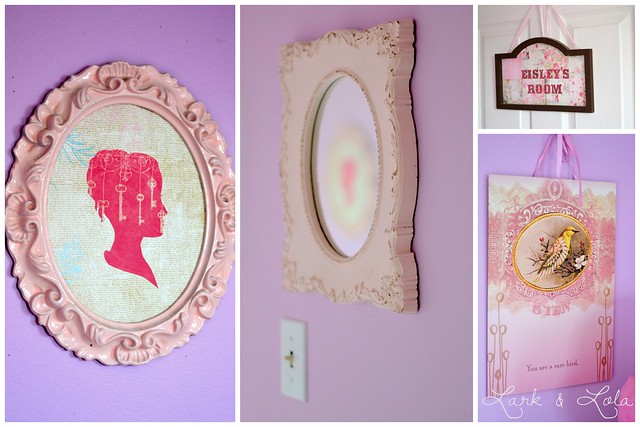
Finally, we've arrived at the master bedroom! It's hard to tell, the walls are gray like the living room. I love gray walls, but our house doesn't get enough light, so I went with a light gray which is hard to pick up in photos.
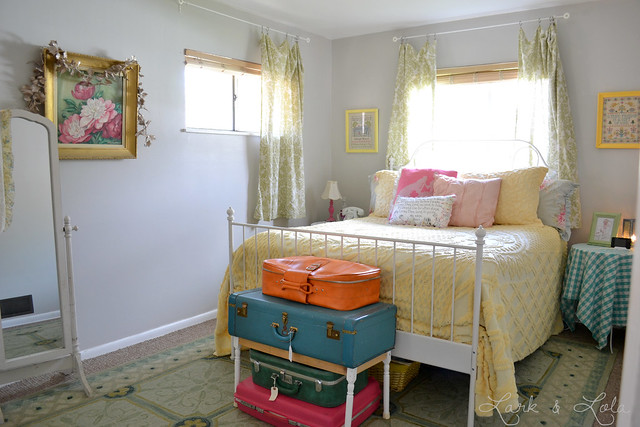
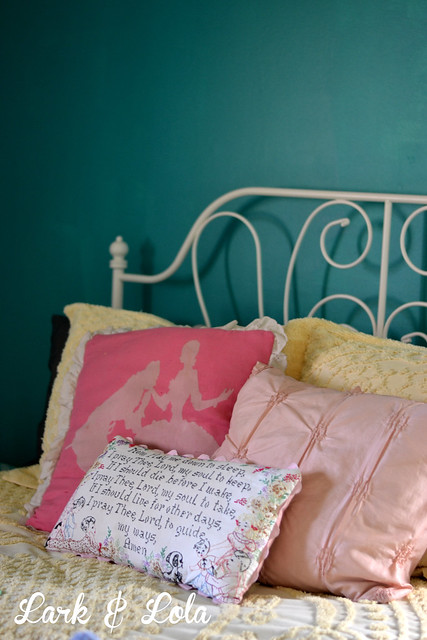
I'm in love with the yellow chenille bedspread I thrifted a few months back.
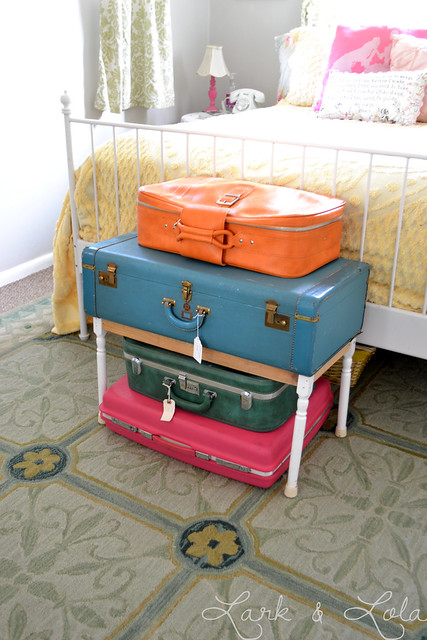
The bright colors of vintage suitcases cannot be ignored, I've actually travelled with these!
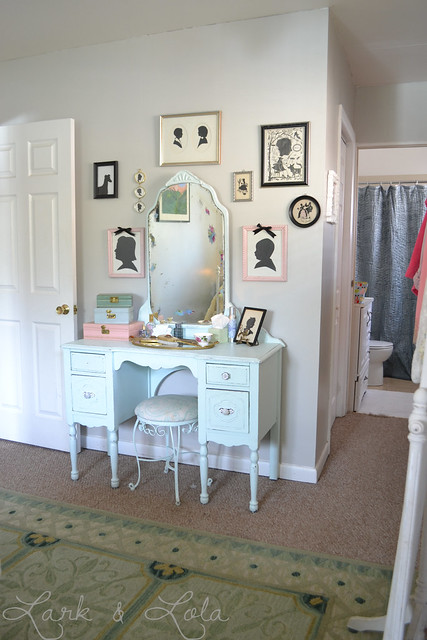
I had been on the lookout for a vanity for a long time, when last summer I came across this one at a yard sale for only fifteen bucks. I snatched it up, took it home, and showed it some love. It's been a lovely part of our bedroom ever since. I've decorated around it with silhouettes.
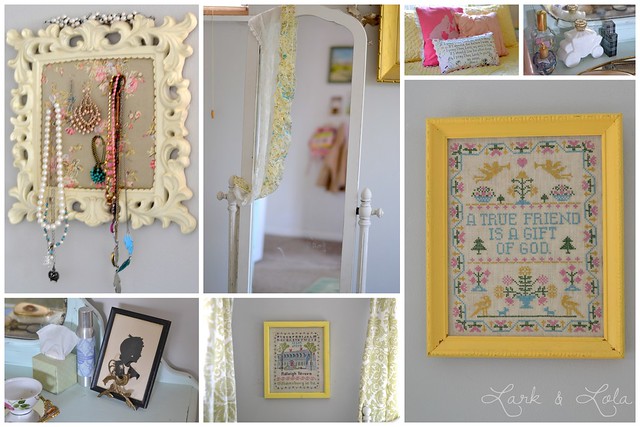
I'll be honest, some days I don't make the bed until almost dinner time, but when the bed is made, everything in this room is right. I love this room.

Hopefully my vintage jewelry box collection never gets as large as my Pyrex collection...
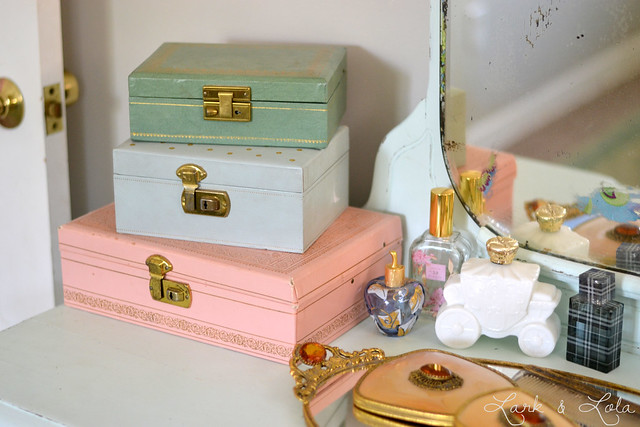
So that's our cozy little rental home! Thanks so much for stopping by and having a peek. Soon we'll {hopefully} be working on a home of our own. Stay tuned for home owner posts and DIY projects we will
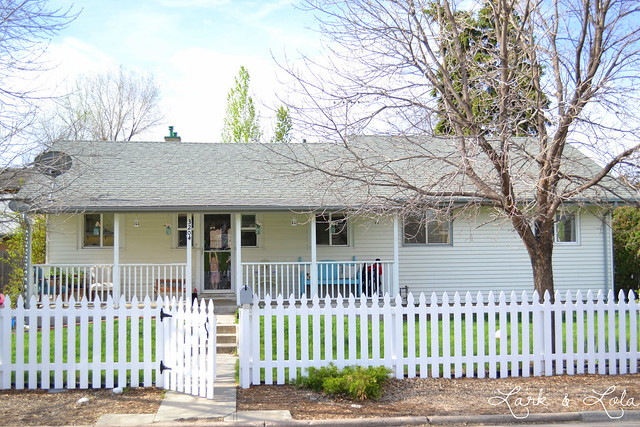
It looks way cuter in the summer when the peonies and roses are in bloom, and when the trees are full of bright green leaves and our bees are buzzing around.
Cheers,
Heather
What to expect from IKEA when their negligence sends your toddler to the ER 15 Feb 2014 9:28 AM (11 years ago)
Dear IKEA,
 |
| Violet Grace, age 2 |
I'm writing this public letter to you today because, frankly, I feel you owe my Violet an apology. A rather overdue apology.
On the evening of January 15, 2014, my family visited your Centennial store for well over an hour. We had dinner at your IKEA restaurant before checking out the kitchen cabinet section because we are about to buy our first home and excited at the possibilities your cabinets have to offer. Our three children accompanied us and watched as my husband and I explored cabinet after cabinet, opening doors and closets to see what awaited inside.
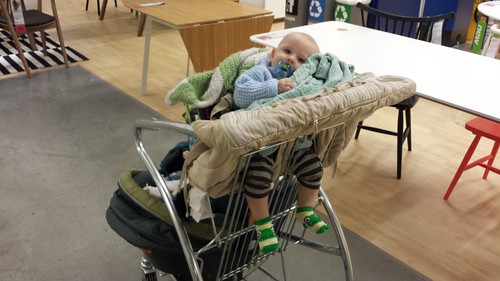 |
| The night of the incident, Paxton rides safely in an IKEA cart, buckled in of course. |
We watched in horror, in slow motion, as right before our eyes, a Godmorgon cabinet began to fall forward--our two precious daughters standing right in front of it.
My older daughter, who is five years old, backed out of the way as she watched it come down. Our two-year-old (Violet), however, began to back away, but tripped. In hindsight, I think the trip saved her from devastating injuries or worse. The trip propelled her backward just in the nick of time, possibly saving her from head and spinal injuries, or possibly even death. I'd like to think an angel tripped her. Still, the 75" tall 85 lb. Godmorgon cabinet came down on her two-year-old legs.
You can imagine our horror. But can you imagine my two-year-old's horror? She was, of course, beside herself. An employee of yours stood by while another customer (who I regret not thanking and acknowledging, but I hope she forgives me as I was in shock) lifted the cabinet off of my child.
I pulled Violet, who was screaming in pain, into my arms and gently tugged off her loose cowgirl boots. The boots slipped off and I braced myself for what I'd see.
Immediately, at the top of my daughter's tiny right foot, a rather large goose-egg (contusion) was swelling up. It looked awful. I was worried it was broken. I turned to my husband and said, "How did this even happen?"
Your store employee, who was present for the incident itself, looked at us bewilderedly and said, "That was supposed to be attached to the wall." He sounded as confused and shocked as my husband and I were.
At that point, he turned to the other employees who were just arriving on the scene, and told them to attach the attacking cabinet to the wall. It was quickly chained. I have a photo of the cabinet; note the chain:
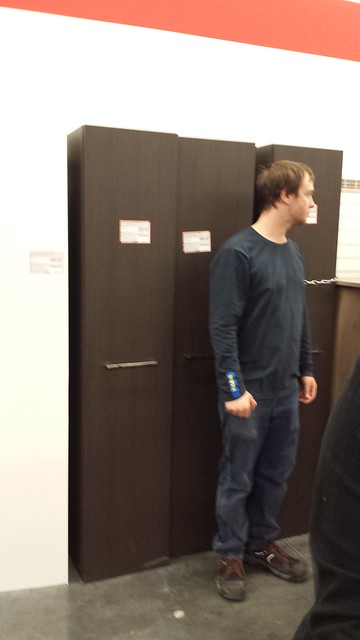 |
| Cabinet on the far right, a Godmorgon, fell on my two-year-old |
From that point on, despite the half-dozen employees who were with us, no one would say anything to us except, "Our insurance people will be in touch within 72 hours."
They said that phrase several times, but that was all they said, "Our insurance people will be in touch within 72 hours." Considering what had just happened, it felt rather cold and insensitive to have several of your employees simply stare at us while uttering a rehearsed phrase. It's disappointing that none of your employees showed any signs of concern or compassion toward my injured two-year-old.
My husband and I, along with our three kids, ventured over to Sky Ridge Medical Center in Lone Tree. It was now past my children's bedtime. Fortunately, we did not have to wait too long before being taken back for X-rays on Violet's foot.
It was late, she was traumatized, and she was terrified. She screamed through the entire x-ray process; she was understandably very upset. The goose-egg started to show bruising, but much to our relief, and probably thanks to the cowgirl boots, Violet's X-ray appeared normal.
 |
| Violet's first trip to the ER, waiting to see the doctor after X-rays |
My husband and I breathed a sigh of relief. In the car, my husband turned to me and apologized for the way things had gone that night. I told him, "Don't apologize! I'm just so thankful it wasn't worse!" Imagine what could have happened...
I have heard of children dying after being crushed my furniture. If my Violet had not seen the cabinet falling and had not started to back away, it would have most certainly come down--all 85 lbs. of it--on her head. Her two-year-old head. It is likely that would have caused severe injuries, possibly even death, and I shudder to think of that. I believe angels were by her side that evening.
Violet was carried inside our home, well after 11 p.m. that night, given some children's pain killers, and carried to bed.
 |
| Violet the night of January 15, 2014, showing off her "bracelet" from the hospital |
As of today, over three weeks later, Violet shows no signs of serious injury. We are so thankful, so relieved, so happy that God protected her that night. Many families are not so lucky. I met a nurse at a party once who was having a particularly bad day, and when she explained why, it broke my heart in pieces: she had lost a three-year-old patient. A bookcase had fallen on him.
So, IKEA, you may breathe a sigh of relief...we won't be seeking crazy amounts of money to cover medical bills for more serious injuries, nor will we be suing you for my daughter's pain and suffering.
I am, however, feeling the need to write this post up, because it's my final attempt to get ahold of you! I'm hurt, and I'm hurt for my daughter. Here's the thing...
If we had found hair in our IKEA family dinner that night, I would have expected the staff to say, "So sorry! Let us fix that."
If we had bought an expensive piece of furniture, only to have gotten it home and realized it was broken or missing parts, I would have expected your staff to say, "So sorry! Let us fix that."
If a 85-lb. piece of furniture had fallen over on my two-year-old, and your staff admitted their mistake by saying, "That was supposed to be attached to the wall..."
...I would have expected your staff to say, "SO SORRY ABOUT THAT."
Do you understand what I'm saying here? A simple acknowledgement and maybe a sign of compassion would have gone a LONG WAY. It would have soothed the anger I still feel when I remember how close my daughter came to being seriously injured, or worse. It would have comforted me to know that you really do take furniture falling on children seriously. What happened to Violet was preventable, it should have never happened. It should never happen again to any child.
Your staff shut down that night. Of the half-dozen or so employees who were present, no one apologized. In fact, no one said anything to us except a clipped, "Our insurance people will be in touch within 72 hours."
We asked for names; none of your employees would provide us with full names. The only one my husband got was, "Julie" and she refused to give her last name, so it was officially, "Julie the Security Guard".
My husband and I are not the sue-happy types of people your insurance company is apparently afraid of. My daughter, however, suffered an injured foot for days, all due to your negligence. A simple "I'm sorry" would have been really just good customer service.
You know what would have even been above and beyond customer service to me? Here's my daughter holding a mouse my kids are in love with at the moment; we bought two of them at your store for 99 cents each.
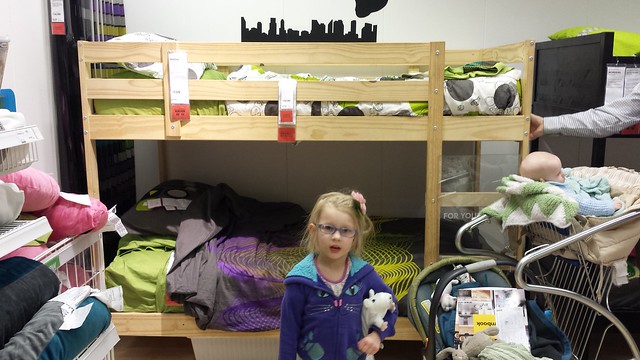 |
| My girls love their IKEA mice. Notice how we're staying close to our children and no furniture climbing is going on. |
That, seriously IKEA, would have been just above and beyond customer service to me. I would have told my friends about how nice you'd been about it. Humans are human! We all make mistakes, but at least they owned it and tried to make Violet feel a bit better. I really admire companies that take care of their customers like that.
Sadly, your store has done NOTHING to show even a shred of compassion toward my little girl. My little girl Violet, by the way--as well documented on this 6 1/2 year old blog--walked at 8 months of age! She's so spirited and sweet. It broke my heart to see her crawl around on the floor for five days refusing to walk. Despite being minor injuries, they were injuries at your hands nonetheless.
IKEA: you hurt my daughter. Please, an apology and acknowledgement that this happened would be nice. It would make me feel better, because I watched my daughter suffer and because she is the most precious thing in the world to me--and you very nearly seriously injured her. I was scared, so scared, in that moment...watching your Godmorgon coming down on my toddler.
But at this point, we can't even get your company to acknowledge that we exist. We have been effectively "swept under the rug" as they say.
Your "insurance people" called me the next day, I'm a busy mom of three and missed the call from a Ms. Lynn J. at Liberty Mutual. I called back and left a message, she returned my call once and missed again...since then I've called and left three voicemails and they have all gone unreturned.
I was told that as far as we're concerned now, Liberty Mutual IS IKEA. Yet, your "insurance people" won't even talk to me. It's been three weeks and one day since Lynn last tried to call me.
Post Edit 2/14/14: As proof, I took this screenshot today, February 14, to show exactly how many times Ms. J--who "is IKEA" as I was told--has called me. Once on January 16, again on January 20, then--as I said--not again for three weeks. (The number I return her calls on is different, per her request in her first voicemail.)
 |
I also tried to get ahold of your Centennial location store manager, however, that was made extremely difficult. Actually, seemingly impossible. I tried to reach him on January 16th to make sure, once it occurred to me that I hadn't seen them remove the offending cabinet from the scene, that your manager was aware of the incident and to make sure that the cabinet would not be sold to another family with young children. I was worried the item was defective, possibly overly-wobbly. Your call line told me that I couldn't talk to him, that I would have to go into the store. In the store, I was told he was unavailable.
Is this what you call good customer service? Nearly seriously injuring my child, sending us to the emergency room, ignoring us completely, and not even just being able to say the simple words, "I'm sorry".
Because that's all I care about! Decent, human compassion toward a child you hurt through your negligence. A two-year-old should not have a 75-inch tall cabinet fall over on her. We have several IKEA cabinets and bookcases in our home, they are all secured to walls and have never fallen on my children.
Ironically, IKEA's attempt to protect itself from a lawsuit made things worse.
I just hope you realize: there are decent people in this world who can see when a situation could have been much worse, and are thankful for it. There are people in this world who won't sue you at the drop of a hat, and that includes us. There are times when--whether you risk being sued or not--the right thing to do is to simply say:
Violet, we're sorry that happened. We'll make sure it never happens to another child in our store ever again.
Finally, I write this letter to you in a last-ditch effort--as I've felt my family has been completely ignored by you at this point--to raise awareness about the dangers of children and furniture!
Children can be killed by falling furniture! Click here for statistics, they are terrifying. People need to be made aware of this, and unfortunately your Centennial employees are among those people. In that way, an apology would have further alleviated my concern that this could happen again. For an apology generally also means, "We won't let that happen again."
Your refusal to acknowledge or apologize to my daughter just hurts my feelings on her behalf. Okay, it also just hurts my feelings as a mother, because she is SO precious to me and you nearly injured her very seriously--or worse. But also, your refusal to apologize has me worried for all the other children who visit your stores daily. Your refusal to acknowledge what happened makes me worry that you're not taking it seriously.
So there you have it, this is my final effort to get your attention. We'll see if it works...
Sincerely,
Heather, Violet's mommy
UPDATE:
After writing this letter last night (February 12, 2014) I also took the time to attempt, once again, to reach IKEA via their Twitter account. Apparently this worked as the insurance person, Ms. J, finally called me again this morning. I was nursing my son to sleep at the time and called back two hours later, but she did not answer the phone so I left yet another voicemail. This was the first time in three weeks that she attempted to call me.
My Twitter posts really did seem to finally grab IKEA's attention though, as Julie from IKEA called me later in the day also. I expressed to her my hurt and feeling offended that we had been all but ignored during the past three weeks. She was unwilling to really discuss any details with me except to say that our claim had to be handled with Liberty Mutual. I told her that I was aware of that, but that also wanted to talk with their manager about their customer service performance on January 15. It took a couple minutes to get her to agree to have a customer service manager call me (not the actual Store Manager, just one of a few "customer service managers" would call me).
(Apparently, IKEA stores have a lot of different managers. At this point, I'm fairly certain it'd be easier to reach President Obama than it is to reach IKEA Centennial's actual Store Manager.)
A few minutes later, I got another call from IKEA. A customer service manager, Roseanna, was on the line and wanted to know how she could "assist me". I told her how we felt ignored by IKEA and hurt that their negligence sent my daughter to the ER. I told her that it felt like the least they could have done was show an ounce of compassion and assure us this would never happen again to any child. I wanted to get across how cold-hearted and ugly their treatment had felt, even since the first moments after the incident. My message at this point: IKEA could have handled this better.
Unfortunately, my call with Roseanna was devastating to me. Here's what I have to say at this point: I'm disgusted. In so many words, Roseanna called us liars and accused my two-year-old.
When I told her my concern that the cabinet was wobbly and a danger to customers, I was told, "The cabinet was inspected and it was not wobbly. Your daughter yanked on it, that's why it fell over. And it was attached to the wall, but she yanked on it so hard that it broke away."
I could not believe my ears. If IKEA wished to add insult to injury, well done.
Throughout our call I could hear a male voice in the background, feeding Roseanna lines to say to me. I wonder if this was the elusive Store Manager? Either way, I felt ganged up on. Here I'd hoped to finally just find a shred of compassion from IKEA, perhaps a half-assed apology, instead I found my toddler being accused and it felt so very ugly.
She told me that they reviewed video surveillance and that my two-year-old pulled (she was sure to use the term "yanked") an 85-lb., 75" tall Godmorgon over on herself and that it WAS attached to the wall (despite the bewildered employee at the time saying, "That was supposed to be attached to the wall!"), and that my husband and I were "in another department" when the incident occurred.
This is strange, of course, because we had no prior knowledge of Violet having superhuman strength which enables her to pull supposedly-chained-to-the-wall-furniture down on herself. My husband witnessed the entire horror scene, and I witnessed it from the moment the cabinet began to tip because Justin shouted my name immediately and I turned to watch, right before our eyes...and we did all this from another department?
Again, I repeat what Roseanna claimed: My 25-lb. two-year-old "yanked" a cabinet so hard that, despite it being chained (NOT!) to the wall, she was able to pull it down on herself while my husband and I were "in another department"...watching it happen.
Roseanna effectively insulted me. She may as well have told me that the sky is red and expected me to believe it. I asked her how one should open an IKEA cabinet without pulling on the handle so that it would not tip over on them. She had no answer for that.
In addition to having superhuman strength, Violet must also have climbing abilities like Spiderman. According to Roseanna, she was "climbing on it". So please, take a look at the Godmorgon and tell me how my two-year-old--in her slippery cowgirl boots, no less--might have possibly been climbing on it. Again, I asked Roseanna to tell me where my daughter could have possibly gotten a foothold on this item in order to climb it. She had no answer for that either.
In disbelief at the lines she was trying to sell me, I asked how any customer should open a cabinet if they can merely be "yanked" on and tip over? Roseanna replied in what I felt was a condescending tone that IKEA cabinets were meant to be opened, "by adults". Oh, please! IKEA invites, lures, children into their stores with "Kids Eat Free Tuesdays" and play areas and toys...I don't care what they accuse my toddler of, it's their job to make their store safe for the children they invite in.
Another thing, I'm glad my husband and I weren't standing right next to our children when the cabinet fell. Because I can't say for certain that an adult would have been able to catch an 85-lb. cabinet in movement, and we would have had our 6-month-old baby right there with us--the only one who couldn't have backed away by himself. That might have been worse. So call us bad parents all you want, IKEA and Roseanna, for being a mere 15 feet or so from our children in a store of 415,000 square feet. We call ourselves blessed.
All this to say, I really hate that IKEA is seemingly so scared of lawsuits (and we're not the suing type and you don't want your child to be so injured that a lawsuit is in order, we're thankful this isn't the case here) that instead of just saying, "we're sorry", and acknowledging that they need to do a better job, they have tried to completely sweep this under the rug and are telling lies which insult my intelligence. I don't want to sue them, Violet has since recovered. Trying to shut me down, however, only makes me cry louder.
I hope you're all hearing the most important point I'm trying to make here: That unsecured furniture and appliances are real dangers to children! We need more awareness of this! IKEA has so perfectly demonstrated just how much we need more awareness of this danger.
But I'm not sure how IKEA intends to take this situation and learn from it if they're still insisting that Violet, a toddler, was at fault for breaking chains and moving furniture. Which, of course, is simply preposterous.
Early on, I was advised that they would attempt to portray Justin and me as irresponsible parents who allowed this to happen. I was not prepared for just how insulting their lies would be. They say my daughter, a 25-lb. two-year-old, pulled a cabinet that was supposedly (NOT) chained to the wall over on herself--how does that even happen if it is chained to the wall? The "yank" of a two-year-old can break chains? IKEA and Roseanna expect me, or anyone, to believe this? I did not expect them to lie about the chain, but they did. They attempt to cover their tracks by saying first that the cabinet was chained to the wall when it clearly wasn't.
Furniture that is properly attached to walls WILL NOT COME DOWN. PERIOD.
Also, they implied that it is Violet's (and her parents') own fault she got injured in the first place, because she yanked on it. In so many words: we/she had it coming. If she wouldn't have pulled on the cabinet door handle then it wouldn't have happened, they said, despite being chained to the wall, they said.
That was the last straw. The most insulting part, a slap in my face: the implication that Violet, 2 years old, was being unruly enough to break a chain, to move furniture, and thus got what she deserved.
Oh...wow...the depths to which we sink in order to avoid any blame. Oh IKEA...oh Roseanna...for shame. I am shaking my head and pursing my lips and wondering how some people sleep at night, after having told a mother that her two-year-old was responsible for her own injury while it is in fact due to the obvious negligence of IKEA Centennial's employees.
I'm terrified to think what could have happened at IKEA that night, had Violet not backed away. I want assurance that no parent will ever watch a furniture item fall down on their child in an IKEA store ever again. In 2010 alone, about 23,600 people were sent to emergency rooms after being injured by furniture. Most of those people were under 10 years old. Between 2000 and 2010, about 300 people died after having furniture fall on them.
If we had lost Violet that night, I can't help but wonder if IKEA would have treated us any differently? I wonder if, as emergency responders loaded her body into an ambulance, their employees would have still just stood there? Would they have just stood there staring at us and muttering their rehearsed phrase, "Our insurance people will be in touch." Would it have taken weeks of unreturned phone calls and Tweets to finally get their attention? I'm offended now, that they behaved this way when she was just temporarily injured. But if their customer care is this abhorrent, I pale to think of how we would have been treated if she'd actually been seriously injured or killed due to their negligence. Oh my stars, I hope this never happens to another family while visiting an IKEA store.
If at any point during the last month someone from IKEA had reached out to us and said, even nonchalantly, "Sorry 'bout that." I would have said, "Thank you for that!" and dropped it. Completely. Instead, IKEA has refused to accept any blame and now they lower themselves to blaming a two-year-old, telling me she is strong enough to break chains and move furniture. Is this real life? Is this really happening? I didn't start out this angry. It took four weeks of being swept under the rug for my mother bear side to finally rear it's head and say, ENOUGH!
"We're just going around in circles," said Roseanna. Yes, I thought, because you're trying to convince me that my two-year-old has superhuman, chain-breaking strength and you know how ridiculous this sounds yet you say it anyway. We both know why you blame the child too, because you'll throw my family under the bus to save your image and avoid responsibility. To me, this is disgusting, abhorrent behavior, IKEA.
When I got off the phone with Roseanna I was so angry and insulted and hurt, I called my mom in tears. It is so frustrating and untrue and wrong. And I worry now for the other children who visit IKEA, since they refuse to acknowledge that this could be their fault. How dare they put other children and families at risk by avoiding taking responsibility for their mistake?
By the way, this was the first time ANY of my three children has ever required medical attention for an injury. Not to say accidents don't happen under the watch of "good parents" either. Accidents can happen to anyone! But my husband and I are not particularly easy-going when we're with our kids in public. We NEVER take our eyes off our kids in public. We were not in a different department. Justin saw the entire incident. I was with Violet, holding her, a mere second after the cabinet fell. I was there before the other customer even had a chance to lift it off of her.
Additionally, here are just two of the several IKEA items we have in our own home.
These shelving units both sit in my kitchen, and as you can see they are loaded with glass items that could really damage someone if the unit tipped over. Yet--despite my Violet having the strength, you say, to "yank" them over, and despite my husband and I being bad parents who don't watch our kids, as you implied--these shelving units have never fallen over or hurt my children. Probably because, "bad parents" that we are, we were responsible enough to attach them to the wall the moment we installed them.
This begs the question, IKEA: If we can get your furniture to not tip over on our toddler, can you?
My letter to IKEA as posted above was to be my last-ditch effort to get them to own this and recognize the problem in order to take measures to ensure it never happens again. Unfortunately, through their ridiculous lies, they've added insult to injury. I'm disgusted, and I'm not holding back my feelings any more.
I don't wish to make a mountain out of a molehill, but in my opinion, furniture-related injuries and deaths are no molehill. Abhorrent customer service, after being sent to the ER on their watch, is no molehill. Being ignored, and finally called liars, is no molehill to me. The emotions I felt as a piece of furniture that "was supposed to be attached to the wall" came down on my child before my eyes, is NOT a molehill!
To think all this could have been avoided with a simple human display of compassion, one to reassure me that this mistake was being taken seriously. One of those several employees had the ability to change ALL of this with a few words: I'm sorry. We'll fix that.
Some of you might be wondering, why post this? Why not try to contact corporate first? I considered that, but here's the thing: I can't even get a hold of your local store manager, a person who lives in my own city. He's untouchable. Why would I think I'd be taken seriously by people even higher up the ladder than him? Maybe it's time to re-think the way you're handling your customers, IKEA? I've felt pushed to reach out to you publicly. Because, so far, the only way I've gotten a response from you was after tweeting at you. That's sort of pathetic.
Finally, I would also like other families who might, heaven forbid, have a similar experience to ours, to be able to find us. I want this out there for people to find via Google, because for all I know another incident could happen at IKEA Centennial next week. Perhaps one where a child is devastatingly injured? I'd want my story to back up theirs, in the case that IKEA continues to allow such incidents to occur in their store.
Let this be a lesson to those reading this--especially large businesses who wish to also be respectable businesses--above all else, just be kind. That means, put people first, not your company image or decreasing the risk of lawsuits.
I suppose I should not have been so naive as to think there were still companies out there who would do the right thing in such a situation instead of the selfish thing: working only to cover their own butts so as not to get sued. In a way, because of this society, I get why IKEA is trying to cover their butt. I just wish it wasn't at the cost of customer service and my two-year-old's pain and suffering going completely ignored. I was naive; I feel disillusioned. I had once thought much better of IKEA.
If nothing else, take this with you: furniture and appliances falling on children is a serious problem.
Thanks for reading. Above all else, we praise God that Violet is safe and sound. My hope is that no more children will die because of dangerous furniture or appliances. I do wish IKEA and I could agree on that, instead of blaming toddlers for such situations.
Watching that cabinet tip over on Violet was among the worst moments of my life.
Learning she was going to be okay, after having a piece of furniture taller than her daddy fall on her, was one of the best moments.
I just hope it never happens again. Sadly, IKEA apparently doesn't think it's their problem.
{crickets chirping}
Pizza Monkey Bread 1 Feb 2014 8:35 AM (11 years ago)

I've tried enough Pinterest-inspired recipes now to know not to take most of them seriously. If it looks too good to be true, then it usually is. I'm sorry, but decent orange chicken just can't be made in a Crock-Pot. So I didn't really pay much attention to the Pizza Monkey Bread thing...until Cook's Country featured it on the cover of their most recent magazine. Then I was willing to try it!
So if you're rooting for the Broncos for the Superbowl this year, I suggest you make this delicious snack! If you're rooting for the Seahawks...Pinterest has some great orange chicken Crock-Pot recipes.
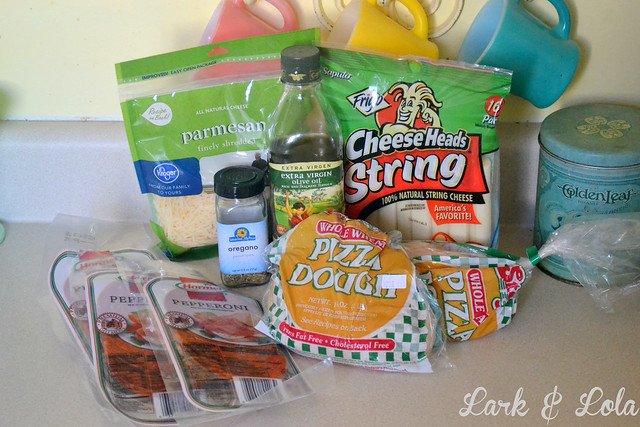
The best thing about this recipe is all easy ingredients. 3T EVOO, string cheese, 5 ounces pepperoni, 1/2 teaspoon oregano, and 3/4 cup parmesan cheese. OH, and two pizza dough balls (1 lbs each). Store bought, from the deli. Believe it or not, that's what America's Test Kitchen said worked the best. Those people could tell me to put jelly in my sauerkraut and heck, I'd do it.
{Too bad my deli was sold out of regular dough balls so I had to use whole wheat. But I think regular would work best for this recipe. Unless you're a health nut, in which case you'd probably never make a recipe like this anyway.}
First, I rolled those dough balls out just slightly into rectangle shapes.
{Why is pizza dough so annoyingly elastic? Fortunately, this works to my favor later on. But still, irritating.}
I covered those doughs and left them to rest for about 20 minutes.
While the dough is resting, I took my 5 ounces of pepperoni and placed it in a microwave safe bowl {Pyrex, of course}, and put it in the microwave it for about 75 seconds, until fat rendered.
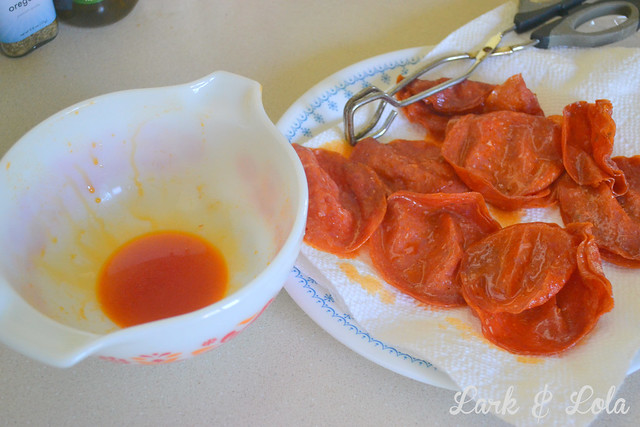
Save that pepperoni grease! One thing America's Test Kitchen/Cook's Country has taught me is that flavor can be found in great places, like pepperoni grease and fond. I mixed in the olive oil with the pepperoni grease.
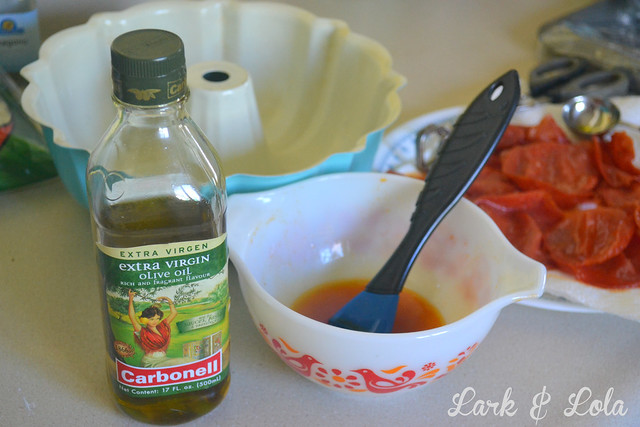
And about 2 tablespoons of that oil mix went into the Bundt pan.
Next I mixed my parmesan with the oregano.
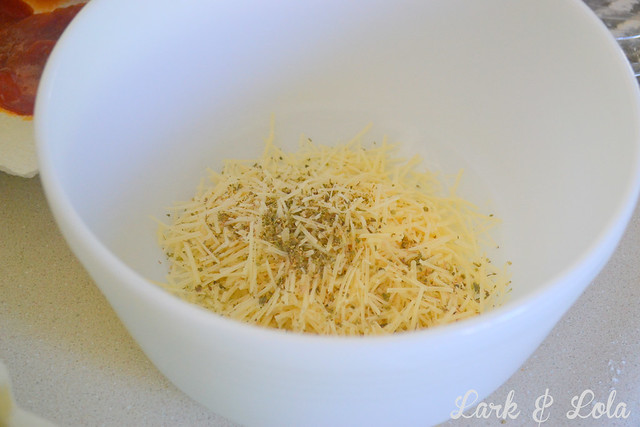
Then I took my dough out, one at a time, and went to work stretching it out.
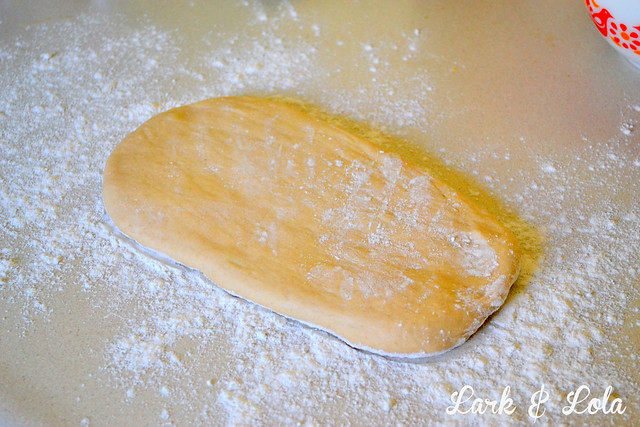
I formed it into a large rectangle, about 9" x 18".
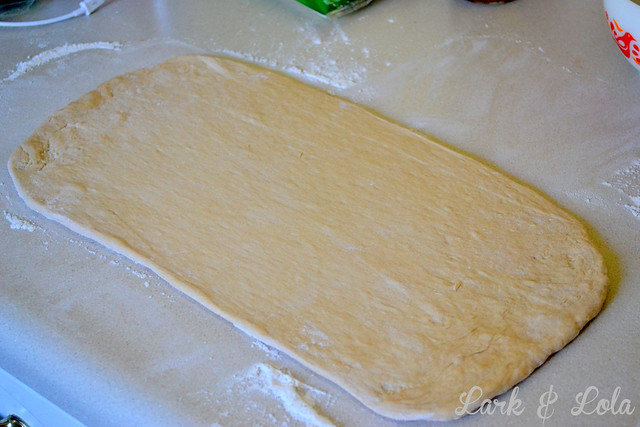
Here is the fun part...

Layering half the pepperoni on one side, topped with mozzarella string cheese, and finally half of the parmesan/oregano mix. {The other half is for the second dough ball.}
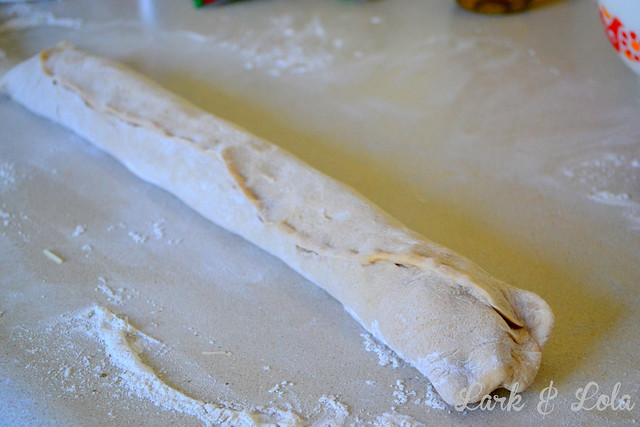
Then I pinched all the edges to seal off my pizza log. Then I cut it in half.
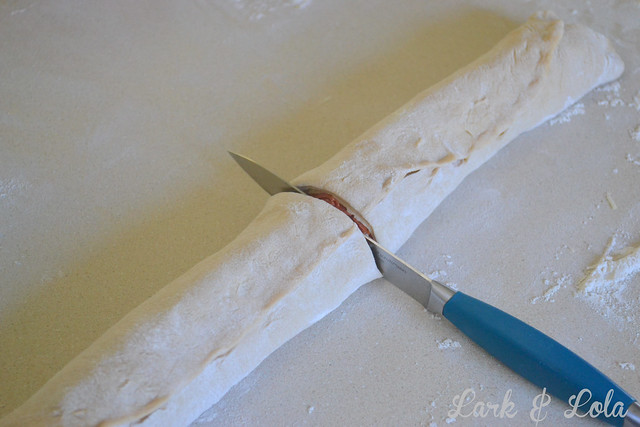
Pinched those ends shut...
..cut those two in half and pinched them off...
Then cut each of those four logs into thirds and pinched all those shut to create little pizza balls. This is where the elasticity of the dough comes in handy!
Closing all the pepperoni and cheese goodness inside the stretch dough, I worked each section into a nice ball.
One-by-one, I layered the pizza balls into the Bundt pan, using the remaining pepperoni/EVOO mixture to coat the layers as I worked.
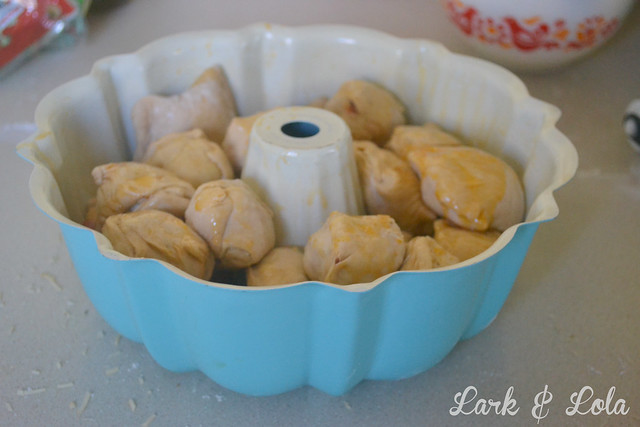
I repeated this process with the second store-bought dough ball. Then, I covered the Bundt pan and let it rest for about 30 minutes, during that time the dough puffed up just a bit more. I had to re-seal a few balls at the top, but that's okay.
Finally, it was time to throw it in the oven at 400° degrees for about 40 minutes.
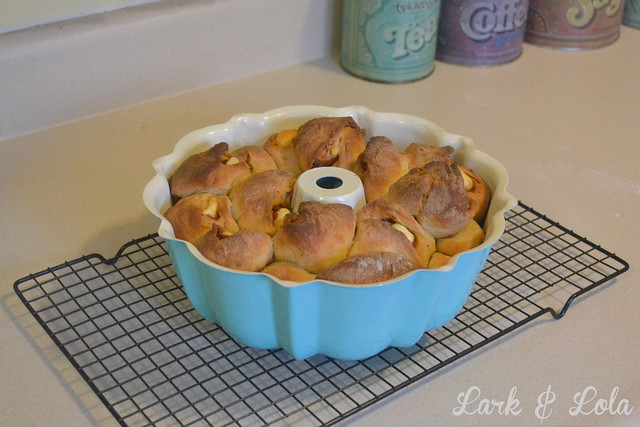
Ta-da! After allowing the pizza monkey bread to cool for about 15 minutes, I inverted it onto a plate.
Of course, you need sauce right? So as not to get all soggy and messy, rather than baking the pizza monkey bread with sauce inside, you use the sauce as a dip when ready to serve. Cook's Country has their own simple tomato sauce recipe along with their pizza monkey bread, but I have a marinara sauce that I already really like so I used my own.
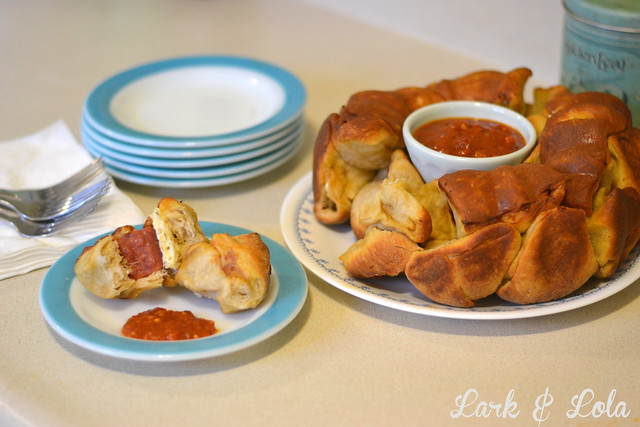
The warm dough and cheesy pizza filling are yummy and easy to eat!
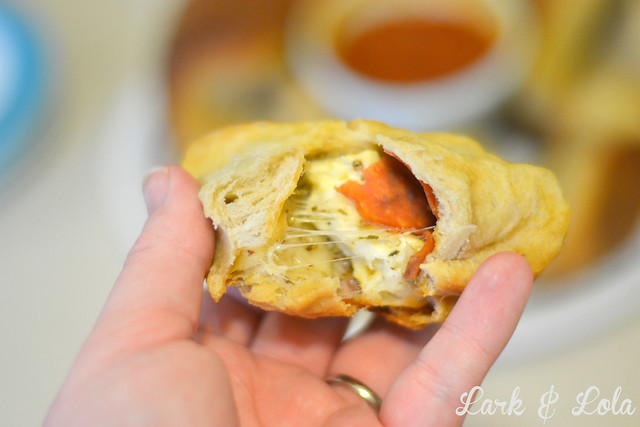
So there you go! Happy Superbowl Sunday and GO BRONCOS!

Adapted from Cook's Country Magazine.
Homemade Iced Mocha 7 Jan 2014 5:05 PM (11 years ago)
My signature coffee drink has always been the iced mocha. Even on cold winter days, 9 times out of 10 I'll order the iced mocha instead of a hot drink. I have always had a habit of stopping at Starbucks to pick up my signature drink, my guilty pleasure during a day full of time-outs and diaper changes. Yes, I've stopped at Starbucks often. I'm not telling how often. Please don't ask...it's sort of a personal question.This past year--due to budget changes and trying to save money to buy a house--I've had to learn to stop handing over the $4.15 for my signature drink, at least not so very often. {Even my two-year-old knows how to order my coffee, she's heard it enough times to repeat, "Iced grande, light-ice, no-whip, non-fat mocha."}
I won't lie, it took a lot of trial and error to figure out how to make myself a palatable iced mocha at home. It wasn't easy, and I tried lots of things. I've finally learned how to make it just right for me. {Note: I'm not claiming this is a Starbucks copycat. It's a different iced mocha altogether, but it's one I really like.}
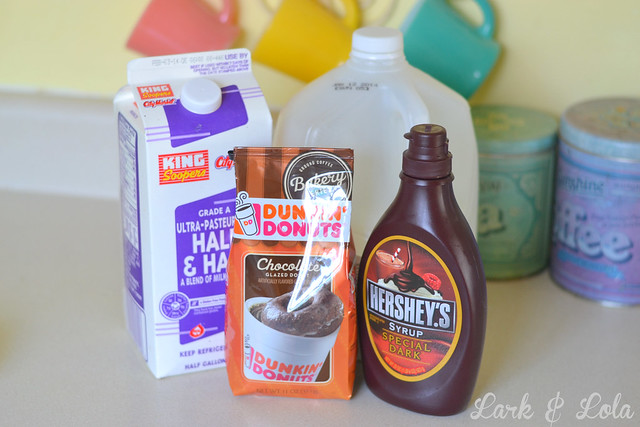
I've learned the brands I use have something to do with it. I LOVE Dunkin' Donuts coffee. Sure, it's more expensive than generic store-brand, but it's a LOT cheaper than going to Starbucks everyday. Uh...I mean, every once in a while. Also, their "Bakery Series" Chocolate Glazed Donut coffee is YUMMY! It even smells like a coffee-dunked chocolate donut.
My second product is Hershey's Special Dark chocolate syrup. The dark chocolate, I tried on a whim one time, has proven to make a richer, more mocha flavored mocha. I suggest you give it a whirl.
I like to hide my precious Dunkin' Donuts Chocolate Glazed coffee in tin where no one would suspect it...my Ballonoff "Coffee" canister.
So, I make a sort of espresso with this coffee. Sort of...kinda...
My husband says I don't make espresso correctly, and he would know. We use the same machine his nerdy 10-year-old self asked for his tenth birthday twenty years ago. True story. My husband is apparently a nerd coffee snob, always has been. {What ten-year-old asks for an espresso machine for his birthday??? He cracks me up.}
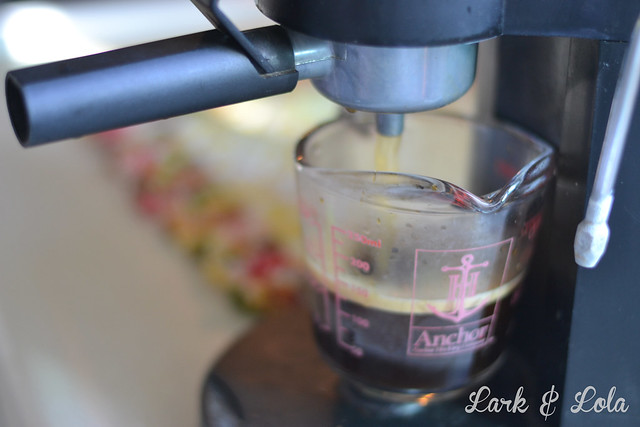
So our machine is twenty years old, but it works and so this is how I make my mocha drink. {One of these days, I'll buy one of those nicer used espresso machines--with all the parts, my husband's is missing some--at the thrift store. I see them every time I go, usually for $10-15. So if you read this post and want an espresso machine now, and you didn't get one during your childhood like most nerdy people, then go thrift a cheap one. Or, you know, buy a nice new one like some rich people.}
My husband says I do it all wrong {and he would know...having twenty years of coffee making under his belt...and he turns 30 this year}. All I know is that regular machine brewed coffee isn't strong enough to make a mocha I like. It turns out all weak. So I fill the espresso thingy to the brim with Dunkin' Donuts coffee grounds and I make 1 full cup of espresso. Meh. Works for me.
Look, it's stronger than machine brewed coffee but weaker than full blown espresso which I have no idea how to really make and my husband reminds me of this daily just before I remind him that I could pay the baristas at Starbucks $4.15 to make espresso correctly at which point he decides it's best to be quiet about my lack of espresso making skills. Either way, I get my caffeine fix. By the way, we just celebrated 10 years of marriage last week. Yay us!
If you want to try this "recipe" and don't want to make "fakespresso" then you "could" make a pot of really "strong" "coffee" instead and see how you "like" it. "Theoretically." #airquotesabuse
Anyway, I need it cooled down so I transfer it to one of my aluminum tumblers and pop it in the freezer for 5-10 minutes. Alternatively, if you don't have much time, you could make those coffee ice cubes with left over coffee or make the "fakespresso" in advance and keep it at the ready in the fridge. I usually have the time to wait for it to chill in the freezer.
Once it chilled, I transfer it to a jar and add about 1 cup of milk. I'm a 1% sort of gal.
"Now" would be the time to stir in the chocolate "syrup" to "taste".

And I get it ready to pour over ice--which chills it better than just dumping ice in the top--and add an optional splash of half & half for creaminess and because.
It really does help to pour over the ice. My friend Jan got me one of these cool drinking cups from The Mason Bar Company. I love it. It's glass, it's cute, it's the perfect size and it fits in a cup holder.
At which point I add a splash of half & half. It looks like more, I don't know why it looks like more than a splash, but really just a splash. Maybe a teaspoon? Mmm...
So that's how I make my own iced mochas at home and save $4.15 every time. I think this is also much bigger than a grande. This method o' mine would easily make two non-caffeine-addict-sized drinks. I swear by the Dunkin' Donuts coffee and the Hershey's Special Dark syrup to make it "perfect". It definitely still saves me a good deal of money, but I get my "gourmet" coffee drink at the same time.
Maybe it's a stay-at-home-mom thing, but there's something about having a little indulgence like this that makes my days a little more relaxing and enjoyable. What's your vice? Now you know mine.
Cheers & Happy New Year!
"Heather"
Chocolate Raspberry Torte 6 Dec 2013 4:34 PM (11 years ago)
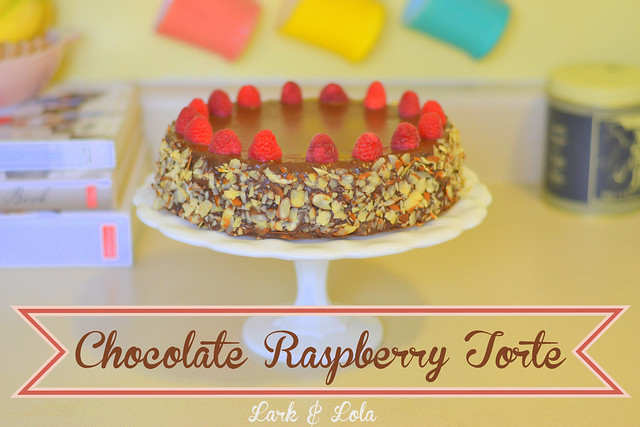
Today I'm going to show you how I made this adorable chocolate raspberry torte last week for an event at my church. Adapted from a recipe out of Cook's Illustrated, this chocolate torte is a newer spin on the famous Sacher Torte of Austria. Except instead of apricot preserves, this torte is paired with raspberry. And, boy! But does she make a beauty of a dessert, or what? She suuuure does.
The torte is actually pretty simple to make, though it requires several ingredients. I like to pre-measure and sort everything out before I start a recipe. I highly recommend this so that you're not caught off guard while baking and missing an important step.
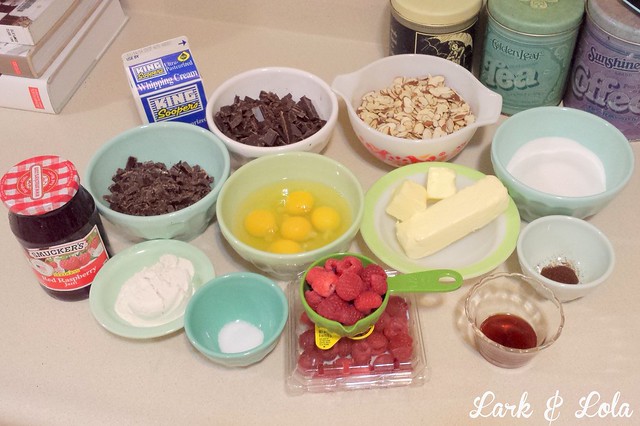
Preparing included chopping up THREE Ghirardelli bittersweet chocolate bars. Oh yes, this is going to be good.
I started by placing a heat-proof (PYREX!) bowl on top of a saucepan with lightly simmering water, and melting 12 tablespoons butter with 8 ounces of bittersweet chocolate.
Gently melting until it was smooth, and then I transferred it to a larger mixing bowl to cool for a while. Oh, and I might have added 2 teaspoons vanilla and 1/4 teaspoon of espresso powder. Just for good measure.
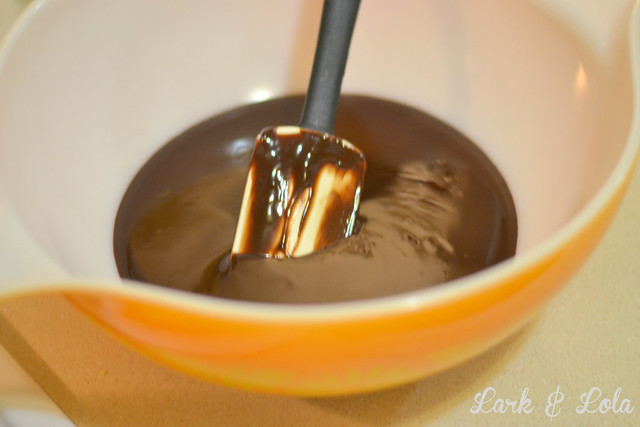
Meanwhile, I took 1 cup of sliced almonds and sent them to their fate via food processor.
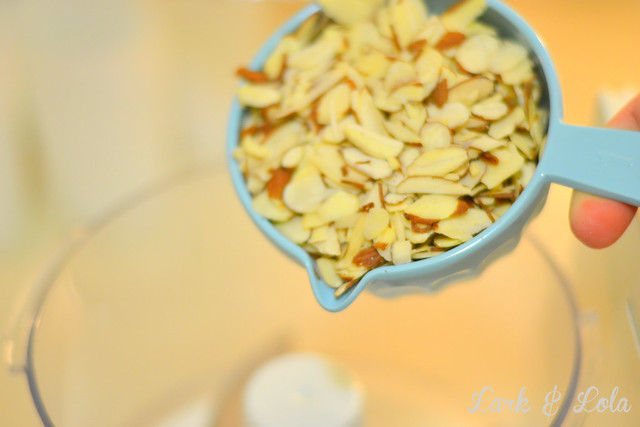
I processed the almonds with about 10 pulses for about a total of 1 minute, just to get them nice and powdery. You don't want to overdo almonds in a food processor, lest the oils start to come out and you would then end up with almond paste.
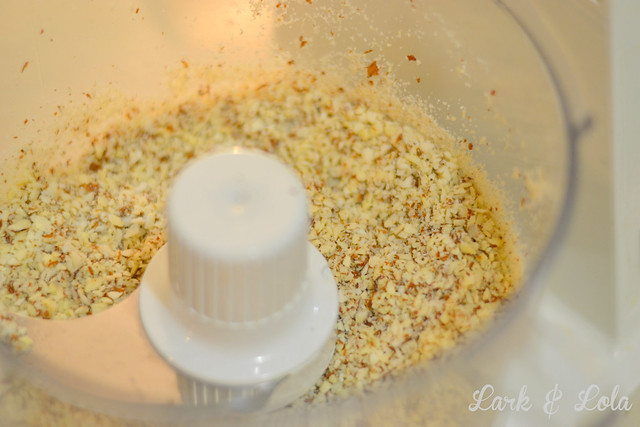
Once the almonds were ground, I added 1/4 cup flour and 1/2 teaspoon salt. Then I pulsed my food processor just a few more times to mix.
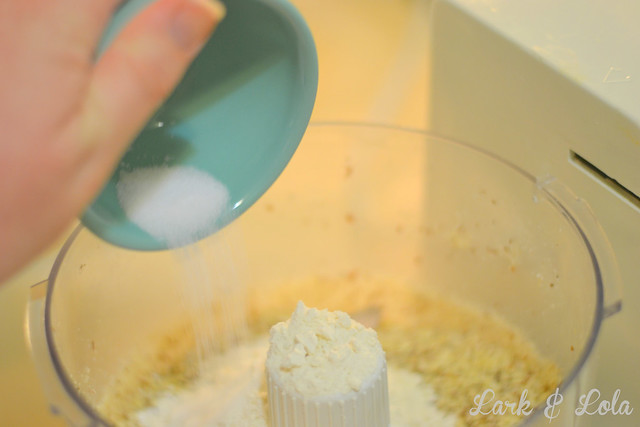
Next, I set aside my almond/flour mixture and added 5 eggs to the food processor. I also had 3/4 cup sugar handy.
I ran the food processor for a few minutes so that the egg doubled in volume and became pale yellow. This is a very important step, you don't want to whisk or blend the eggs--you must do this in a food processor. For a torte, getting air into the eggs is crucial to help your torte rise a bit. It's already a dense cake.
When the eggs were ready--doubled and pale--I added my 3/4 cup sugar to the food processor while still running and allowed the sugar to mix in.
Next, I mixed my egg mixture in with the melted chocolate--now cooled--by gently folding it in with a whisk. The idea is to be very careful not to deflate the eggs by mixing these ingredients together.
I mixed until a few streaks of the egg mixture were still visible in the batter and then...
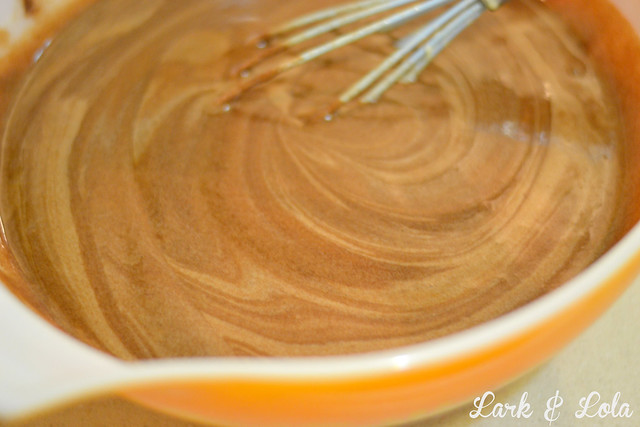
...I gently folded in my almond/flour mixture in the same way. Gently and delicately.

Once my batter was ready to go, I poured it evenly into to 9 inch cake pans, greased, floured, and lined on the bottom with parchment paper.
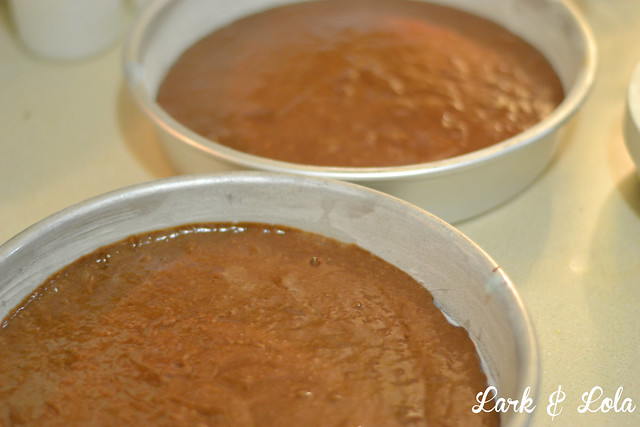
Then I baked them at 325° for about 15 minutes, watching them carefully. They are done when they look set and a toothpick comes out clean.
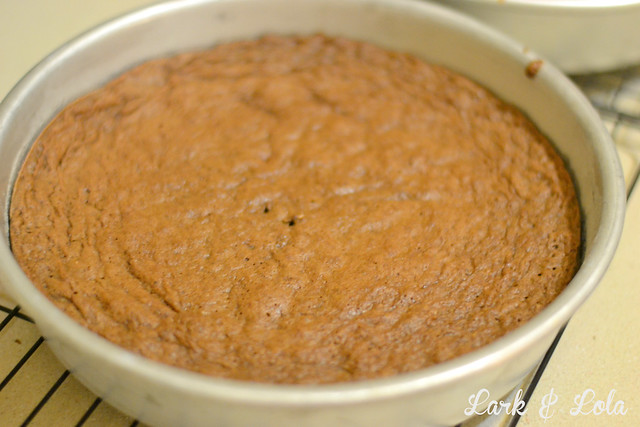
These cakes are especially delicate, so I used two 9 inch cardboard cake rounds to help get them out of their pans. I made sure the cardboard fit inside the cake pan and flipped the cakes over so that they released gently onto the cardboard circles. Then I removed the parchment, again, very gently.
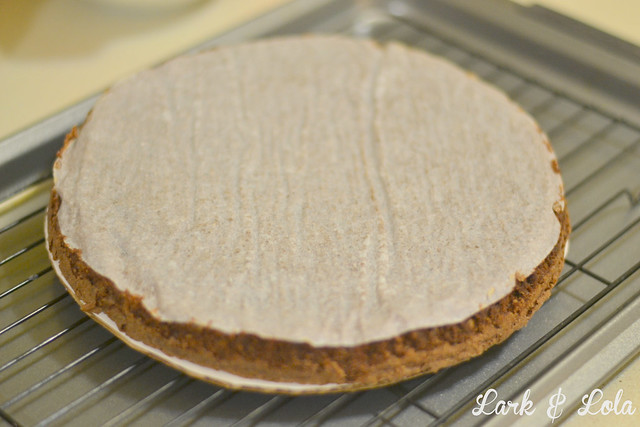
Tortes are traditionally made with nuts and little or no flour, so you end up with a dense cake with lovely texture.
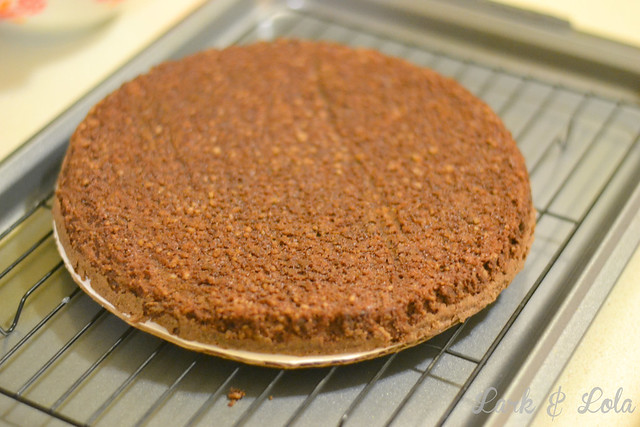
Now it was time to fill my cake, so I mashed 1/2 cup fresh raspberries with a fork.
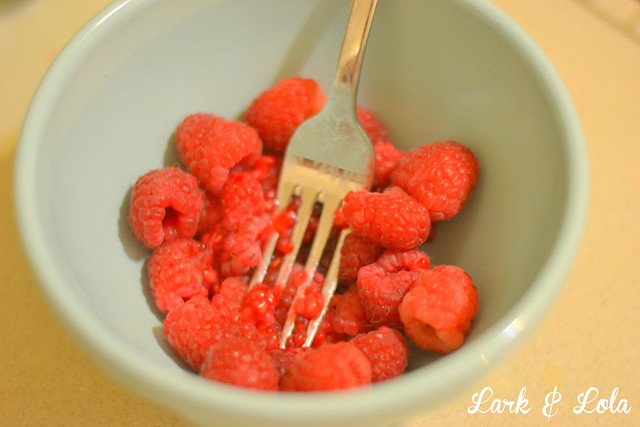
But I also added 1/4 cup seedless raspberry jam, and I mixed those two together to make one spread.
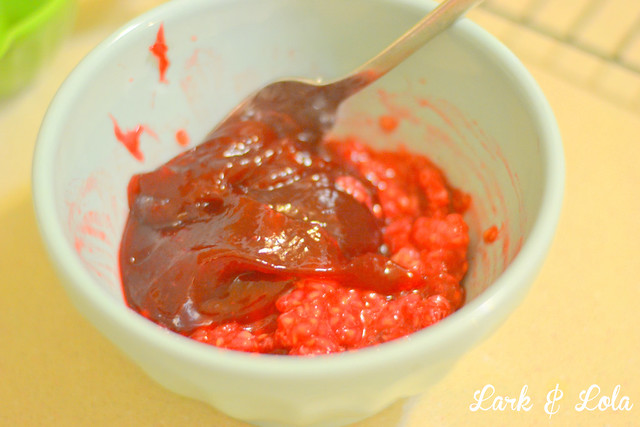
I spread the raspberry filling on the first cake, leaving a good 3/4 inch space around the edge.
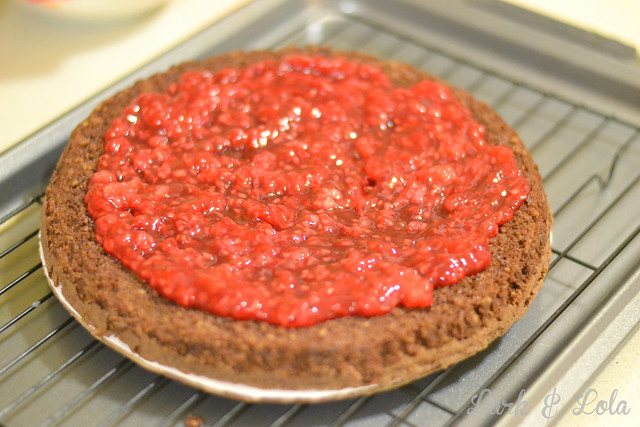
Getting a second cake layer on can be tricky, especially when it's a cake this fragile. Using the cake round the second layer was released onto, I brought the second layer up to the edge and right over the first cake. I used the cardboard round to push the second layer right over where it should be, sliding the board out and letting the cake fall right where it needed to. If it's not perfect, you can gently push the cake since the raspberry spread allows it to slide a bit.
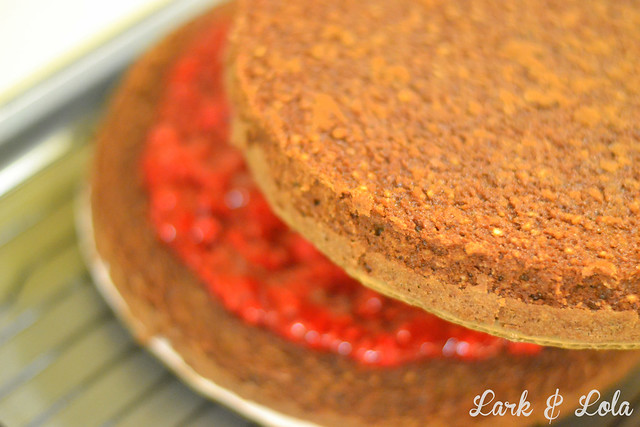
With my naked torte assembled, it was time to make a ganache. This is incredibly simple: using the same bowl over sauce pan with simmering water technique, I melted 4 ounces chopped bittersweet chocolate with 1/2 cup whipping cream.
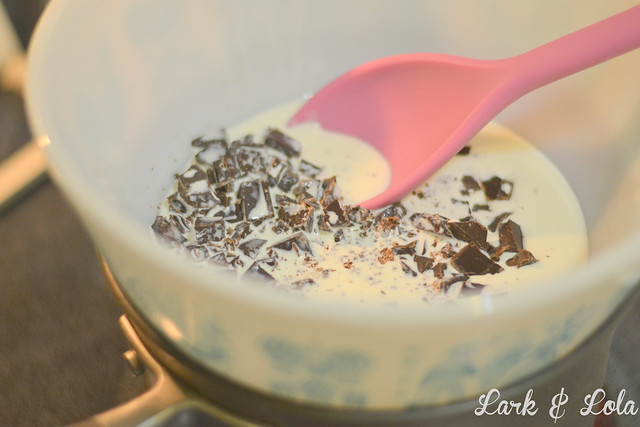
This ganache doesn't even need to cool much, once it's well mixed and shiny, it's ready to pour.

I poured it into a pool on top of my torte...

...and using an offset spatula, I pushed the ganache over the edges and smoothed it around the sides.
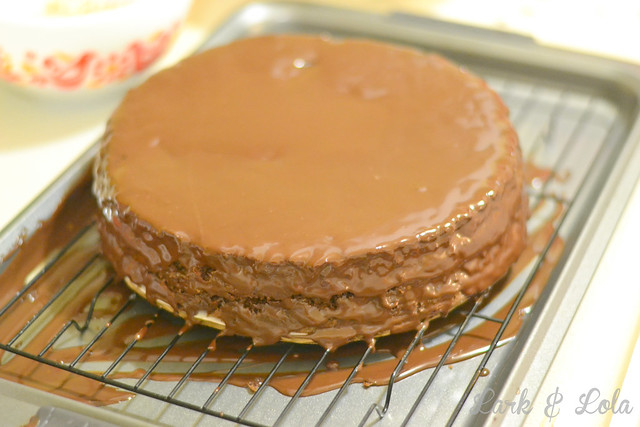
These last couple parts are the most fun. I placed 3/4 cup almond slices in a bowl and crushed them up a bit more with my fingers so they were just small pieces.
VERY carefully holding my torte on one palm--think waitress with a tray of food style--I picked up handfuls of the almond pieces and pressed them against the sides of the torte.
Next, I took four raspberries and placed them at 12 o'clock, 3 o'clock, 6 o'clock and 9 o'clock.
Then I filled in those gaps evenly with 12 more raspberies, for a total of 16 fresh raspberries. Doesn't it look like a sort of crown when it's all dressed up like this? Gorgeous dessert.
Plop it on a cake stand and it's downright adorable.
I highly recommend this dessert for a perfect end to your Christmas dinner this year! I made this for my table at Advent by Candleight at church last week. It looked lovely on my candy-land themed table. You can see more photos of my table here, on my family blog.
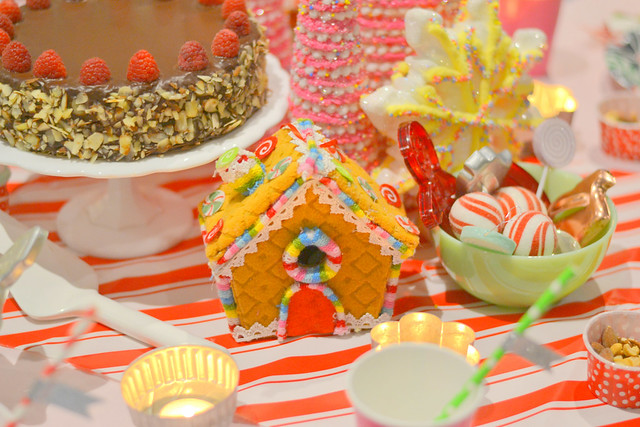
So that, dear friends, is how you make a chocolate raspberry torte! Enjoy.

12 tbsp unsalted butter
8 oz. bittersweet chocolate, chopped
2 tsp vanilla extract
1/4 tsp instant espresso powder
1/4 c flour
1 c almond slices
1/2 tsp salt
3/4 c almond slices
5 eggs
3/4 c sugar
1/2 c fresh raspberries
16 whole fresh raspberries
1/4 c seedless raspberry jam
4 oz bittersweet chocolate, chopped
1/2 c heavy cream
Directions:
1. Preheat oven to 325°. Grease two 9-inch round cake pans, dust with flour, and line bottom with parchment.
2. Place heat-proof bowl over sauce pan with just-simmering water. Melt butter and 8 ounces chopped chocolate until smooth, shiny, and fully combined. Stir in vanilla and espresso powder. Set aside in large mixing bowl to cool.
3. Place 1 cup sliced almonds in food processor; process until powdery, about 45-60 seconds, being careful not to over-process. Add flour and salt, pulse until combined. Place almond flour in bowl and set aside.
4. Place 5 eggs in food processor; process about 3 minutes until doubled and pale in color. Add sugar while processor is running and mix until just combined.
5. Add egg mixture to chocolate mixture, folding in gently with a whisk so as not to deflate the eggs, just until a few streaks of egg remain.
6. Add almond flour to batter, folding in gently with whisk until just combined Pour batter into prepared pans, dividing equally. Bake for 15 minutes, or until cakes look set and toothpick test comes out clean. Allow to cool completely on baking racks.
7. Prepare ganache in heat-proof bowl over barely simmering water by melting 4 ounces chopped bittersweet chocolate with 1/2 cup heavy cream. Stirring occassionally, melt until combined and shiny. Allow to cool for a few minutes.
8. Gently release cooled cakes by placing 9 inch cardboard cake circles into pans and flipping over to release cakes directly onto cardboard circles. Gently peel off parchment.
9. Mash 1/2 cup raspberries with a fork in small bowl, add seedless raspberry jam and mix. Spread jam mixture onto first layer of cake, leaving 3/4 inch around the edge. Gently slide second layer off it's circle and onto first layer by holding layer just above the first layer and pushing it off gently to fall in place.
10. Pour ganache into a pool on top of the torte. Push the ganache evenly over the sides of the torte using an offset spatula. Spread gently around the sides so that most of the torte is coated in ganache.
11. Holding the torte carefully in one hand--waiter style--scoop up sliced, broken almond pieces with other hand and press into the sides of the torte. Finish the torte by placing 16 whole fresh raspberries around top edge. Allow the ganache to set by placing torte in the refrigerator at least 30 minutes. When ready to serve, allow torte to sit out for at least 20 minutes in room temperature.
12. Enjoy!
Favorite Things Friday: THE Best Baby Toy. Ever. 22 Nov 2013 8:08 PM (11 years ago)
As soon as our babies are old enough to grasp toys, we make sure that Sophie is on-hand at all times.
Lark & Lola's new booth at ReNew! 4 Nov 2013 10:07 PM (11 years ago)
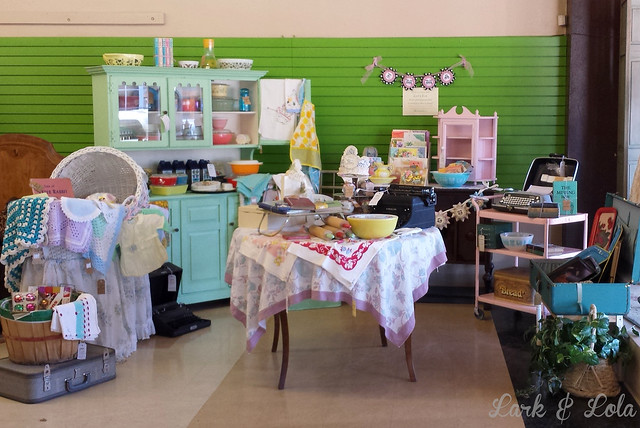
One week ago today, I reopened the business side of Lark & Lola. Yes, I've rented a booth space at ReNew in Englewood/Denver, Colorado. I've been wanting to open a booth for a long time now. Just recently, everything fell into place for me to be able to do it.
I'm really excited to be "back" and selling my crafts and my hand-picked vintage treasures. Pyrex included!
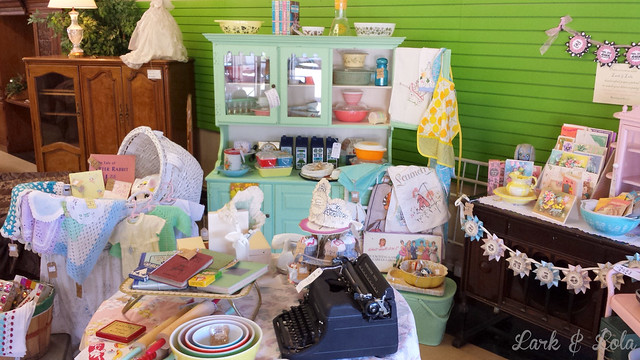
ReNew is a thrift store that is starting to transform their look, and I'm one of the first booth-renting vendors to move in.
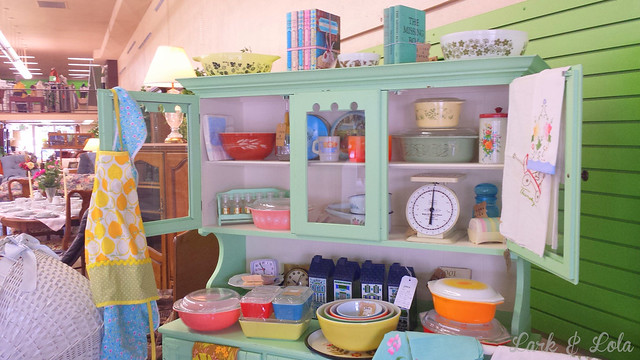
My booth is near the front of the store, right next to the windows. I could not ask for a better spot. The green painted hutch is for sale! I'm not necessarily super eager to sell it, though I will be happy if it does, because I'd have to scramble to get something ready to replace it.
If you are in Colorado, you should come check it out. I plan on visiting at least once a week to get more vintage goods & crafts in there for sale. I had a pretty decent inventory to start though...three typewriters ready to go! Everywhere I look in my house, there is something that I can add to my shop.
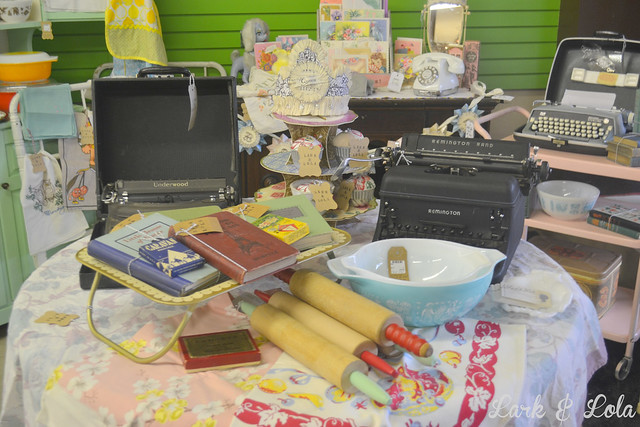
The baby goods are among my favorite items. The jumbo sized piggy bank, the 1940s unused baby book, the sweet handmade crochet blankets. These are all things I'd love to keep, but I don't need, so I'm passing them on.
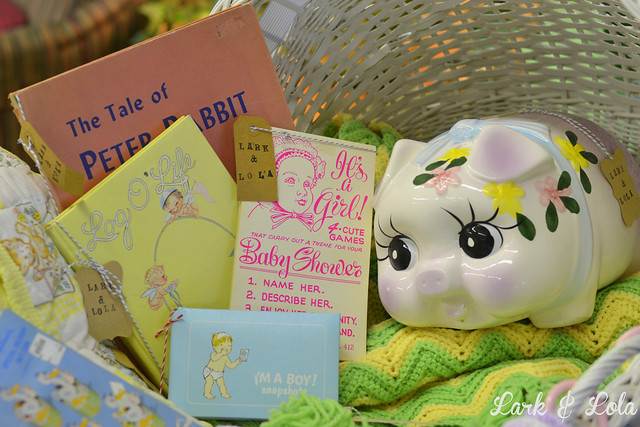
And I can now share with the world some of those vintage greeting cards I've been collecting for years.
I'm really excited to have this creative outlet, and to be selling things again. I've really missed doing this.
Plus, I had too many vintage goods packed in my home. My husband has been relieved, I think--and I have been too!--to get some of this stuff out of our home. It's time for these vintage things to find new homes where they will be treasured.
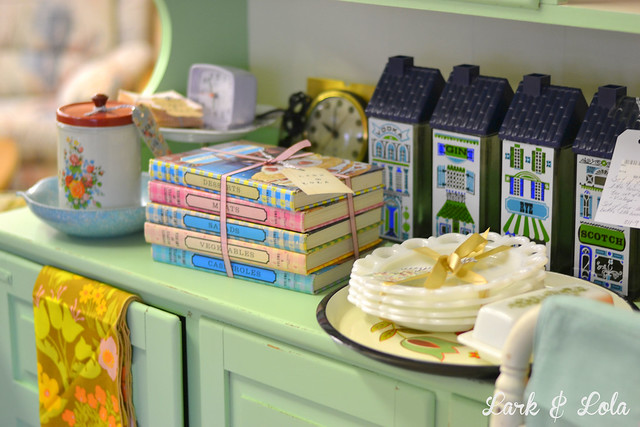
My new booth at ReNew is my new "happy place".
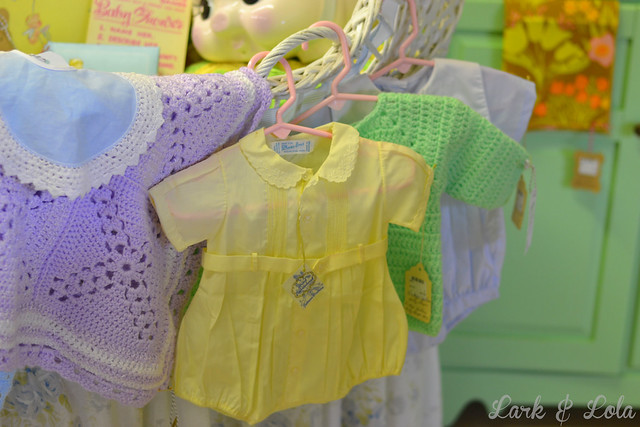
I'm working hard on more crafts too. I love crafting, and I didn't have too much ready to go put in my shop last week, like this "Bonjour" garland, but I'm working on more! {Currently making up some embellished notebooks.}
Vintage seasonal goods are fun additions to add this time of year. I actually need to increase my holiday inventory, I think.
My home is not big enough to keep all the lovely vintage goods I find to myself. I only need so many trays!
Yes, even the Pyrex! I can't keep it all. I have tons more Pyrex I can add to my booth.
That bassinet is on sale also. But makes a nice baby vignette, so I'd be okay if it doesn't sell right away.
The best part? I'm right next to the front entrance and windows!
I posted this following photo a few weeks ago on Instagram, announcing that I'd be opening at ReNew shortly. On my first day--while still setting up my booth--I managed to sell a few items. The ball clock I posted on Instagram a few weeks ago was the first item to go, I didn't even get a photo of it. Since then, I've been in to check on the store--adding items and rearranging--and a few things have gone missing. Sold! It's a relief to see things sell, but also like saying goodbye to friends. Everything that goes into my booth is something I loved finding. I'll be excited to see what's still there and what is gone at the end of November.
Be sure to check out ReNew if you're in the Denver area anytime soon! I'm so excited to be open for business again and doing something with my crafts {though I desperately need to make more}. I've so missed this part of Lark & Lola.
{Getting ready to reopen was a labor of love. Check out my blog post on getting ready for this, right here over at Last Day Ago, my family blog.}
Cheers,
Heather
Vintage Baby 2 Nov 2013 2:06 PM (11 years ago)
I'm at it again, putting my baby in/on vintage goods for photo ops. Last time it was Pyrex. This time it was that vintage baby scale I scored a few months ago. Paxton is such a trooper to allow me to photograph him like this!

He's a smiley little guy! Here he is on his vintage blanket.

So, I've been working on getting my new crafts/vintage/antique booth open here in Denver. It's open! Lark & Lola is back in business.

I have photos, and I'll be back shortly to show you what my new shop looks like. For now, enjoy my cute baby on cute vintage. 15 lbs! He's doubled his birth weight and then some. What a fatty.
Cheers,
Heather @ Lark & Lola
Dye & Transfer Tea Towels 2 Oct 2013 9:41 PM (11 years ago)
A Vintage Rolling Pin Makeover 26 Sep 2013 8:32 PM (11 years ago)
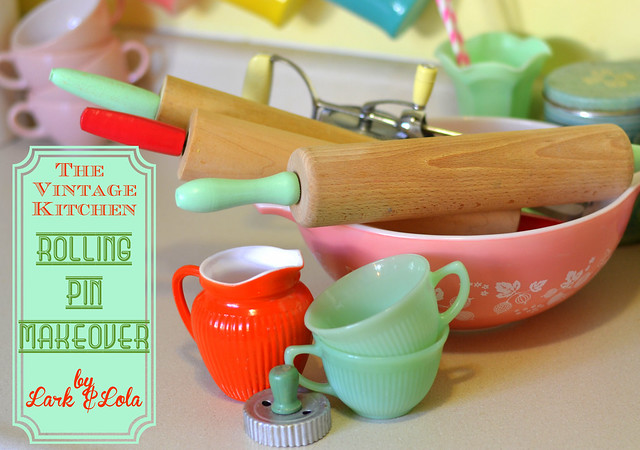
I only recently realized how cute rolling pins can be when I saw them gathered together {see my Instagram photo} in a display at A Paris Street Market recently. Ah yes, the rolling pin: a classic timeless kitchen tool. They are certainly at their best, however, when the handles are painted.
So when I thrifted these three vintage {or at least I'm calling them vintage} rolling pins today for a steal at a thrift store, I decided to re-create that old school look.
But first, they needed a bath.
I stopped at the craft store and picked up some Martha Stewart paint in two colors that were popular in the 1940s and 1950s. I chose glossy paint for this project, and the colors are "Habañero" and "Pea Shoot". The green I chose because it was the closest shade to jadite.
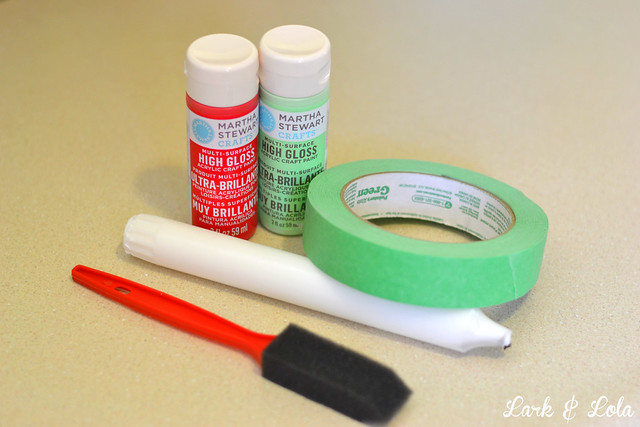
A little painter's tape, worked under the end of the handle, is necessary to keep this project clean and perfect.
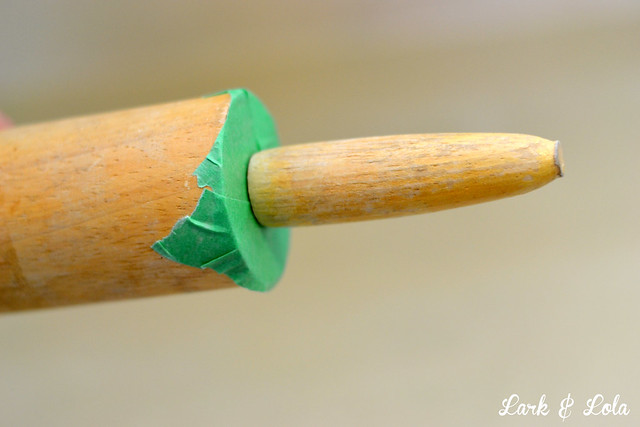
I started with a sponge brush, but I forgot that glossy paint shows the most as far as brush strokes. So I switched to a soft paint brush.
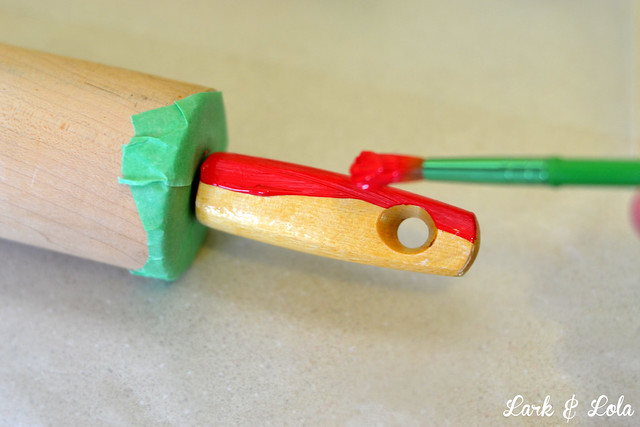
I had to use a cotton swab to get paint in the holes. I wanted these rolling pins to look like they were originally painted and real vintage.
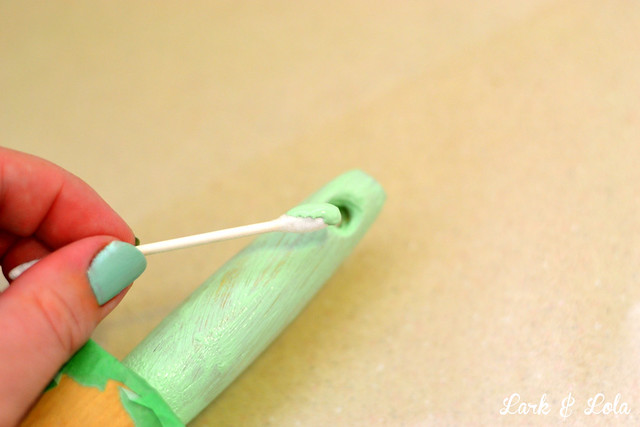
A couple coats and some drying time did the trick.
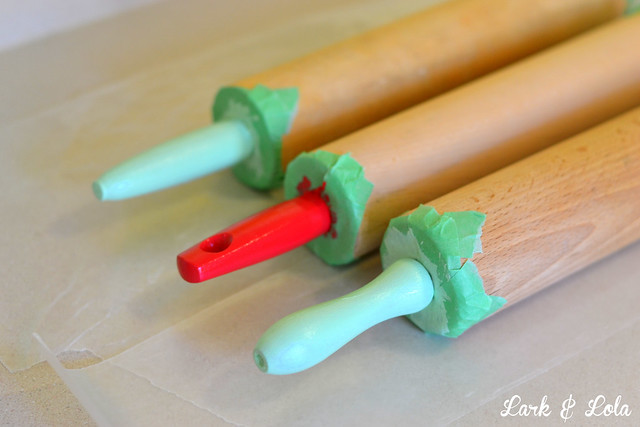
A wax candle rub before and/or a fine grit nail file rub after painting gives it that chippy vintage look.

Regarding chips...
Now, here's the thing--I plan to also coat these with a light coat of glossy Mod Podge to seal the paint. If I only wanted a decorative rolling pin, this would be good enough. But just in case I ever really use these while baking, I don't want any paint to chip off. That said, Mod Podge is NOT considered food-safe. Though it is non-toxic, it is not approved by the FDA as food-safe. However, since the handles are not meant to come into direct contact with food, I'm okay with that. Just use your own discretion before trying this for yourself, is all I'm saying. {Honestly, I think the vintage ones are more likely to actually be chock full of lead.}
You have to admit, this is a lovely upgrade--albeit the simplest of projects--to the formerly drab rolling pins. Did you know rolling pins could even be considered "drab"? Well they can. So...go paint some.
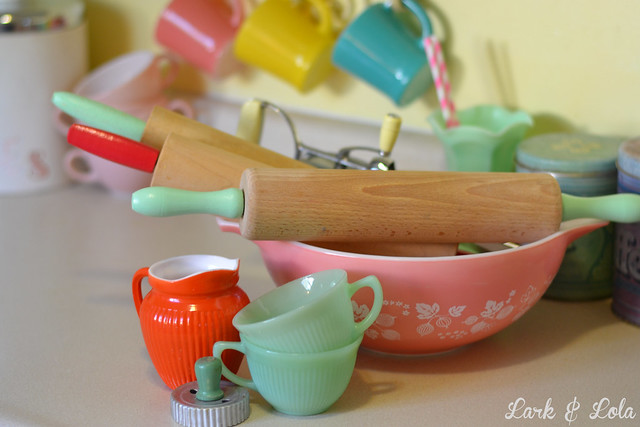
Alright, that's all I've got today folks.
Cheers,
Heather
★ Ice Cream Cone Cake! ★ 12 Sep 2013 3:57 PM (11 years ago)
so if you want some good height, bake three layers!
a bread knife and a careful hand will do.
Tip #789 allows you to do this:
You can cut your own or buy these pre-sized at any craft store.
